I lurked for a long time before I signed up, and figured now it's time to put my own experience up here and thank everyone for laying the groundwork out.
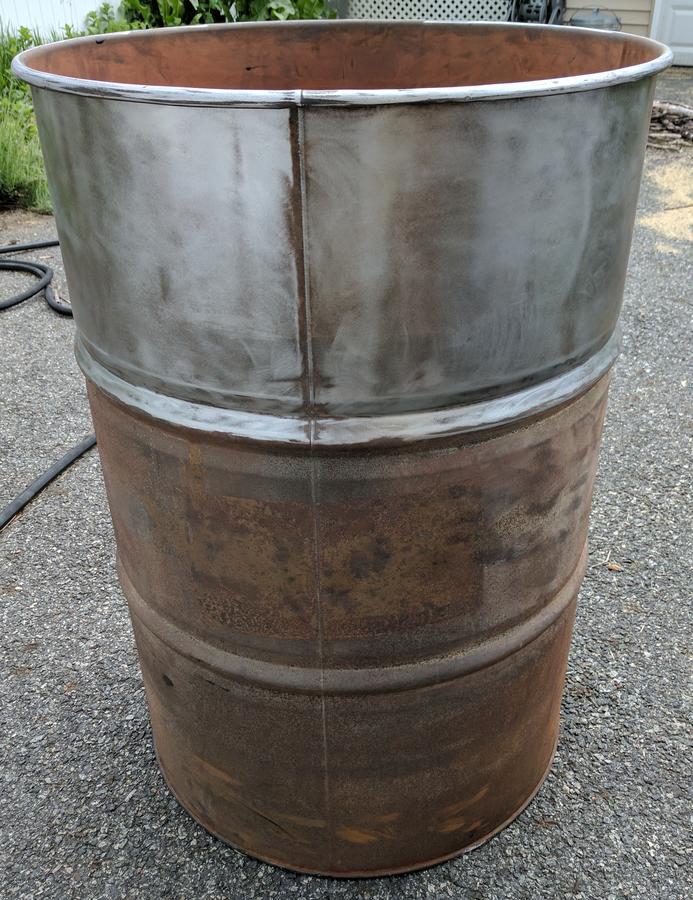
1)Start with a 55 gallon barrel that has hopefully not been used to contain all sorts of nasty stuff.
2) Sand down outside and inside to bare metal as much as possible
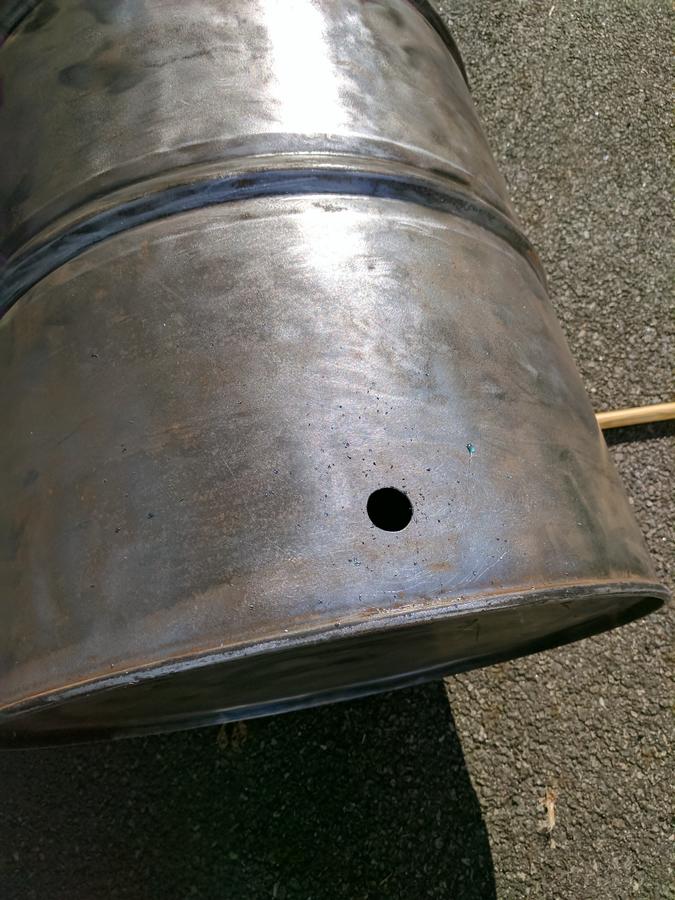
3) Drill holes for intake, exhaust, and grill grate bolts/brackets. Be indecisive and choose to wait on drilling out a thermometer hole or any hardware holes for lid or side handles.
Props to Youtuber Daddy Cooks for the tip on using dish soap when drilling through metal. Also, make sure you wear shorts so shards of metal can hit your legs and sting for a while.
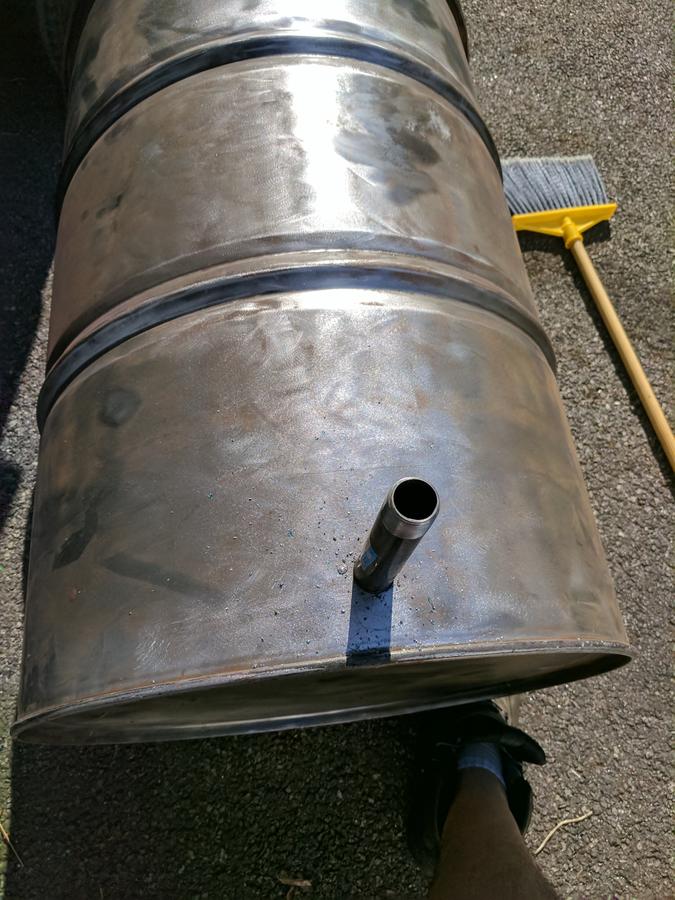
4) Test fit hardware as you go to get a good fit.
5) Burn out anything that's left after sanding. Wipe it down again after this.
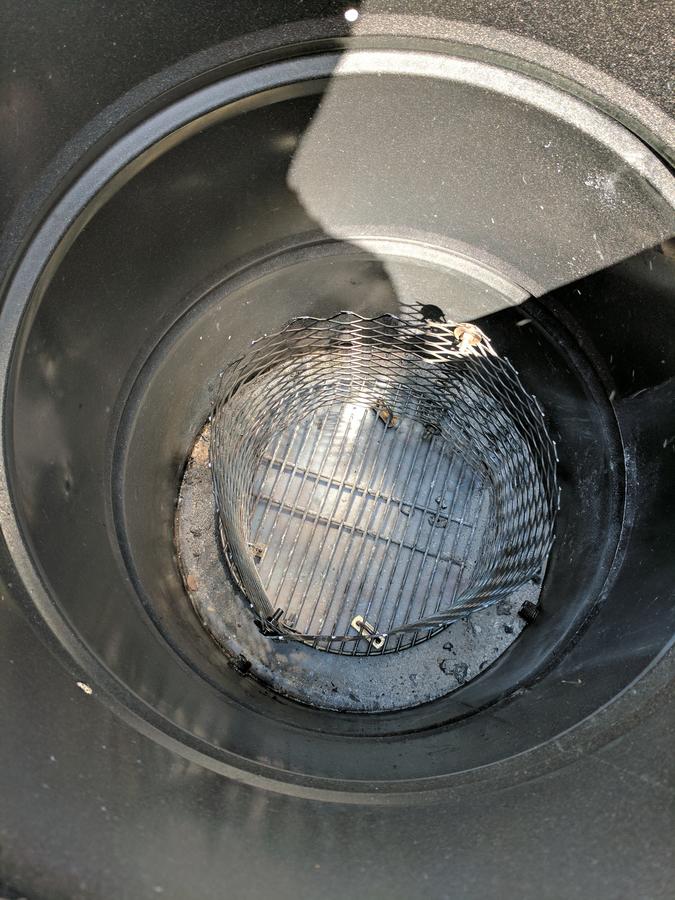
6) Fail to take photos of putting your charcoal basket together because you don't want to get your phone bloody after not wearing gloves during the process.
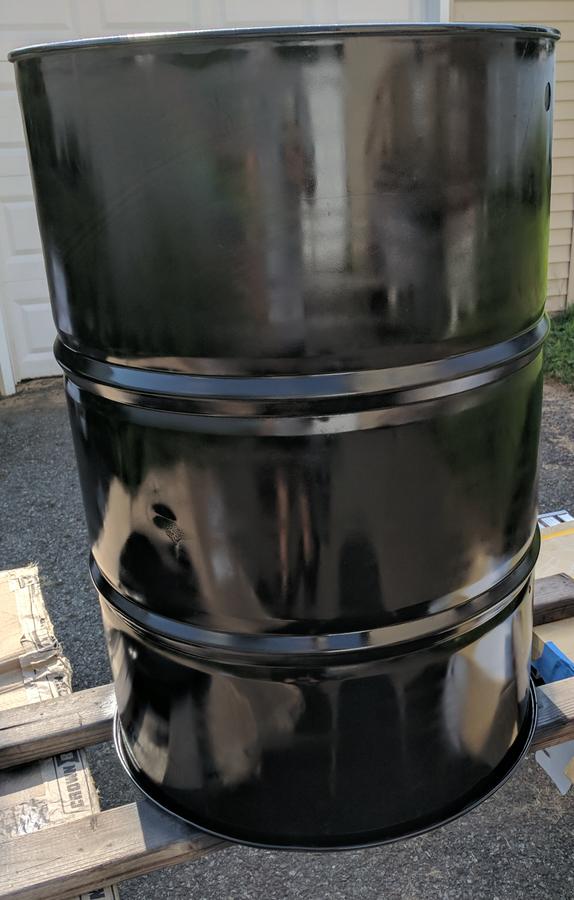
7) Prime (not pictured) and paint the lid and body with high temperature engine enamel. Tape inside the drilled out holes first. You don't want paint inside.
8) Shiny
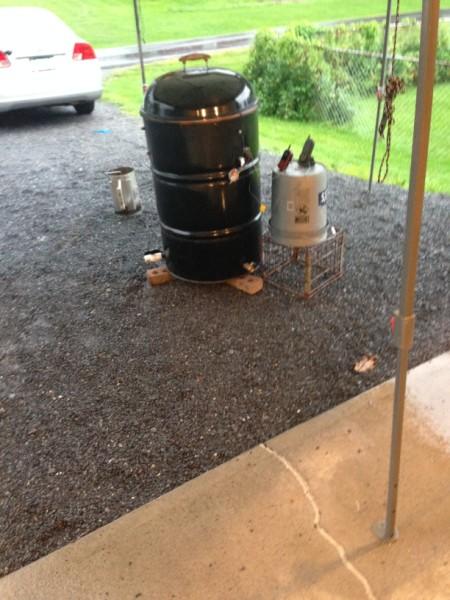
9) After it cures (read the label) re-attach all hardware. Since you were lazy and didn't make a separate thermometer hole, put it through one of the lower grate holes since you're only testing with the top grate.
I did the last steps after work one night which only left me a couple of hours to throw something on, so I just put some kielbasa on the top rack to see how stable the temperature would be. The heavens were angry that day, my friends. Like an old man trying to send back soup in a deli. It started raining immediately after I got the lid on, so I left it smoking for a little over an hour before it cleared up. Given the heavy rain, the top grate stayed between 210-280 for that hour, and I had rushed and not let the temps settle before proceeding due to timing.
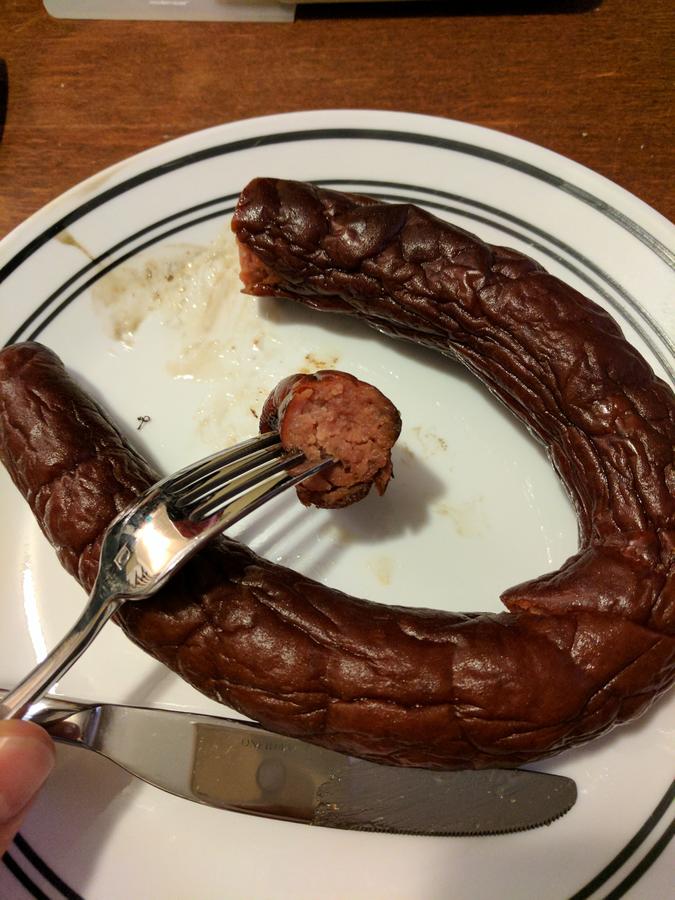
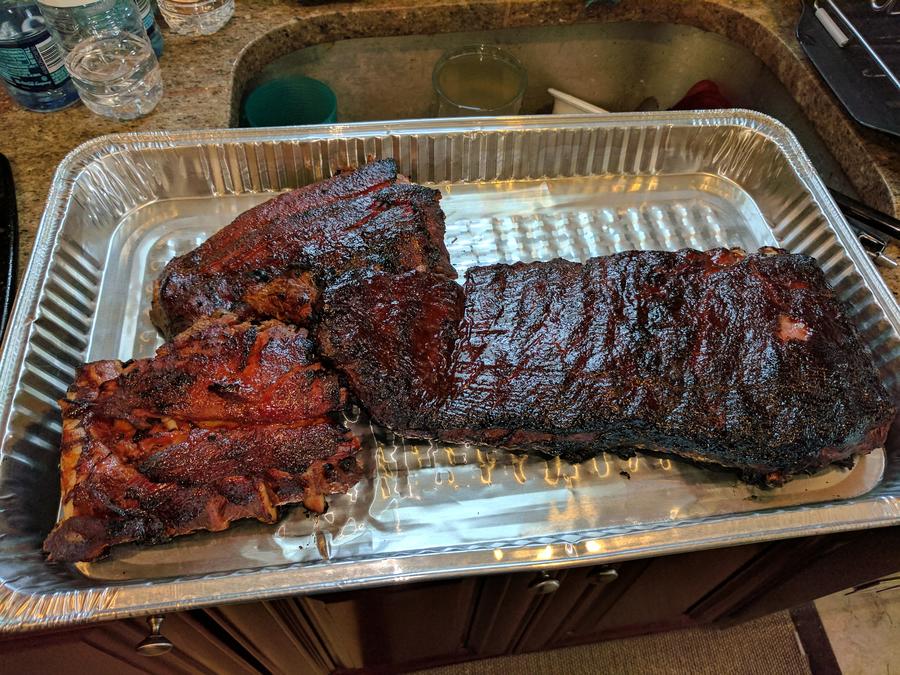
Still, the kielbasa looked and tasted amazing, and I'll probably try running a longer smoke (ribs, pulled pork, or brisket) at some point this weekend. I'm excited for the big upgrade from my ECB, even though we've had a few good years together.
Sorry about the picture/documentation quality. Wanted to get it posted, but this was all done on weekends, spread out over a long while because of other commitments. Glad to finally be done with this one. Already eyeing the second drum I bought at the same time, since now I feel a lot more confident in the process.
Side note--if anyone has any recommendations of good wheels to throw on the bottom of one of these drums, I'd appreciate it. They'd need to be heat resistant obviously, and be able to roll in a driveway without damaging it. Not sure what to look for aside from a drum dolly, but I'd rather not spend too much. In the meantime I'm carrying it around and just dropping it on some bricks to avoid the heat exposure to the driveway.
1)Start with a 55 gallon barrel that has hopefully not been used to contain all sorts of nasty stuff.
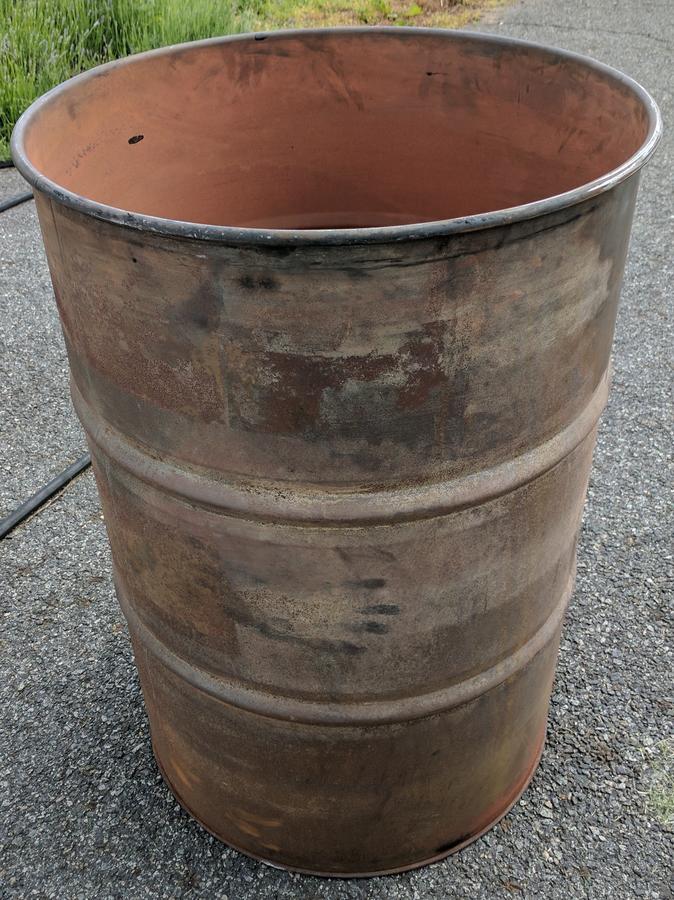
2) Sand down outside and inside to bare metal as much as possible
3) Drill holes for intake, exhaust, and grill grate bolts/brackets. Be indecisive and choose to wait on drilling out a thermometer hole or any hardware holes for lid or side handles.
Props to Youtuber Daddy Cooks for the tip on using dish soap when drilling through metal. Also, make sure you wear shorts so shards of metal can hit your legs and sting for a while.
4) Test fit hardware as you go to get a good fit.
5) Burn out anything that's left after sanding. Wipe it down again after this.
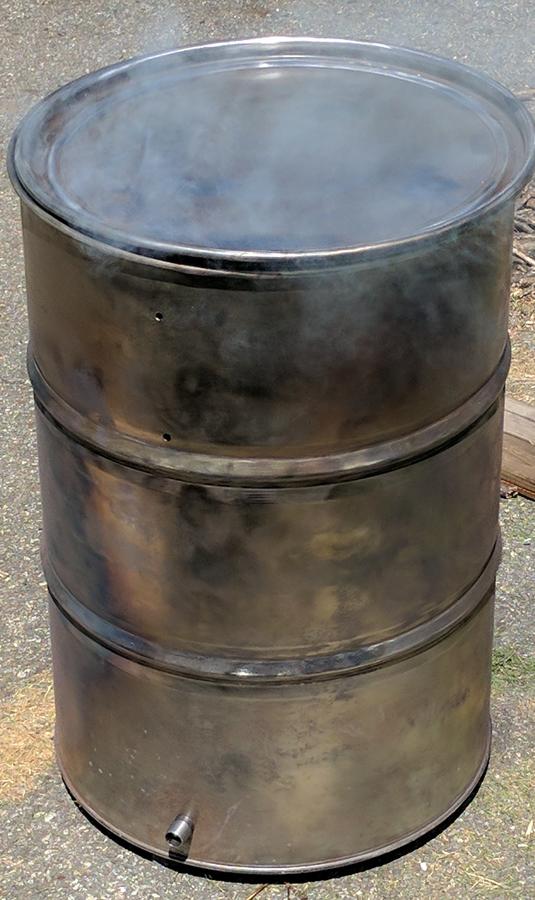
6) Fail to take photos of putting your charcoal basket together because you don't want to get your phone bloody after not wearing gloves during the process.
7) Prime (not pictured) and paint the lid and body with high temperature engine enamel. Tape inside the drilled out holes first. You don't want paint inside.
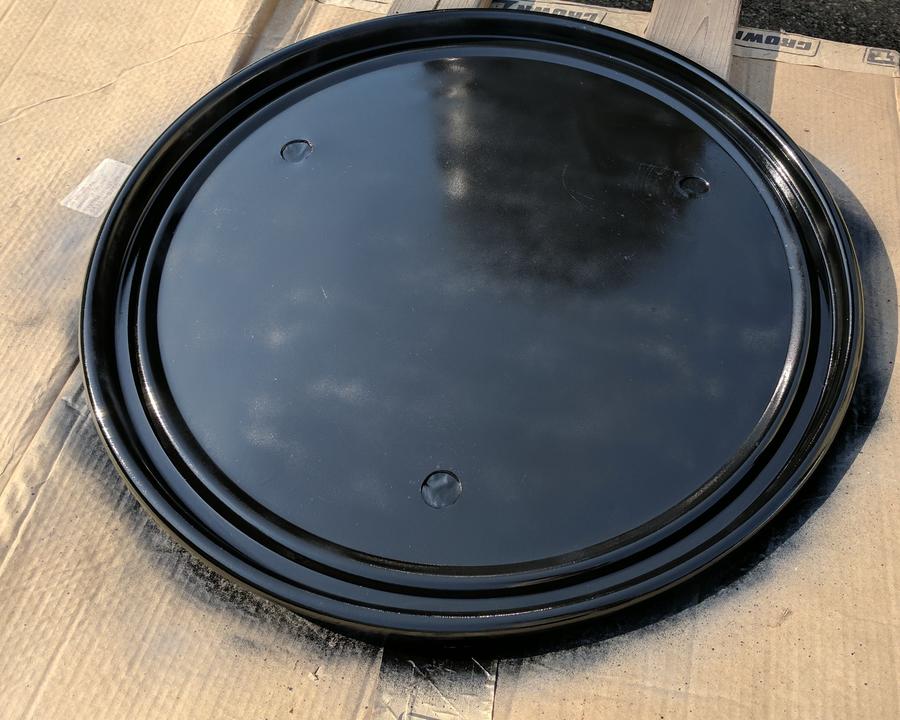
8) Shiny
9) After it cures (read the label) re-attach all hardware. Since you were lazy and didn't make a separate thermometer hole, put it through one of the lower grate holes since you're only testing with the top grate.
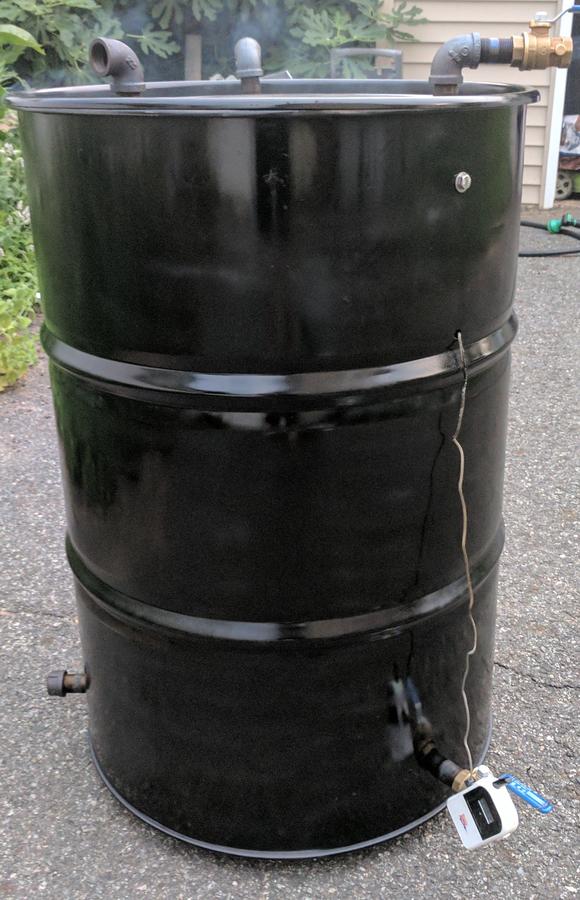
I did the last steps after work one night which only left me a couple of hours to throw something on, so I just put some kielbasa on the top rack to see how stable the temperature would be. The heavens were angry that day, my friends. Like an old man trying to send back soup in a deli. It started raining immediately after I got the lid on, so I left it smoking for a little over an hour before it cleared up. Given the heavy rain, the top grate stayed between 210-280 for that hour, and I had rushed and not let the temps settle before proceeding due to timing.
Still, the kielbasa looked and tasted amazing, and I'll probably try running a longer smoke (ribs, pulled pork, or brisket) at some point this weekend. I'm excited for the big upgrade from my ECB, even though we've had a few good years together.
Sorry about the picture/documentation quality. Wanted to get it posted, but this was all done on weekends, spread out over a long while because of other commitments. Glad to finally be done with this one. Already eyeing the second drum I bought at the same time, since now I feel a lot more confident in the process.
Side note--if anyone has any recommendations of good wheels to throw on the bottom of one of these drums, I'd appreciate it. They'd need to be heat resistant obviously, and be able to roll in a driveway without damaging it. Not sure what to look for aside from a drum dolly, but I'd rather not spend too much. In the meantime I'm carrying it around and just dropping it on some bricks to avoid the heat exposure to the driveway.