I had started this thread to answer a few questions I had....
http://www.smokingmeatforums.com/t/130723/mini-smoke-house
This thread is my Daddy Daughter Day for our build!!! We ran into some issues and other obligations coming up that were not planned, so we did not get finished. However we did get a lot of it completed......
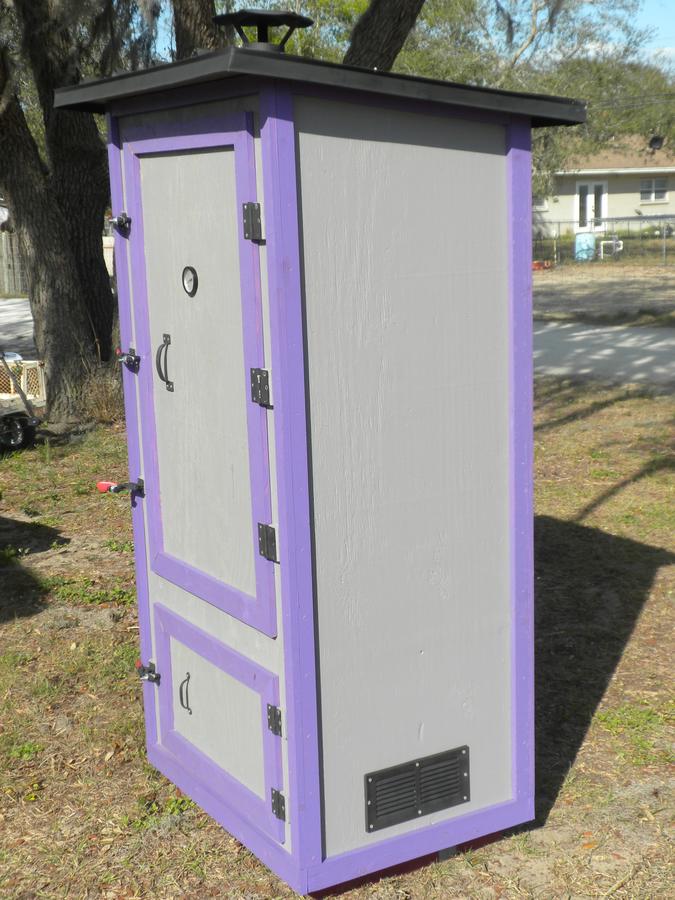
I did not really want to make as big of one as we did, but after looking at potential needs down the road I decided to go larger.... I wanted to be around 24"x 24"x 48", but we ended up with 24"x 35ish"x 60". I wanted to be able to put 2 hotel pans side by side on each shelf. In order to move it around later I may add some wheels to it, but that is later........
Materials List: I will update as I get more written down.....
4ea 3/4" Plywood Sheets
10ea 8' 2x4's
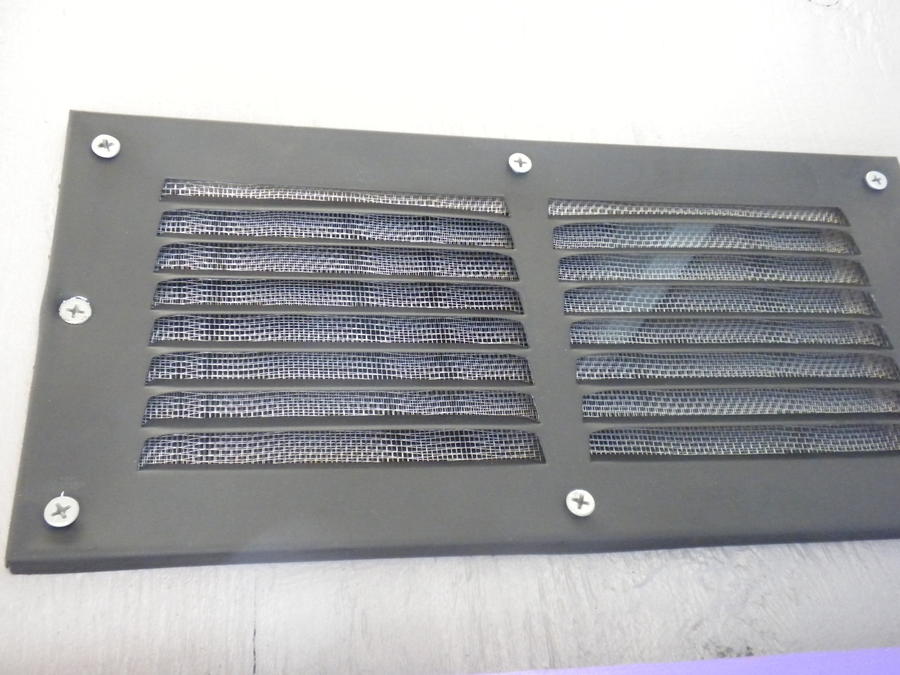
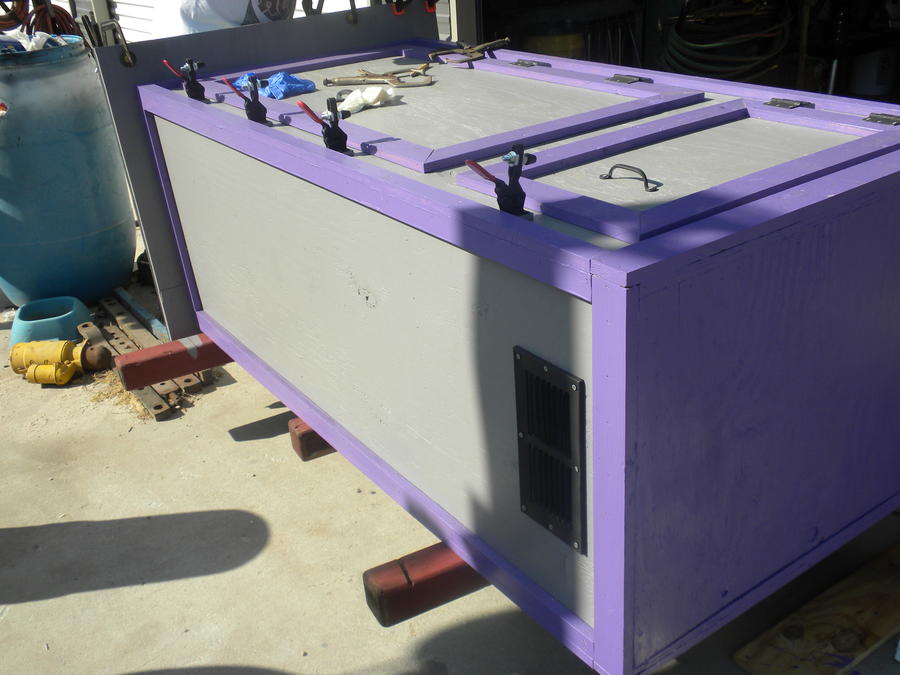
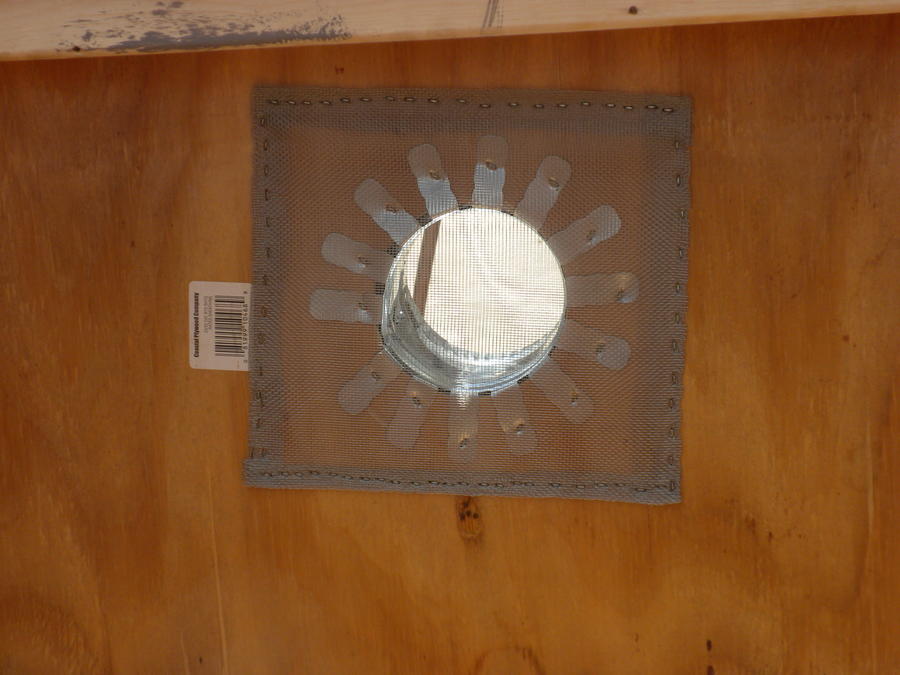
2ea 4"x8" Air Vents
1ea 2# 1 1/2" Exterior Deck Screws
???? 1 1/2" Brad Nails (Air Gun)
???? 3 1/2" Framing Nails (Air Gun)
More To Come......
 Yes, I have listed plywood......... I did look at doing tongue and grove boards. I talked with a few people on this site and outside the site about the risks. Based on the conversations and what others who have built with plywood have had to say. I made the decision for my build to use plywood. If you decide to build one of your own, I would strongly suggest you do the research and make the decision you feel is best for you.
OK, so now onto the good stuff.......THE PICTURES!!!!!!
So I was kind of making up the design as we went along. It took a lot longer this way, but I was able to get my daughter (Cassie) to have a few learning experiences along the way and that was what was important to me....
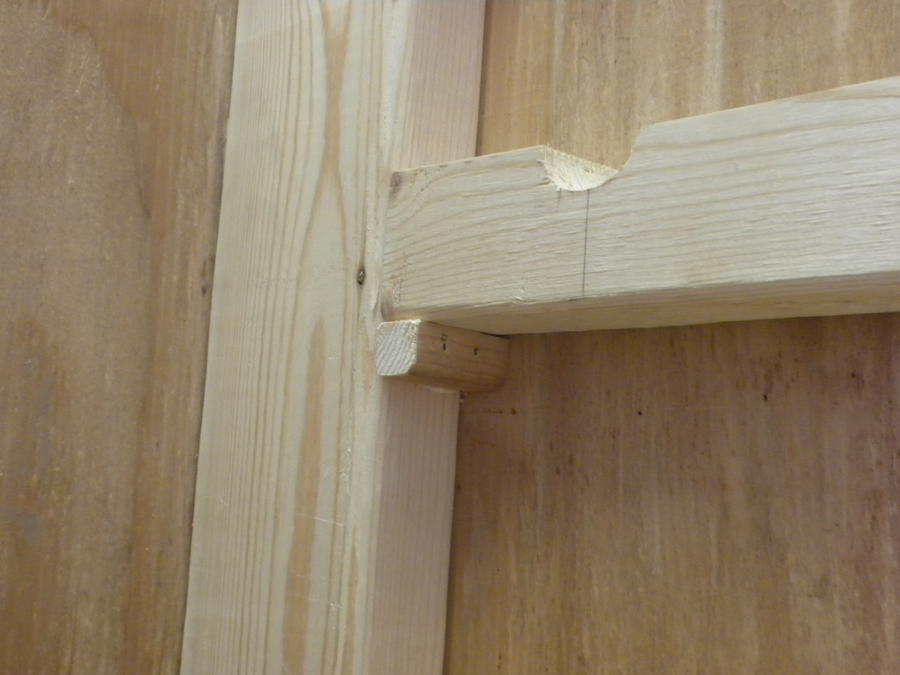
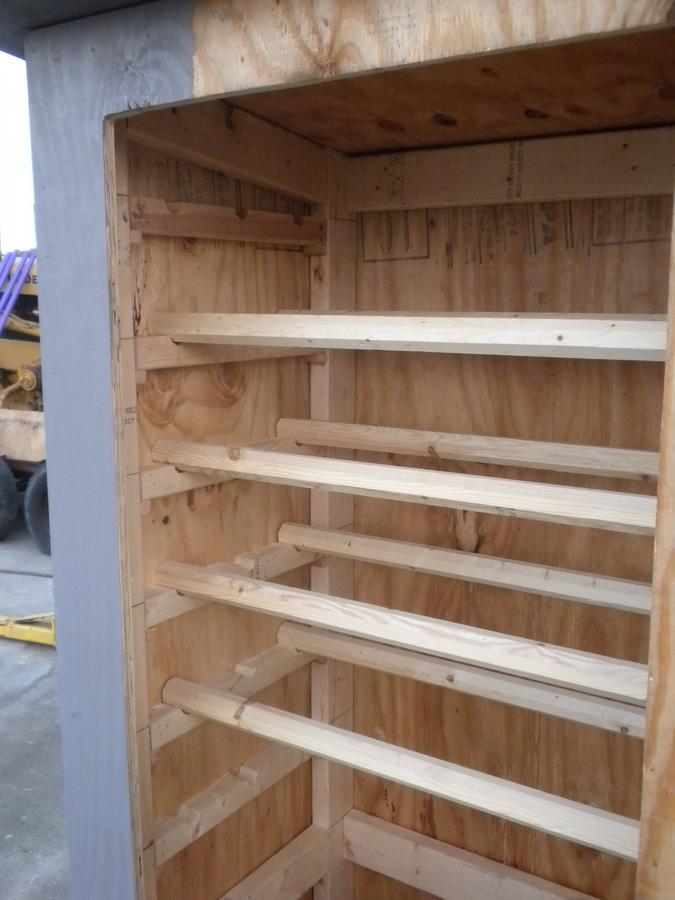
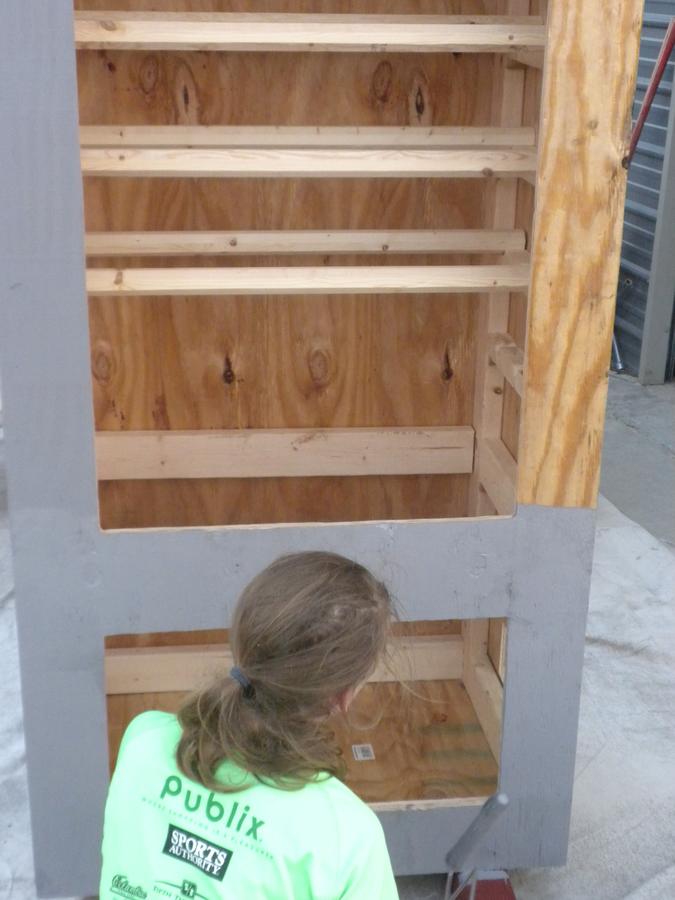
For ease of mounting the shelf brackets I decided to build from the inside out. We made a skeleton of all the insides first then added the outer skin.
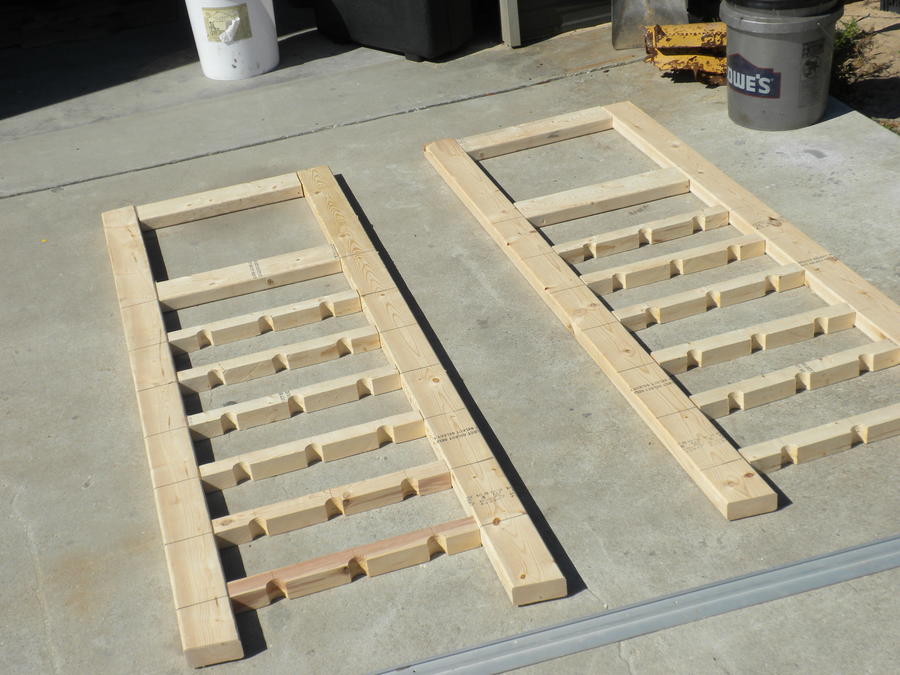
I cut 10ea 2x4 to 17" length
4ea were used for the bottom firebox area.
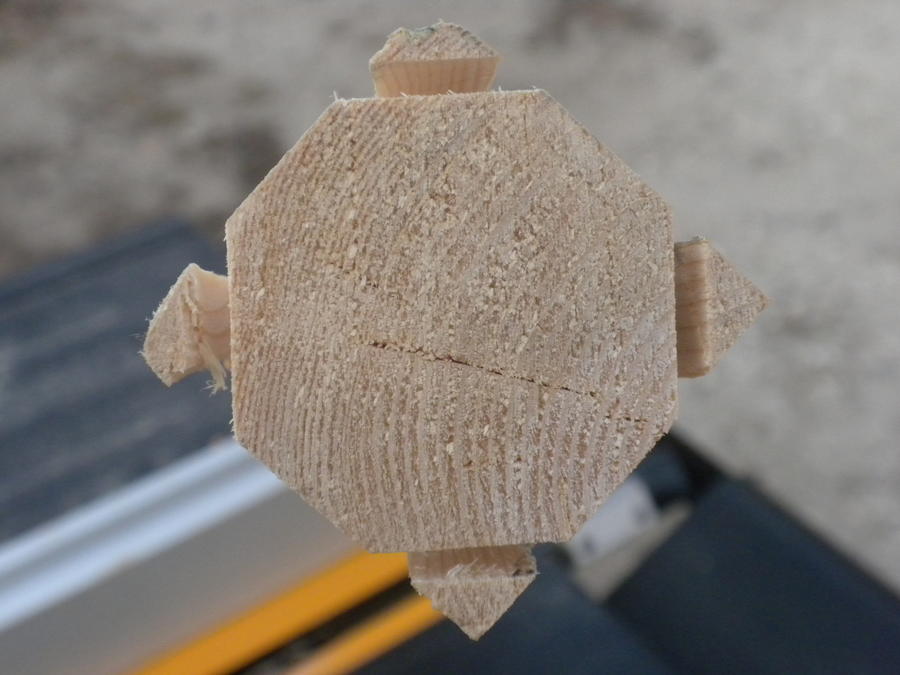
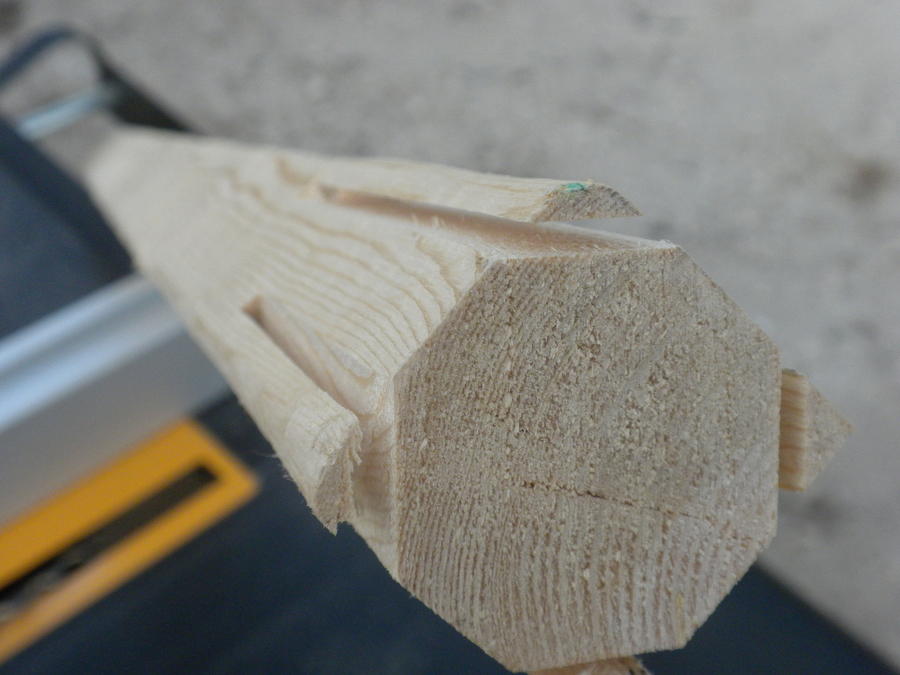
6ea were drilled with 1 1/2" paddle bit and the ripped in half on table saw.
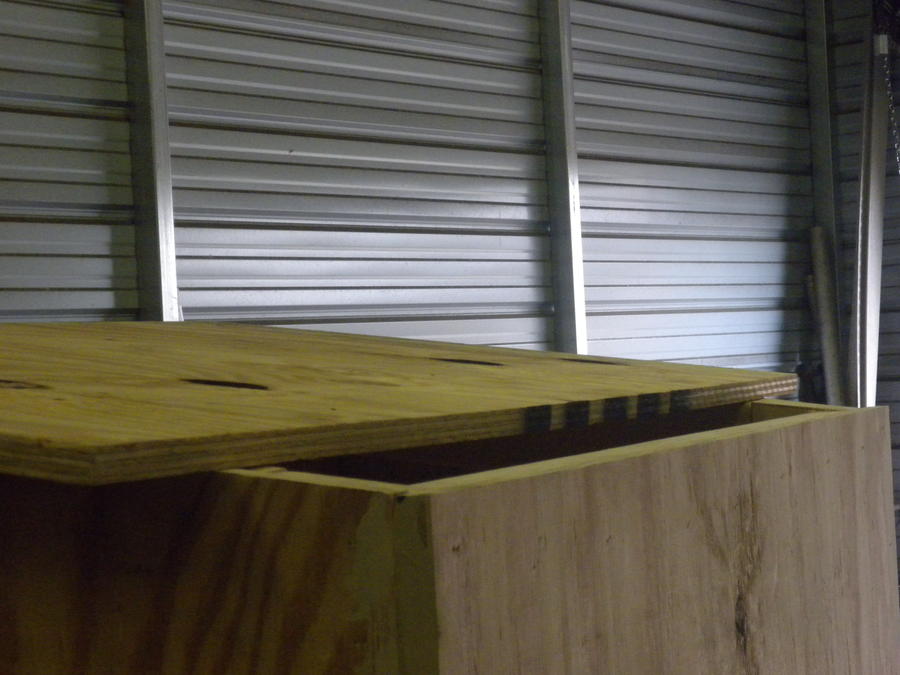
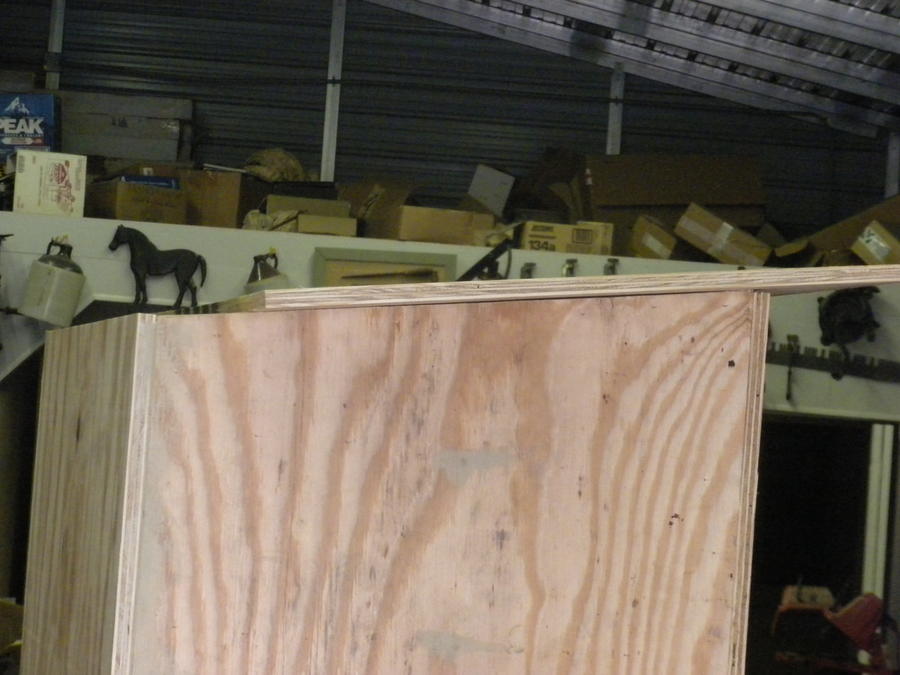
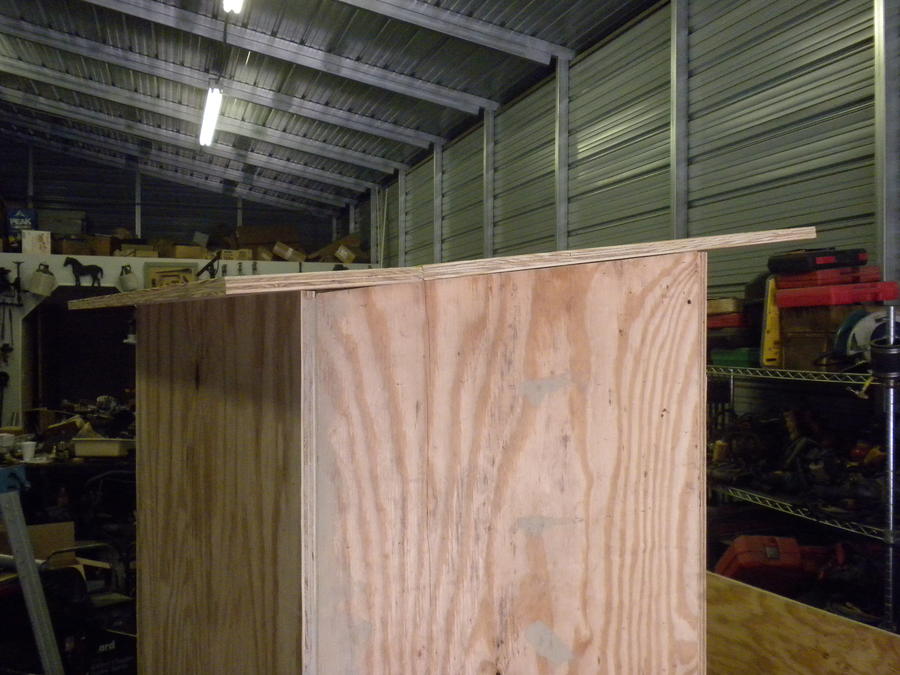
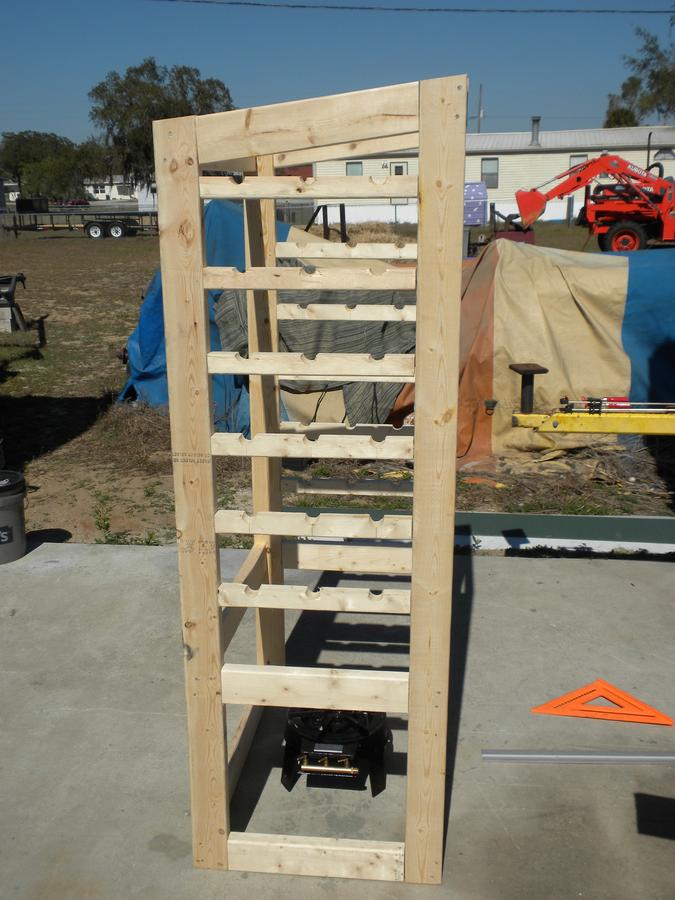
I lay-ed out the 4ea 2x4 for the edge, squared it up and then marked 72" on one outer edge and 69" on the other outer edge.Ran a chalk line from one mark to the other to mark the cut angle. I saved to long scrap for the top support, only had to cut once since the angle was already done.
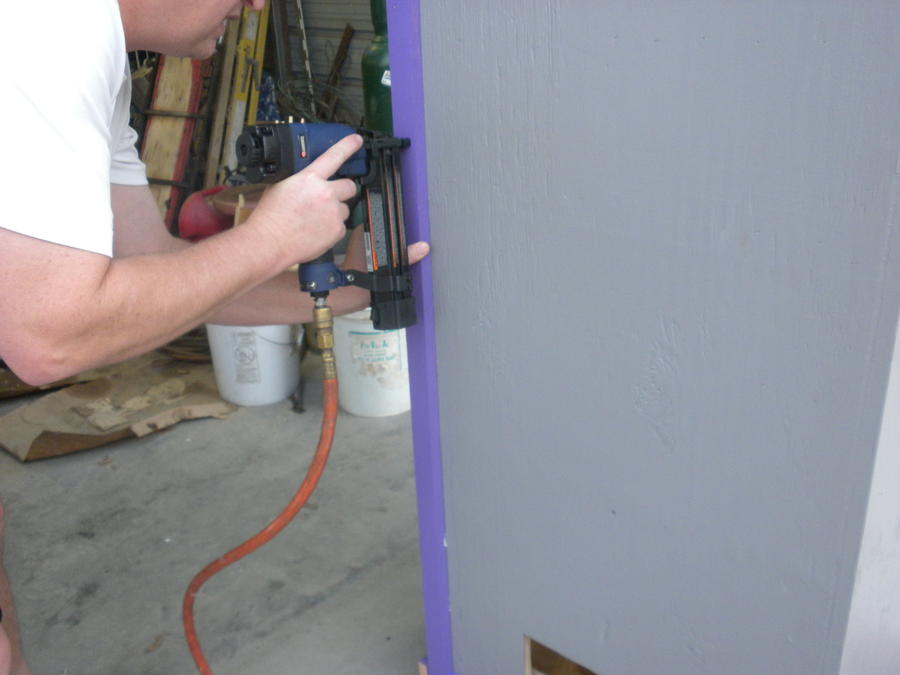
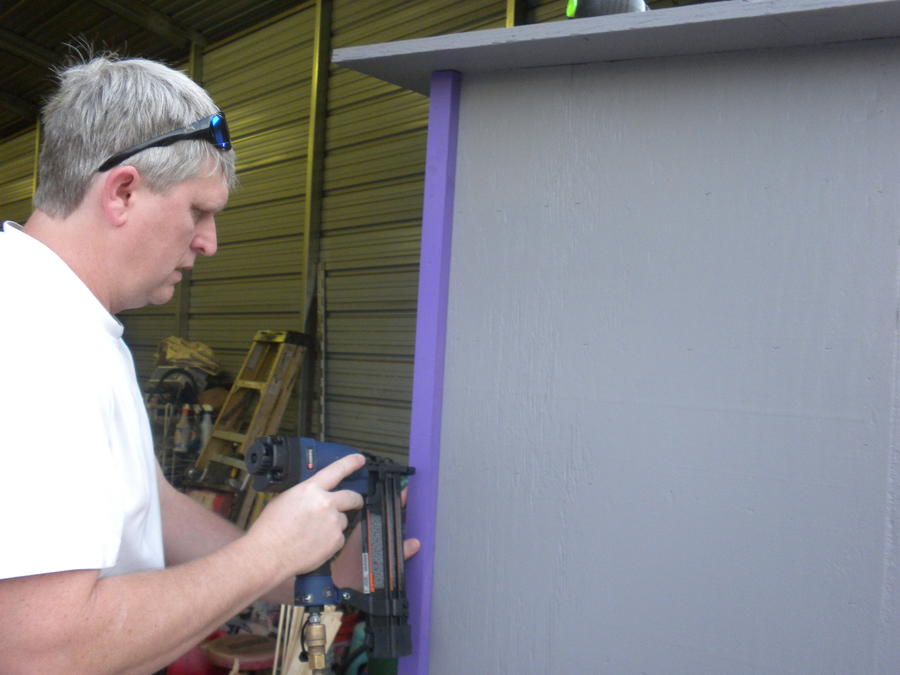
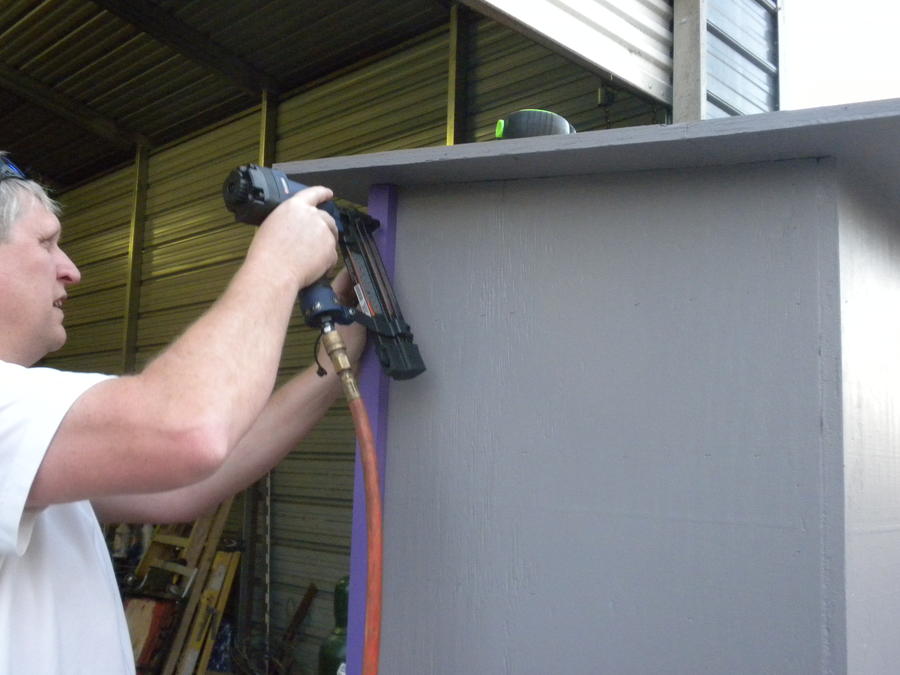
Tacked them all together with brad nails......
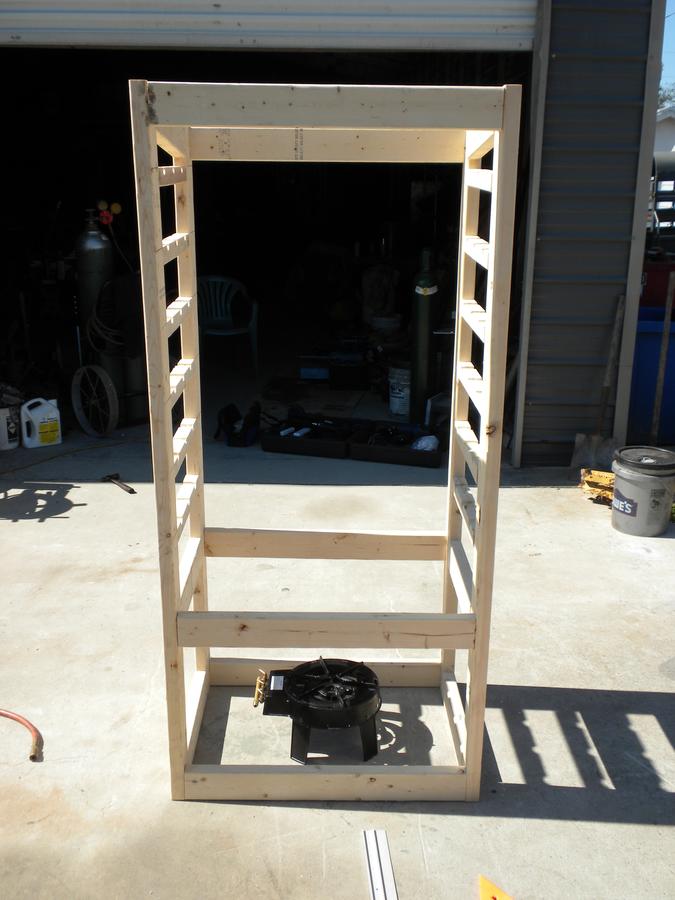
I cut 6ea - 30" 2x4's and attached with framing nails.
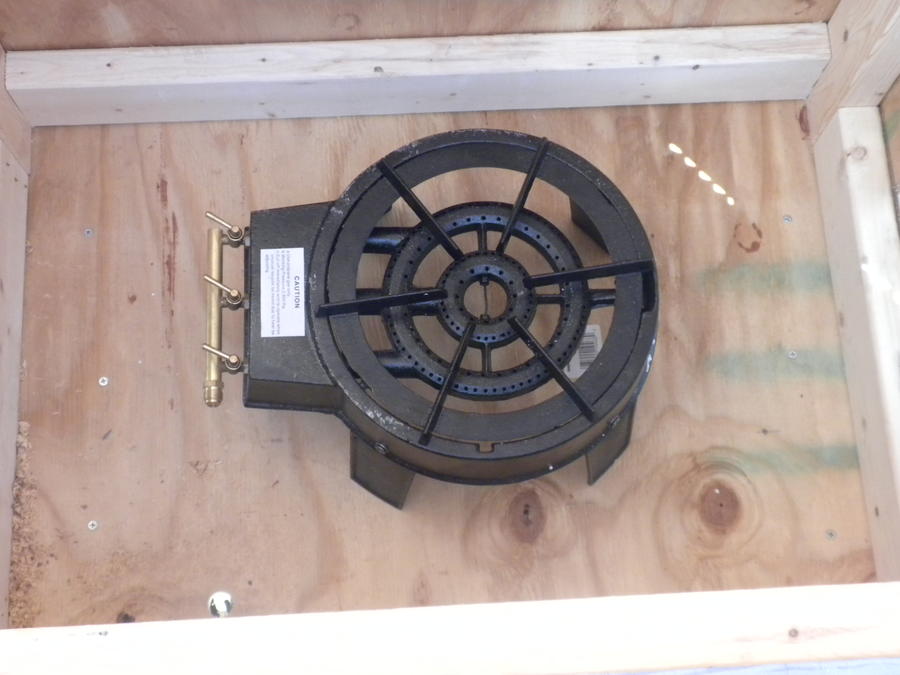
Front view w/ burner
Side view.....
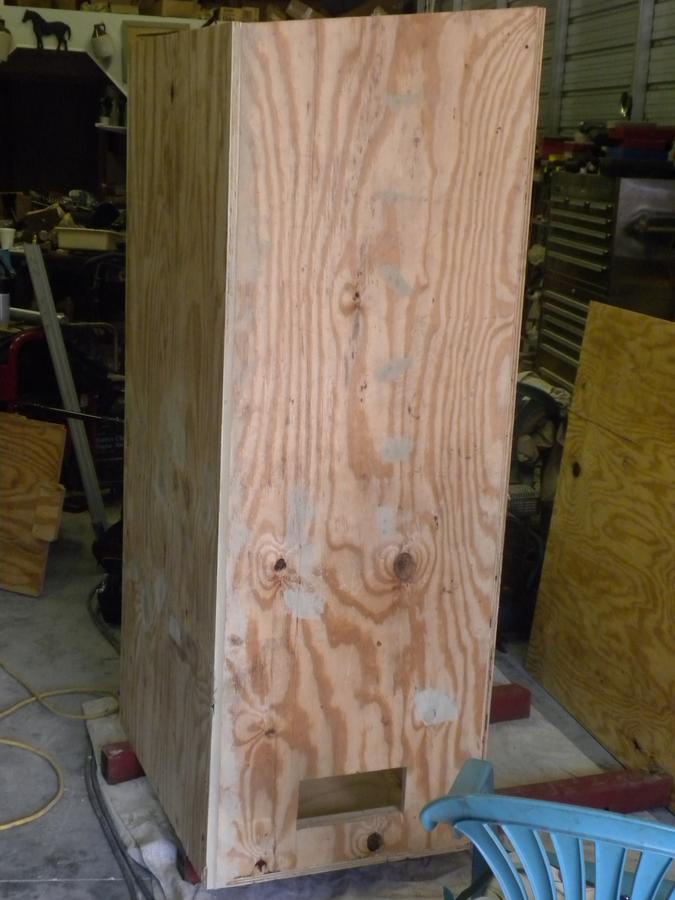
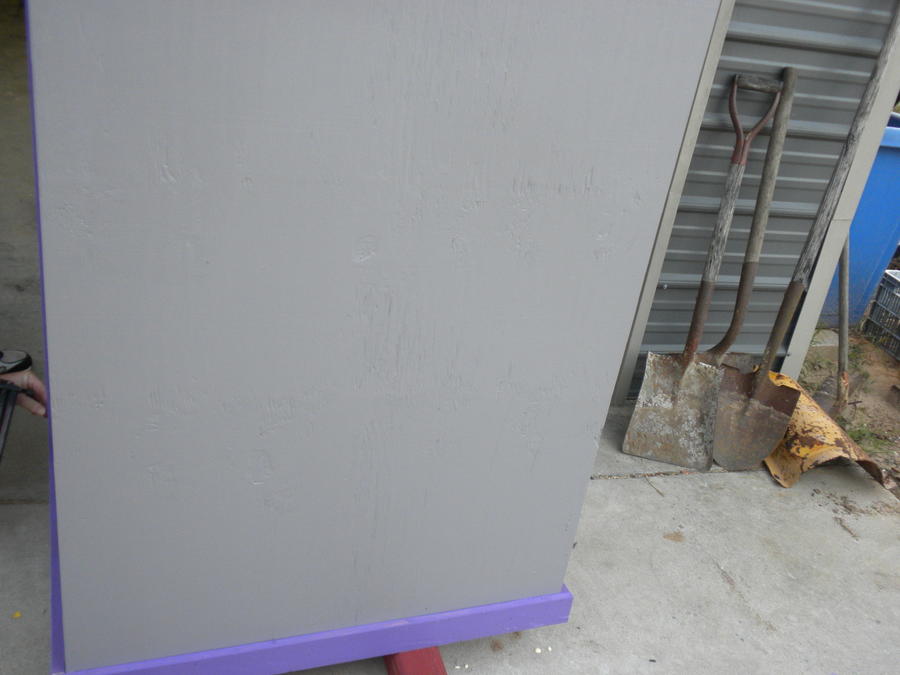
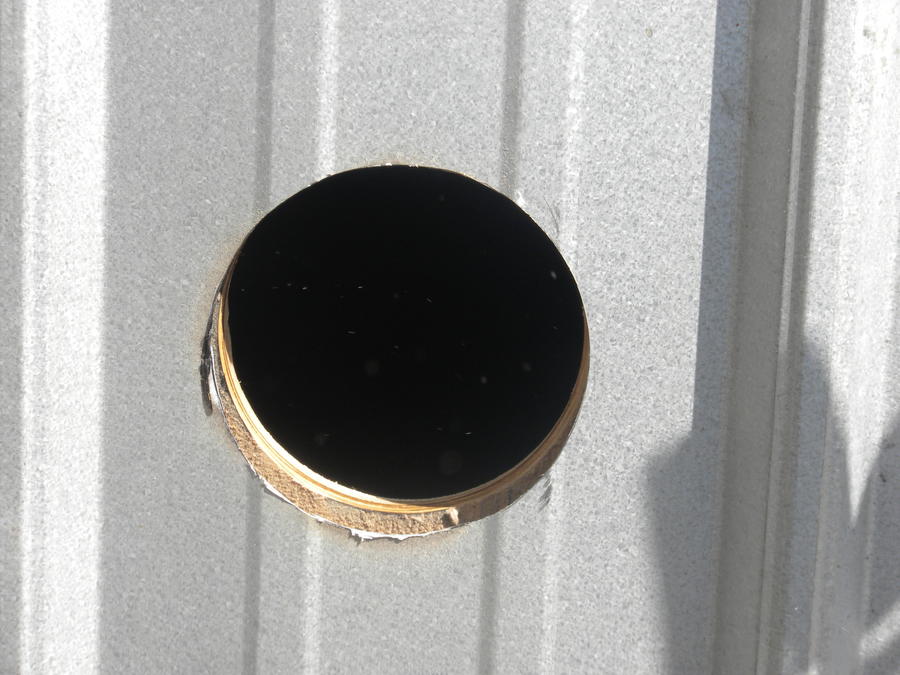
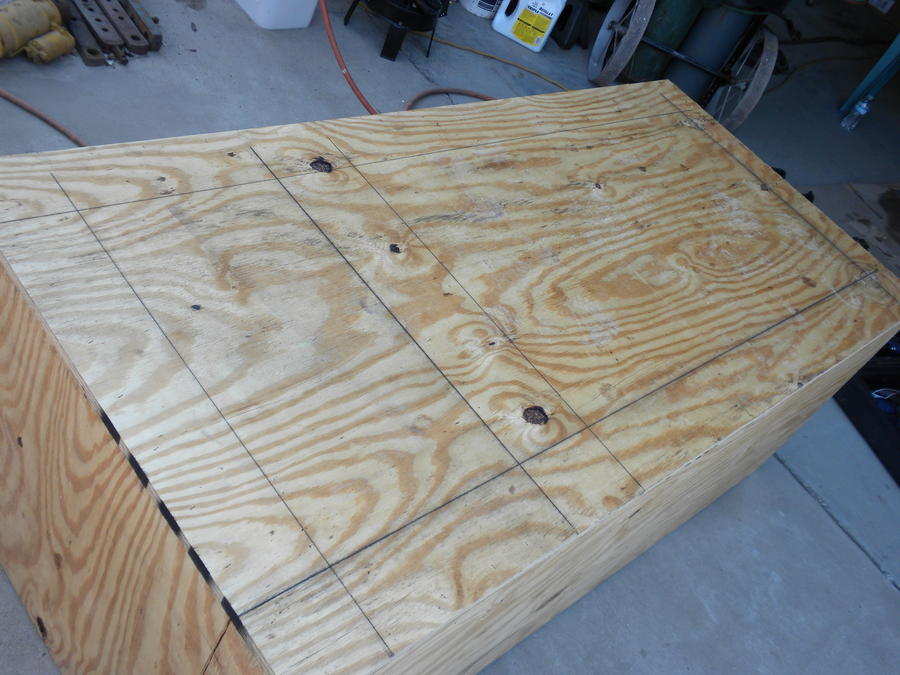
I cut 2' off the end of a sheet of plywood, then ripped it in half. Marked the 69" and ran a line to the corner to trim for the angle on both pieces. I took the 2' piece I cut off and trimmed it down for the bottom piece. Before we mounted the sides we cut out the holes for the air vents.....I used factory cuts to square up the sides and bottom......
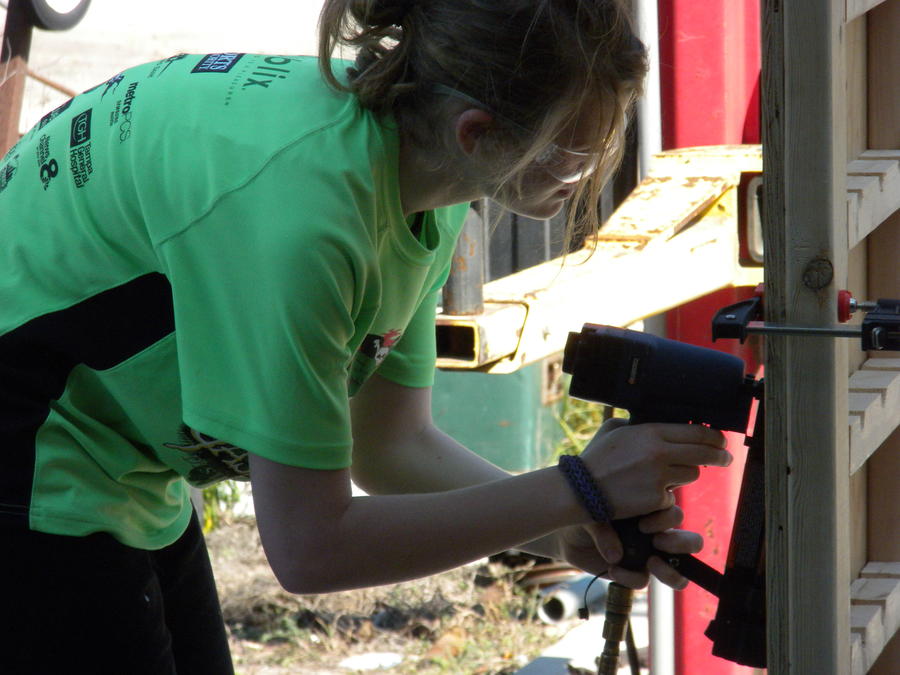
Part of the experience for Cassie was for her to be very hands on. A couple years ago I built a 16'x24' shed and she helped nail the siding on with the framing gun. She really liked the brad nailer........not as much kick
.....
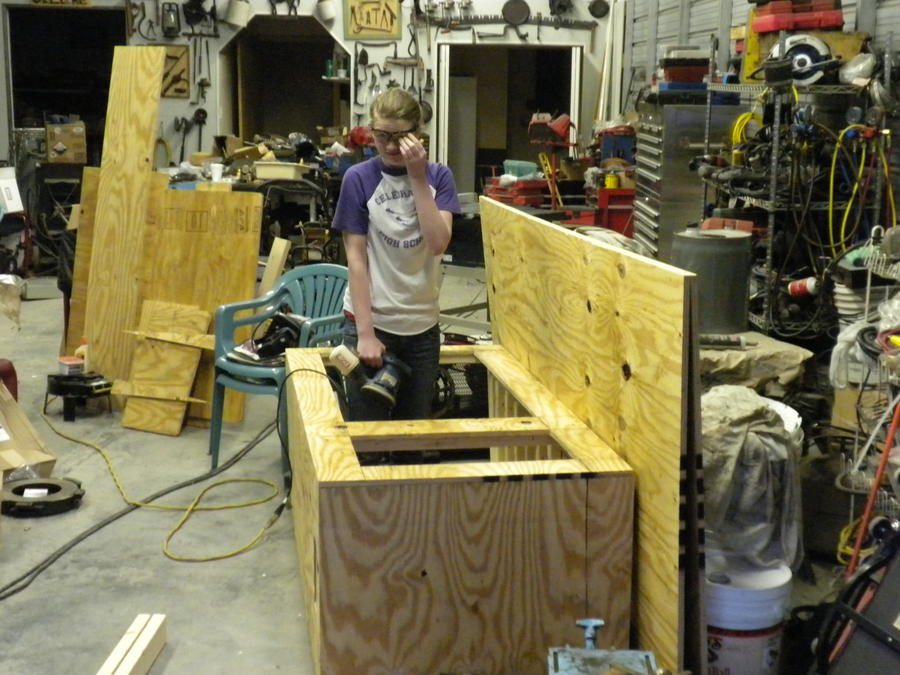
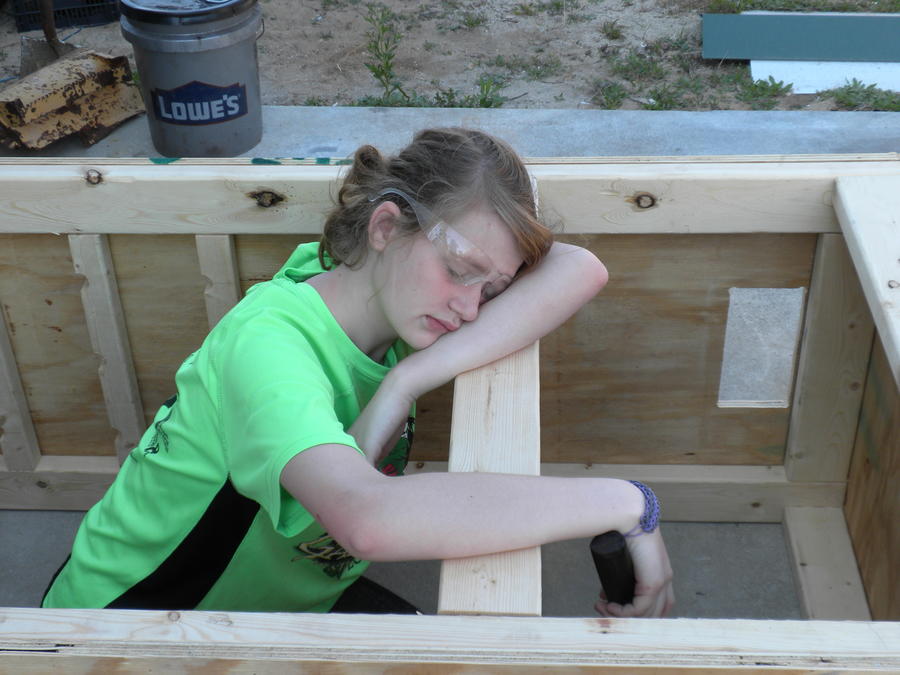
I was not feeling well and needed to get some meds. When I came back this is what I saw......
I cut a second sheet to the dimensions needed. I used two factory cut edges to square up the smoker.
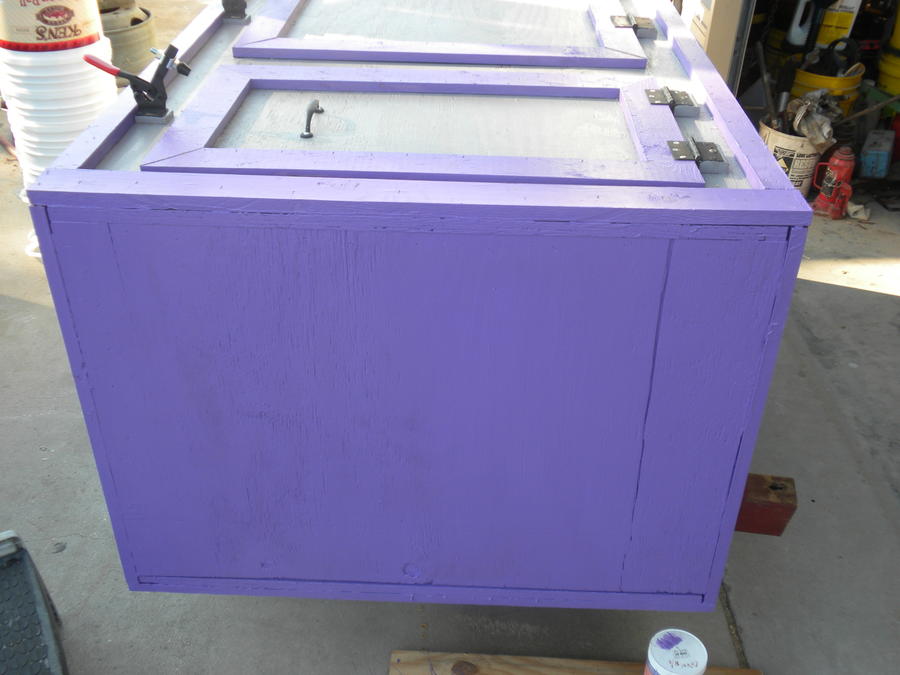
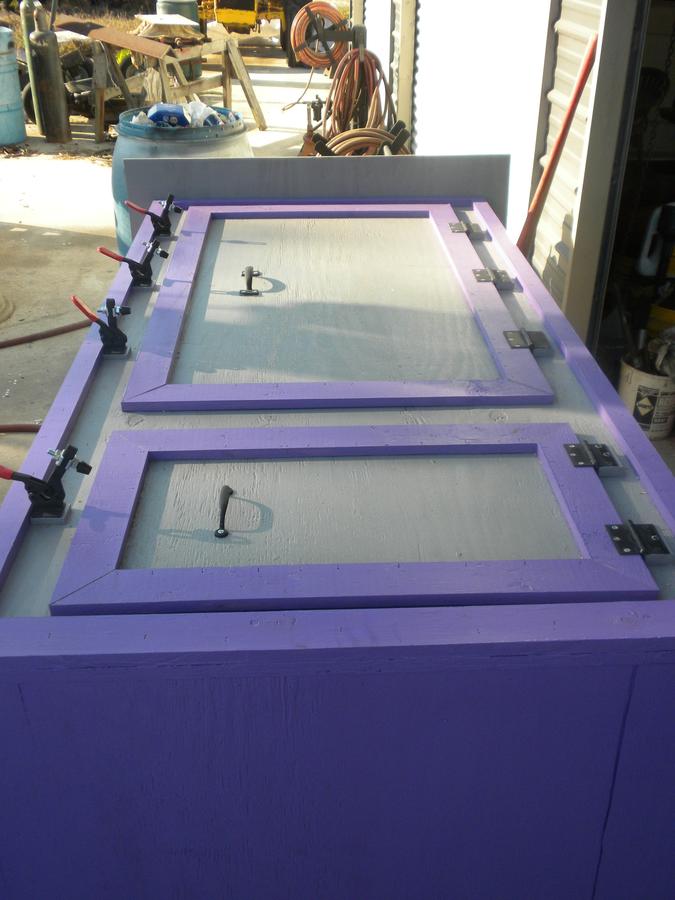
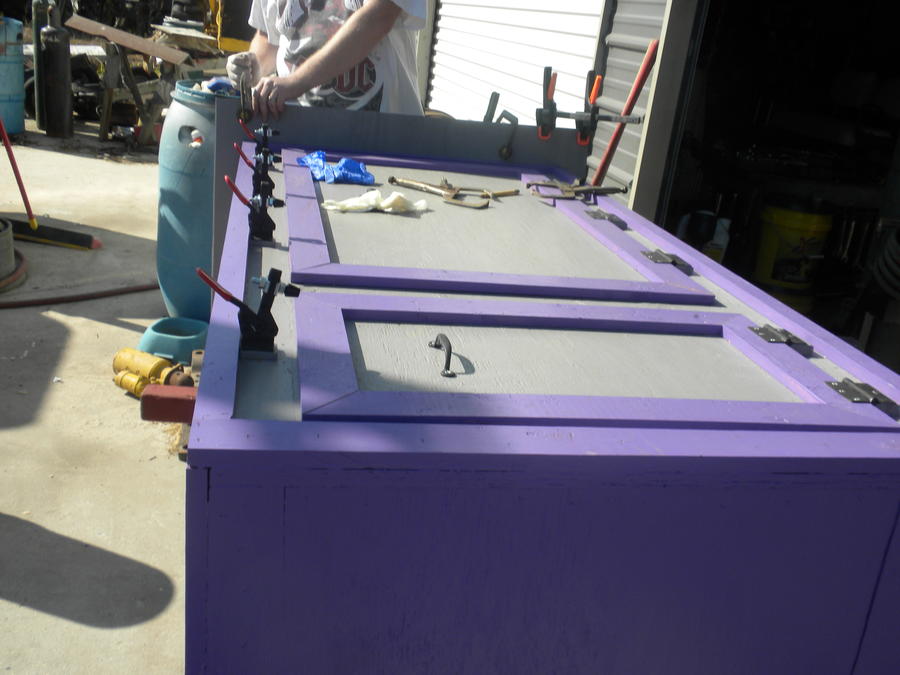
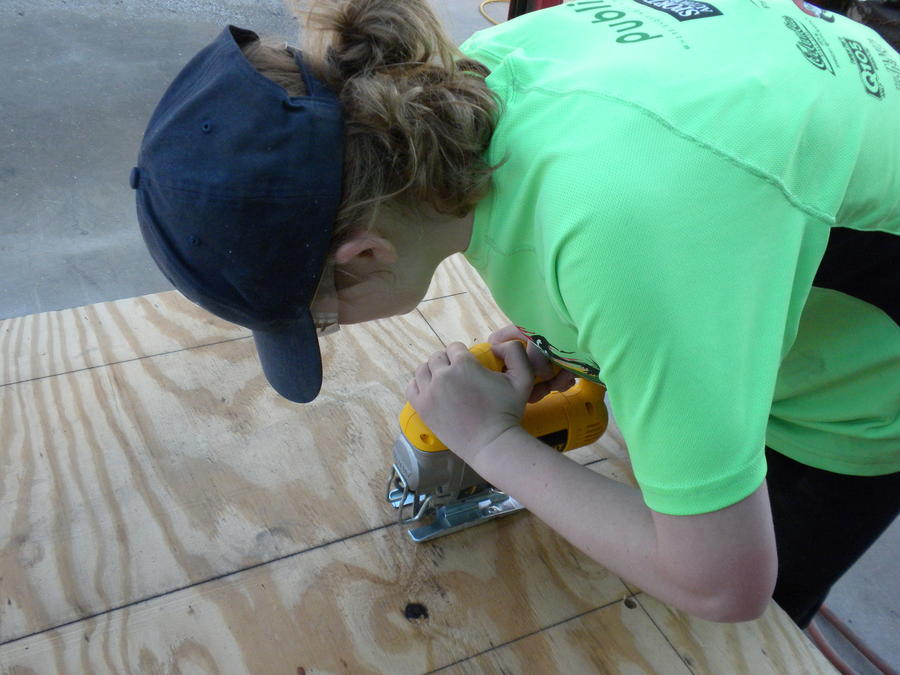
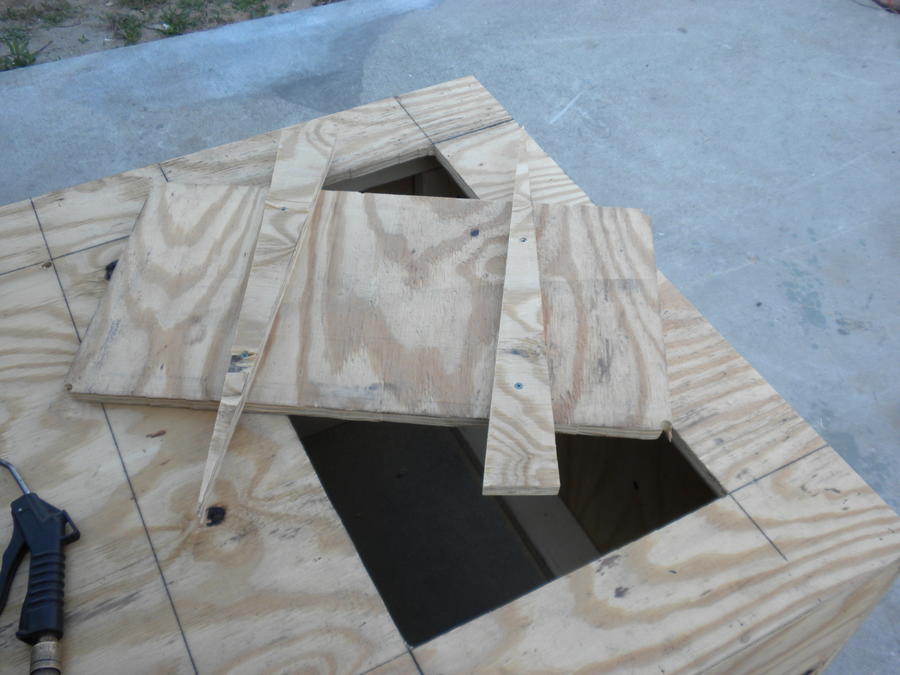
Ran the chalk lines for the doors. I drilled 1/2" starter holes in each corner......
She cut out the air vent holes and before I was done drilling the starter holes, she was ready to cut more. So I let her have at it!!!
I attached a couple scrap pieces of wood to the door, so it would not fall through and help for removal.
I was not feeling well and my other daughter came over and dropped an unplanned obligation on my lap. So in the scramble to get cleaned up I did not get any more pictures.....
Still to do:
Clean up the door cut outs and holes
Mount back panel
Make a roof from the scrap pieces (going to cover with a roofing material)
Paint
Trim
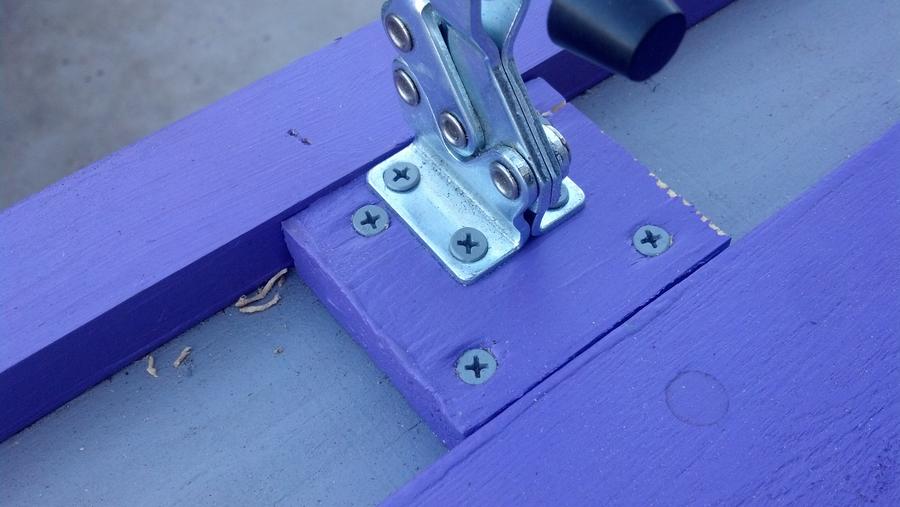
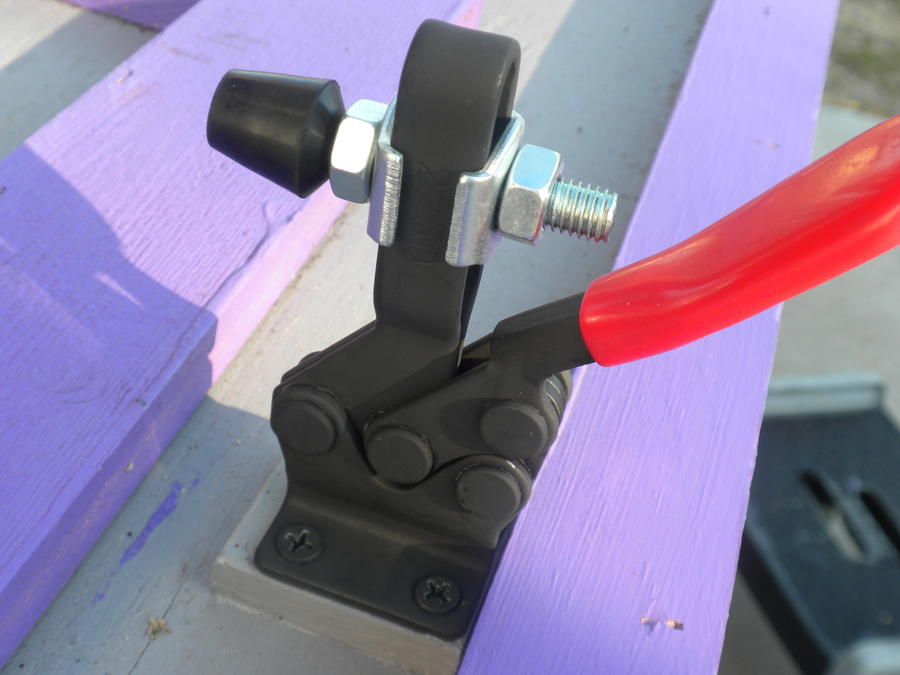
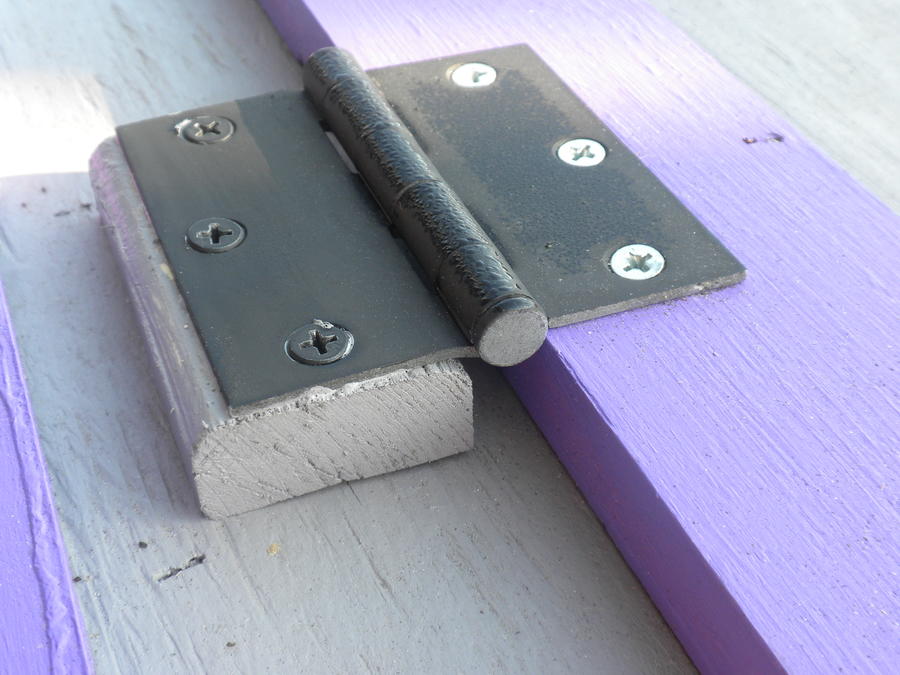
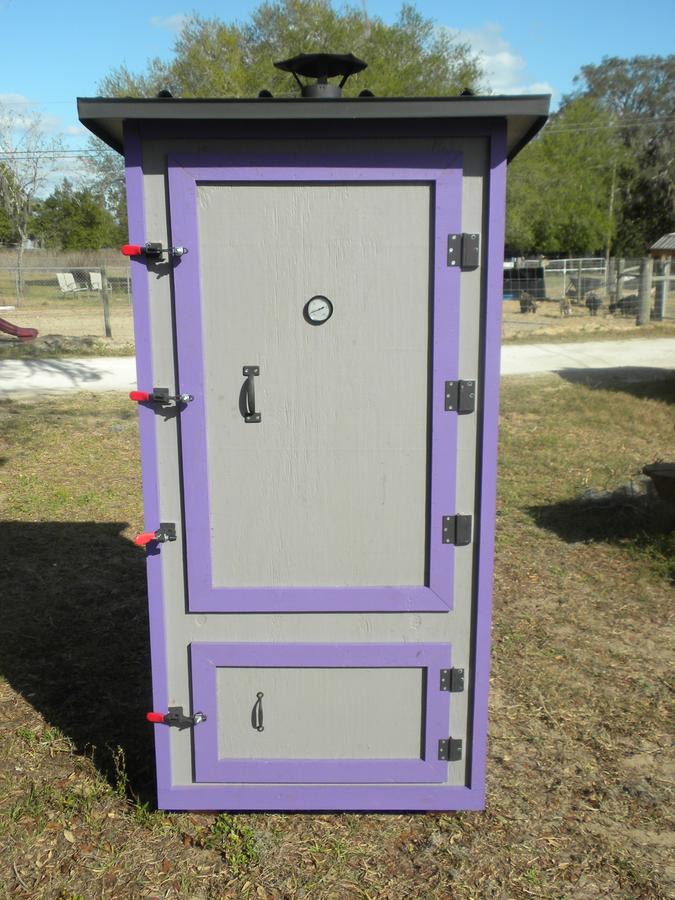
Mount hard-wear (latches, hinges, handles, lower vents and stack)
and anything else that I find out I have missed........
http://www.smokingmeatforums.com/t/130723/mini-smoke-house
This thread is my Daddy Daughter Day for our build!!! We ran into some issues and other obligations coming up that were not planned, so we did not get finished. However we did get a lot of it completed......
I did not really want to make as big of one as we did, but after looking at potential needs down the road I decided to go larger.... I wanted to be around 24"x 24"x 48", but we ended up with 24"x 35ish"x 60". I wanted to be able to put 2 hotel pans side by side on each shelf. In order to move it around later I may add some wheels to it, but that is later........
Materials List: I will update as I get more written down.....
4ea 3/4" Plywood Sheets
10ea 8' 2x4's
2ea 4"x8" Air Vents
1ea 2# 1 1/2" Exterior Deck Screws
???? 1 1/2" Brad Nails (Air Gun)
???? 3 1/2" Framing Nails (Air Gun)
More To Come......

OK, so now onto the good stuff.......THE PICTURES!!!!!!
So I was kind of making up the design as we went along. It took a lot longer this way, but I was able to get my daughter (Cassie) to have a few learning experiences along the way and that was what was important to me....
For ease of mounting the shelf brackets I decided to build from the inside out. We made a skeleton of all the insides first then added the outer skin.
I cut 10ea 2x4 to 17" length
4ea were used for the bottom firebox area.
6ea were drilled with 1 1/2" paddle bit and the ripped in half on table saw.
I lay-ed out the 4ea 2x4 for the edge, squared it up and then marked 72" on one outer edge and 69" on the other outer edge.Ran a chalk line from one mark to the other to mark the cut angle. I saved to long scrap for the top support, only had to cut once since the angle was already done.
Tacked them all together with brad nails......
I cut 6ea - 30" 2x4's and attached with framing nails.
Front view w/ burner
Side view.....
I cut 2' off the end of a sheet of plywood, then ripped it in half. Marked the 69" and ran a line to the corner to trim for the angle on both pieces. I took the 2' piece I cut off and trimmed it down for the bottom piece. Before we mounted the sides we cut out the holes for the air vents.....I used factory cuts to square up the sides and bottom......
Part of the experience for Cassie was for her to be very hands on. A couple years ago I built a 16'x24' shed and she helped nail the siding on with the framing gun. She really liked the brad nailer........not as much kick
I was not feeling well and needed to get some meds. When I came back this is what I saw......
I cut a second sheet to the dimensions needed. I used two factory cut edges to square up the smoker.
Ran the chalk lines for the doors. I drilled 1/2" starter holes in each corner......
She cut out the air vent holes and before I was done drilling the starter holes, she was ready to cut more. So I let her have at it!!!
I attached a couple scrap pieces of wood to the door, so it would not fall through and help for removal.
I was not feeling well and my other daughter came over and dropped an unplanned obligation on my lap. So in the scramble to get cleaned up I did not get any more pictures.....
Still to do:
Clean up the door cut outs and holes
Mount back panel
Make a roof from the scrap pieces (going to cover with a roofing material)
Paint
Trim
Mount hard-wear (latches, hinges, handles, lower vents and stack)
and anything else that I find out I have missed........