I'd wanted to build an UDS for months, looking a photos, making some design sketches, reading everything i could find, but never taking the leap. Then i blinked and it was 2015, enough was enough and I decided to build me a smoker!
i was lucky enough to be visiting my mum just after new years and she had a couple of 44 gal drums her cousin had given her. i think she's planning to turn them into mini gardens (meaning she will get me to turn them into gardens for her, gotta love family).
After quickly convincing her to donate one to me and my BBQ ambition, i left her house with a drum in my ute and a smile on my face, thinking about all the ribs and pulled pork i'll be eating soon.
My plan was to have a BBQ with some friends in two days, not to be discouraged, I promptly invited everyone to the BBQ, that I was planning to cook in a smoker that didn't exist yet... The race was on!
First thing first was cutting the lid off the drum, as it had a lovely flammable liquids warning on it, I decided I wasn't going to break out the angle grinder and start cutting straight away (people have been killed doing that!!!)
Step 1: Empty the drum as best you can
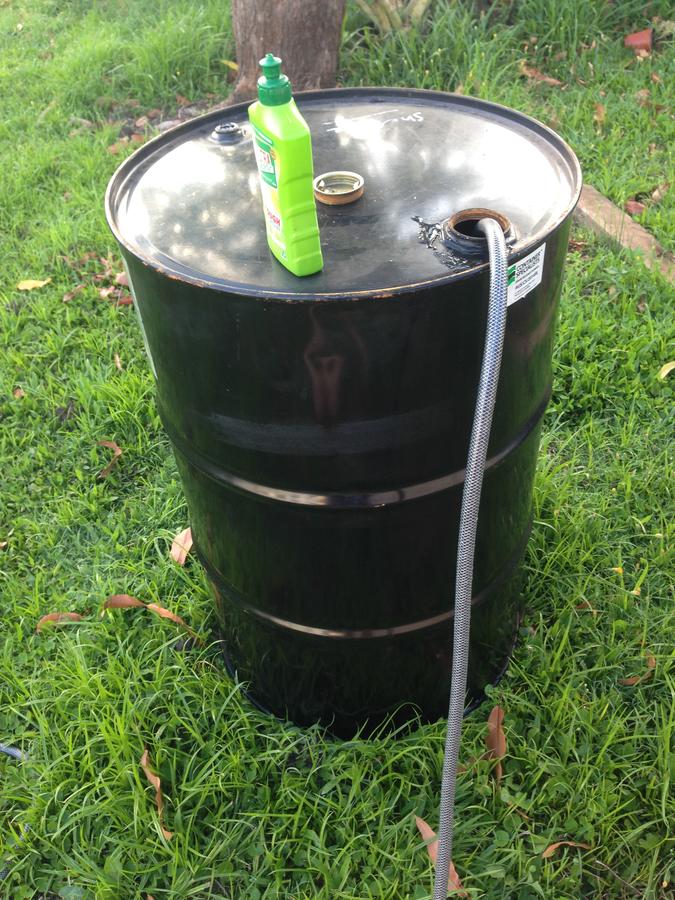
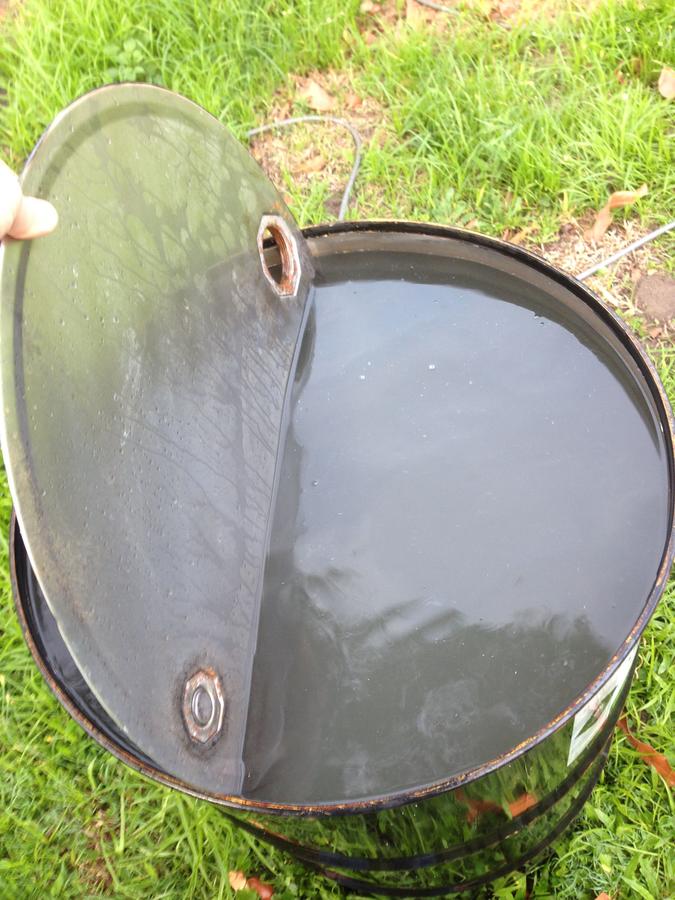
Step 2: Fill the drum up with water (only took about 10 mins) I added some detergent as i figured it'd help clean it out. Filling the drum with water displaces all the air and stops anything from blowing up in your face!!! (I like my face where it is)
Step 3: Cut that lid off! I would have liked to have found a drum with a removable lid as I've read that webber lids fit these perfectly, but I was gonna make do, I didn't have time to find the perfect drum, I would make it work! Cutting the lid off with an angle grinder was surprisingly easy, i just followed the inside lid of the drum, careful to make sure i was only cutting through the top of the drum
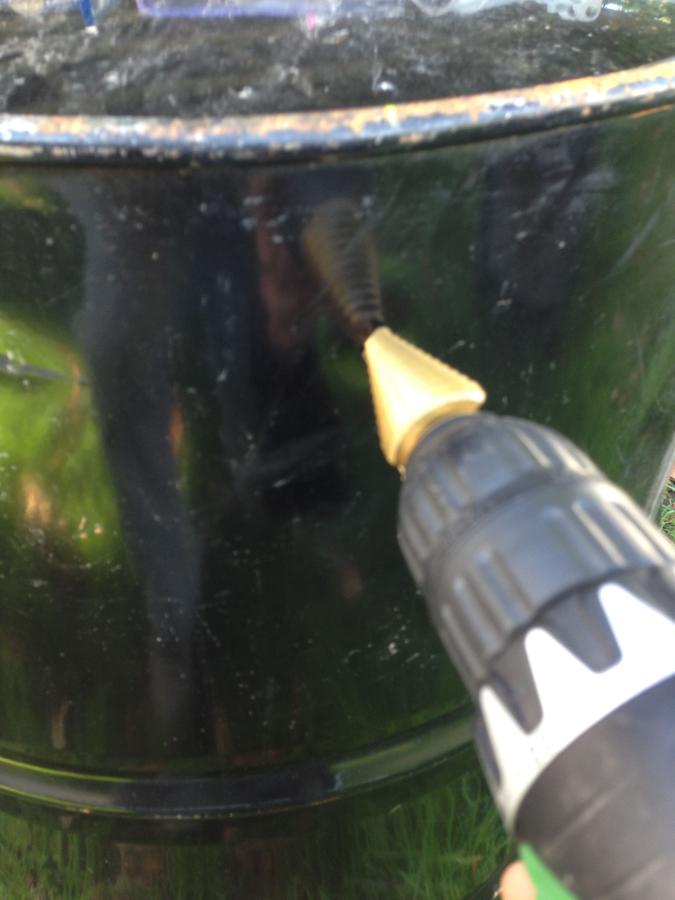
Step 4: Use an arbor bit in a drill to cut out the 3 x 24mm (1 inch) intake holes
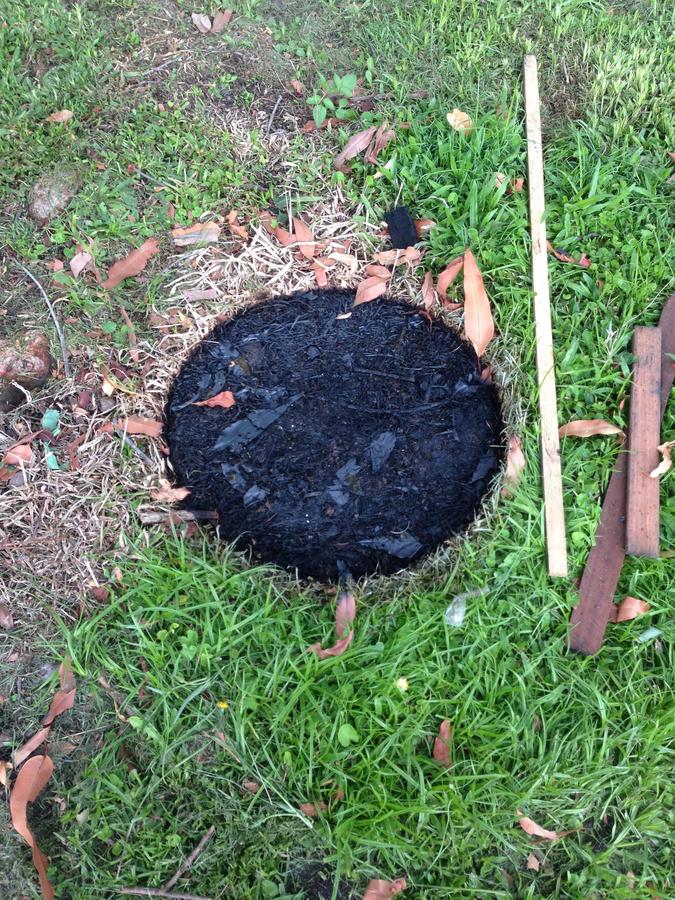
Step 5: burn baby burn! I should have burn't mine out a bit better as i didn't burn all the paint off the outside and it took a fair amount of time to get that off with paint stripper and a wire wheel on the grinder. And if you care about your lawn I'd suggest propping up the drum on some bricks as I burnt a nice circle in my lawn

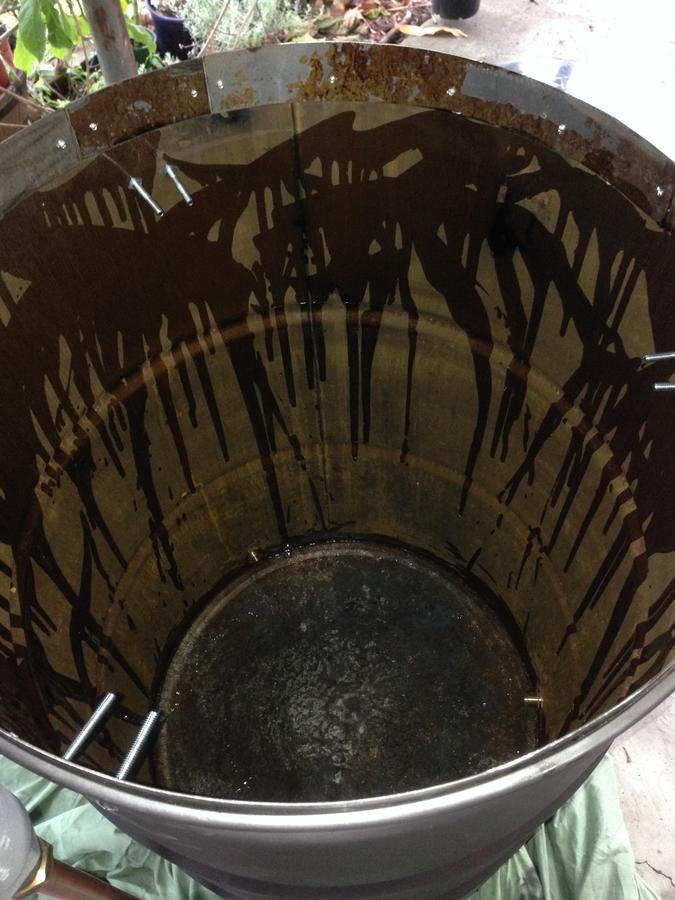
Step 6: Scrub the inside clean, I used some steel wool and acetone to scrub the inside, followed by a pressure wash, followed by a scrub with soapy water, followed by a pressure wash
Step 7: Run out and buy everything you need to get this baby cooking! I went straight to Bunnings (Big Australian hardware chain) and picked up brass fittings, some 3/4 copper pipe (I wanted 1in but they didn't have any, i'll be replacing it as soon as i can) I found a cheap kettle BBQ 57cm with a thermometer already in the lid for $70, done! as webber's aren't really popular where I am, i couldn't find a second hand one for that price. Got some stainless steel fasteners and black BBQ paint and raced home to get started on fitting out the UDS. I already had the ball valves at home
Step 8: Fitting the lid... Much to my disappointment the lid didn't fit. But i wasn't going to be beaten, I had an old bbq I was going to take to the dump, took one look at the stainless steel hood and got the angle grinder out again and started cutting strips out of it. With these strips i made a lip on the inside edge of the drum and used stainless steel pop rivets to hold in place. It worked well and i like the rivet look. I will be sealing this with some sort of gasket
Step 9: paint, one can of bbq paint was enough for me, but given the short time frame i had given myself, I only did one coat
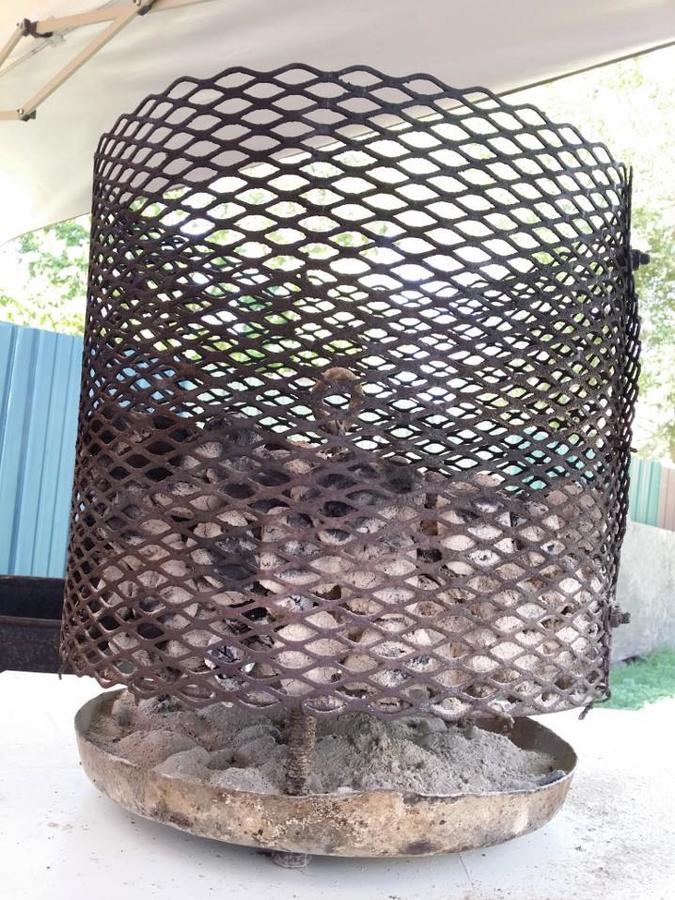
Step 10: Assemble and season, once i put her together, i wave the inside a good coating of grape seed oil (high burn temperature, so i figured it'd be a good oil to use) I don't have a charcoal basket yet, all i used was an old brazier i had lying around, worked pretty well but isn't big enough and the conical shape means was you cook you get less and less coals, next week i'll be building a new charcoal basket
Step 11: get those ribs on her! I made rum and coke ribs, turned out pretty good, everyone loved them. I think it'll take a little while to get to know how the UDS works, but i'm very much in love with the style of cooking, the flavour and the satisfaction of cooking on something I've made with my own two hands.
Future improvements:
Charcoal basket - Build a nice big charcoal basket with an ash tray
Bigger intake pipes - I want 1in pipes, probably don't need them but i think it'll look better, might bend the copper as a bit of a feature (I love the look of mat black and polished copper, would like to polish up the copper and brass, hit it with some clear coat to stop it oxidising, i think that'd look sweet!)
Nomex gasket - Found a nomex gasket for sale on ebay in Australia for $45, seems a bit steep, but i don't really have any other options for sealing this baby up good
Hinge the lid - the lid came off a bbq that has a hinged lid, I will have to modify the hinges to fit the drum
2nd grill - I want to add another level (the whole reason I went the the trouble of getting the dome lid)
Side table - I got some scrap timber i'll be running through my table saw and turning into a side table, as its a bit awkward taking the lid off and trying to put meat on it
Dual probe thermometer - The el-cheapo thermometer in the lid couldn't be great, think i'll be getting a iGrill2 or a maverick 733 when i can (being an engineer i like the thought of the igrill's graphs and data)
Then I'll be happy with it... Until i decide i want to build another one, i can see this becoming an addiction
i was lucky enough to be visiting my mum just after new years and she had a couple of 44 gal drums her cousin had given her. i think she's planning to turn them into mini gardens (meaning she will get me to turn them into gardens for her, gotta love family).
After quickly convincing her to donate one to me and my BBQ ambition, i left her house with a drum in my ute and a smile on my face, thinking about all the ribs and pulled pork i'll be eating soon.
My plan was to have a BBQ with some friends in two days, not to be discouraged, I promptly invited everyone to the BBQ, that I was planning to cook in a smoker that didn't exist yet... The race was on!
First thing first was cutting the lid off the drum, as it had a lovely flammable liquids warning on it, I decided I wasn't going to break out the angle grinder and start cutting straight away (people have been killed doing that!!!)
Step 1: Empty the drum as best you can
Step 2: Fill the drum up with water (only took about 10 mins) I added some detergent as i figured it'd help clean it out. Filling the drum with water displaces all the air and stops anything from blowing up in your face!!! (I like my face where it is)
Step 3: Cut that lid off! I would have liked to have found a drum with a removable lid as I've read that webber lids fit these perfectly, but I was gonna make do, I didn't have time to find the perfect drum, I would make it work! Cutting the lid off with an angle grinder was surprisingly easy, i just followed the inside lid of the drum, careful to make sure i was only cutting through the top of the drum
Step 4: Use an arbor bit in a drill to cut out the 3 x 24mm (1 inch) intake holes
Step 5: burn baby burn! I should have burn't mine out a bit better as i didn't burn all the paint off the outside and it took a fair amount of time to get that off with paint stripper and a wire wheel on the grinder. And if you care about your lawn I'd suggest propping up the drum on some bricks as I burnt a nice circle in my lawn
Step 6: Scrub the inside clean, I used some steel wool and acetone to scrub the inside, followed by a pressure wash, followed by a scrub with soapy water, followed by a pressure wash
Step 7: Run out and buy everything you need to get this baby cooking! I went straight to Bunnings (Big Australian hardware chain) and picked up brass fittings, some 3/4 copper pipe (I wanted 1in but they didn't have any, i'll be replacing it as soon as i can) I found a cheap kettle BBQ 57cm with a thermometer already in the lid for $70, done! as webber's aren't really popular where I am, i couldn't find a second hand one for that price. Got some stainless steel fasteners and black BBQ paint and raced home to get started on fitting out the UDS. I already had the ball valves at home
Step 8: Fitting the lid... Much to my disappointment the lid didn't fit. But i wasn't going to be beaten, I had an old bbq I was going to take to the dump, took one look at the stainless steel hood and got the angle grinder out again and started cutting strips out of it. With these strips i made a lip on the inside edge of the drum and used stainless steel pop rivets to hold in place. It worked well and i like the rivet look. I will be sealing this with some sort of gasket
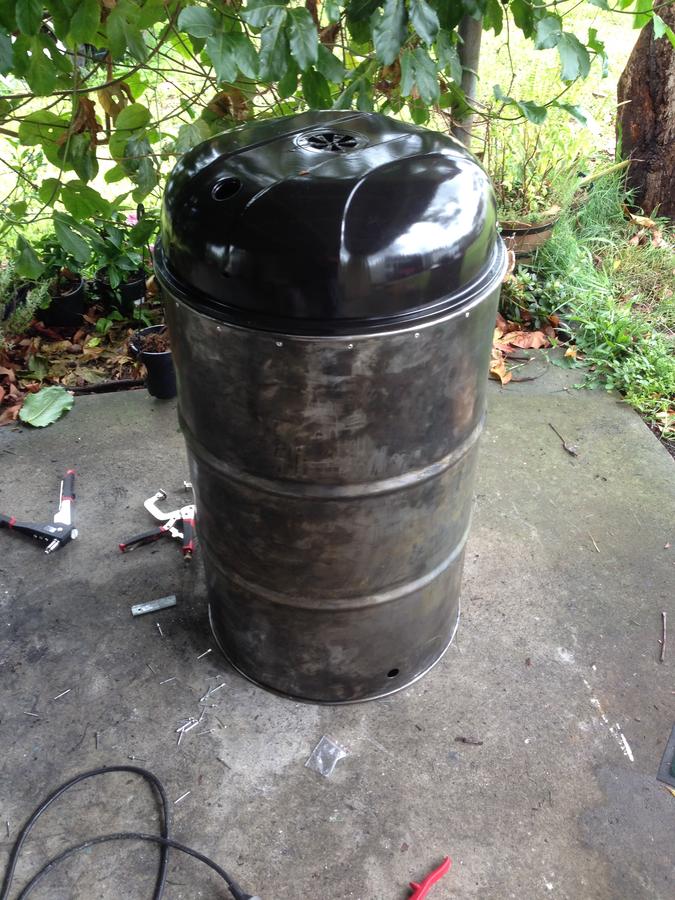
Step 9: paint, one can of bbq paint was enough for me, but given the short time frame i had given myself, I only did one coat
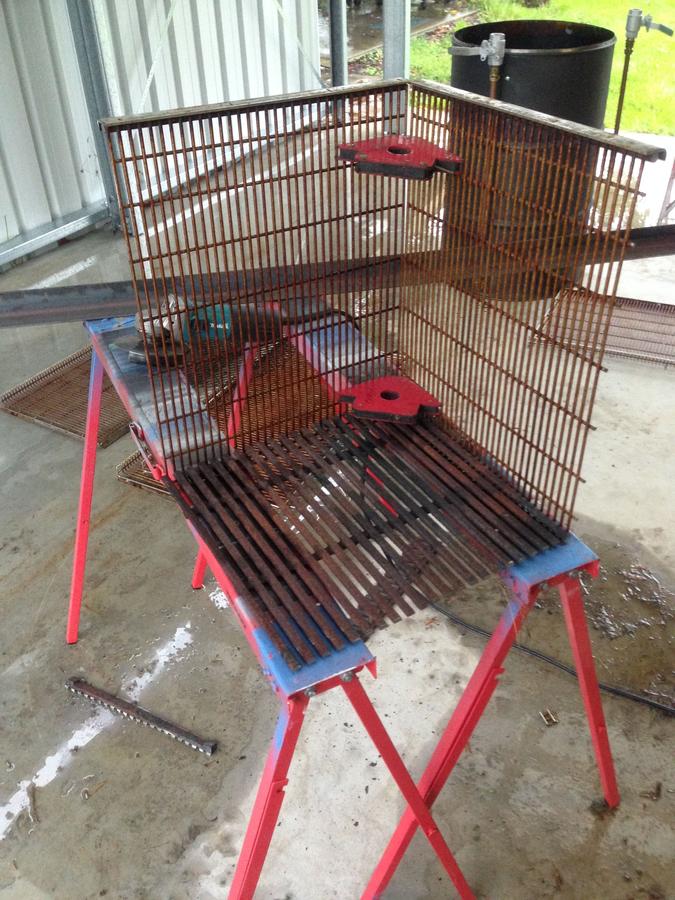
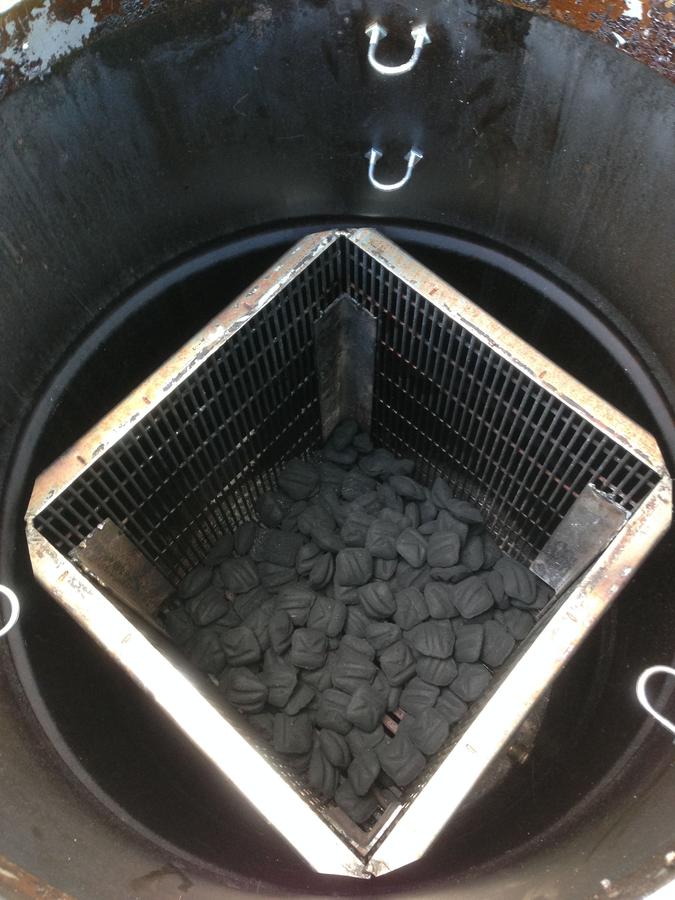
Step 10: Assemble and season, once i put her together, i wave the inside a good coating of grape seed oil (high burn temperature, so i figured it'd be a good oil to use) I don't have a charcoal basket yet, all i used was an old brazier i had lying around, worked pretty well but isn't big enough and the conical shape means was you cook you get less and less coals, next week i'll be building a new charcoal basket

Step 11: get those ribs on her! I made rum and coke ribs, turned out pretty good, everyone loved them. I think it'll take a little while to get to know how the UDS works, but i'm very much in love with the style of cooking, the flavour and the satisfaction of cooking on something I've made with my own two hands.


Future improvements:
Charcoal basket - Build a nice big charcoal basket with an ash tray
Bigger intake pipes - I want 1in pipes, probably don't need them but i think it'll look better, might bend the copper as a bit of a feature (I love the look of mat black and polished copper, would like to polish up the copper and brass, hit it with some clear coat to stop it oxidising, i think that'd look sweet!)
Nomex gasket - Found a nomex gasket for sale on ebay in Australia for $45, seems a bit steep, but i don't really have any other options for sealing this baby up good
Hinge the lid - the lid came off a bbq that has a hinged lid, I will have to modify the hinges to fit the drum
2nd grill - I want to add another level (the whole reason I went the the trouble of getting the dome lid)
Side table - I got some scrap timber i'll be running through my table saw and turning into a side table, as its a bit awkward taking the lid off and trying to put meat on it
Dual probe thermometer - The el-cheapo thermometer in the lid couldn't be great, think i'll be getting a iGrill2 or a maverick 733 when i can (being an engineer i like the thought of the igrill's graphs and data)
Then I'll be happy with it... Until i decide i want to build another one, i can see this becoming an addiction