I would just like to thank everyone on these forums for their time and effort and for providing a ton of valuable information, especially for us rookies. There is a wealth of information here for everyone, from the beginner all the way up to the advanced experienced smoker.
I used that information to start modifying my 30"
Masterbuilt Propane Smoker. My first problem was the temperature. The consensus seemed to be to use a needle valve to better control the flow of propane. I purchased the recommended valve from Adventures in Homebrewing (Item ID #35-1423) for $7.99. A lot of people were cutting the rubber hose and using barb connectors, and this apparently works just fine, but I just didn't feel good about cutting the hose. Instead, I took the needle valve, the gas hose with regulator, and the whole front panel of the smoker with the gas adjuster knob, down to the local plumbing supply store, and asked them to give me what I need to connect all this stuff together. They found all the right parts for me in no time, and the cost, including thread tape was $10.86.
One thing I learned at the plumbing supply place is that the normal thread wrap tape (typically in a blue plastic case) is no good when dealing with gas. They say it will break down with time and leak. They have another tape made specifically for use with gas, which came in a yellow plastic case.
Here's what the final results looks like, and it works very nicely. (Passed the bubble soap test with flying colors)
Unfortunately they did not have a brass elbow that fit and I had to use an iron one, I hope it doesn't rust out on me...I will pick up a brass one and keep it on hand just in case.
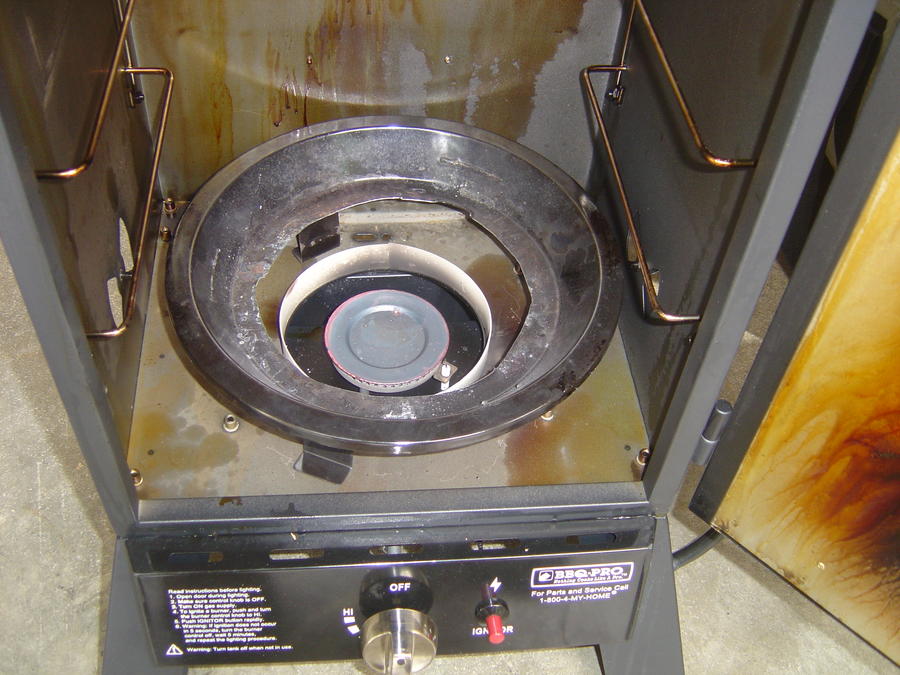
The next problem I had, which many on this forum have had also, was the wood chip pan with the slots. Like most, I went with the frying pan option and found one for $8 at a consignment shop. I cut off the three raised plates on the factory chip pan and set the frying pan on that. When I tested it out, I seemed to have some trouble getting the wood hot enough to smoke nicely when operating at low temperatures. To help with this I got out the ole dremil tool and cut most of the bottom of the factory chip pan so that now the flame would have direct access to the frying pan. The factory chip pan is still needed to support the frying pan up above the burner or it would sit right on the burner, which I do not think would work too good as there would be no air space in between. Here is a picture of the pan modification.
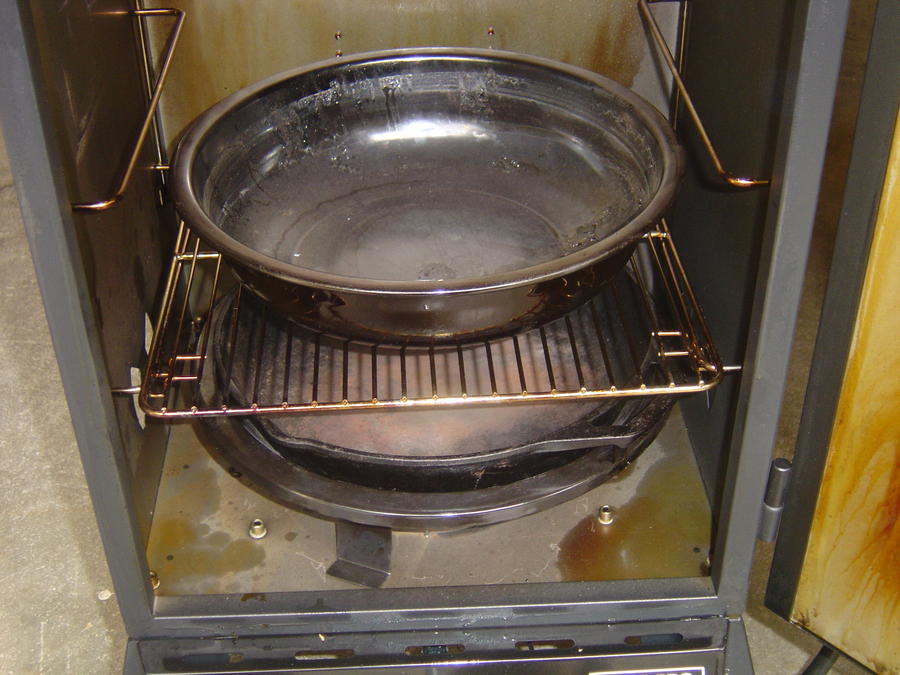
That seems to work much better and the wood burns much better. But now I had another problem. The water pan sits in a rack that has a large hole in the center, so that the water pan sits below the level of the rack by several inches. This puts the water pan so close to the frying pan that I was only able to use small wood chips and could not use larger wood chunks, which I like better. You can see what I mean in this picture.
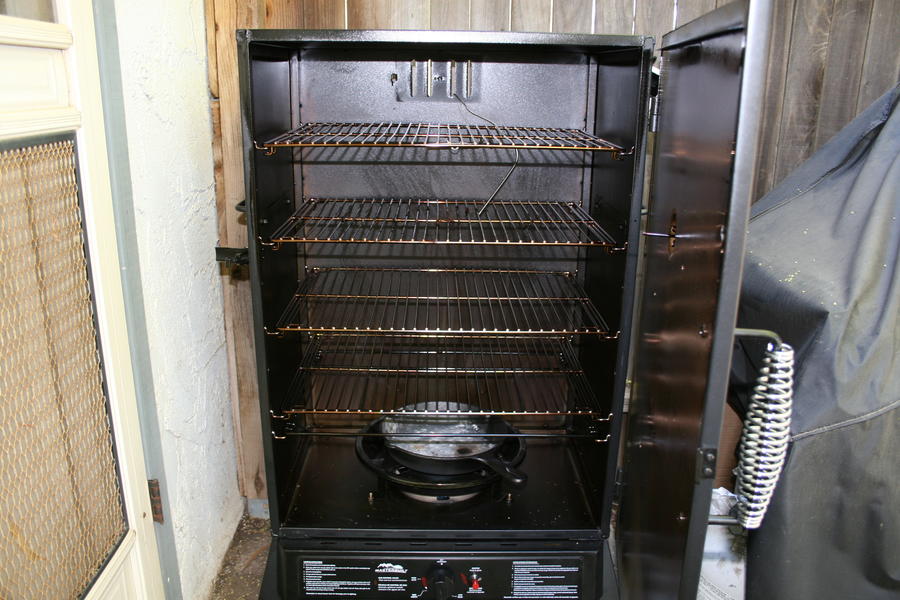
While I was scratching my head, my wife offered a simple solution, which I think will work nicely. She said just sacrifice a regular rack and replace the special one with the hole in the center with that. We will rarely use all five racks for meat anyway. Here's the idea...
Plenty of room for big chunks now... My test run went well, with good temperature control and good smoke. I almost forgot, I followed the advice of many on this forum and bought myself an ET-732 temperature probe setup. With the needle valve I could maintain a temperature of 225-235 with no problem. I was more than a little surprised at how far off the factory door thermometer differed... While the ET-732 was reading 225, the door was showing only about 170. Has anyone else seen this amount of discrepancy on these units? It seems a little too much and I am wondering why...
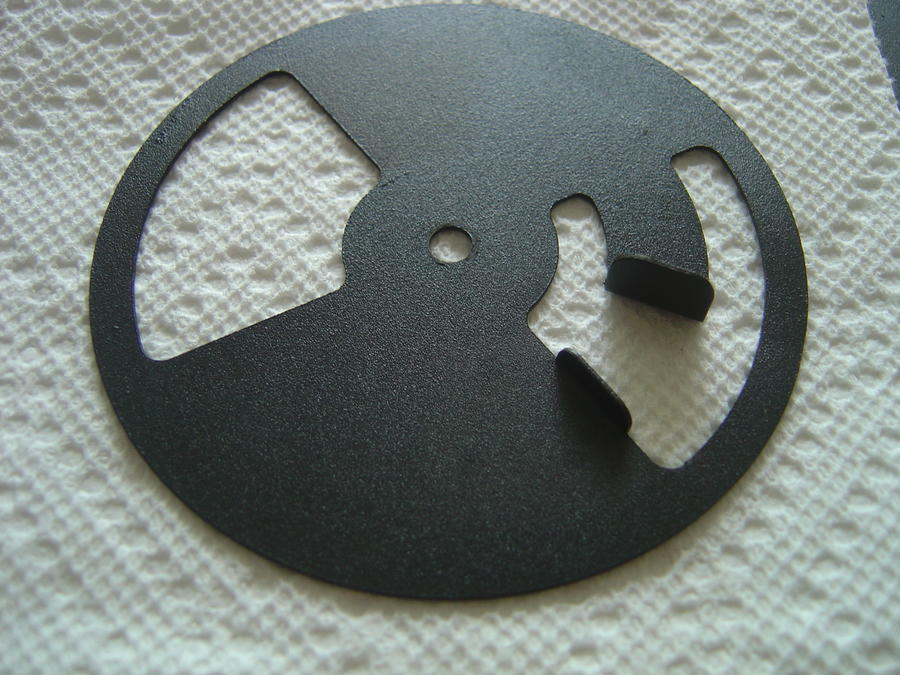
One more mod I plan on making is to the rotating vents. During my test runs I would often see smoke coming out of the two lower vents (one on each side). I was unable to close them off more because of two tabs on them that prevents closing them past a certain point. Here is what I am talking about...
I plan on hammering these tabs down flat so I will have complete movement of the vent closure. Even if I closed both bottom vents completely, there is still plenty of air flow from the holes in the bottom of the box where the burner fits in. I haven't tried this yet so I can not say how it will work, but I think it will.
Edit: I just realized there is a much better way to solve this vent problem... Simply move the rotating cover to the outside of the box without hammering the tabs. Now they no longer restrict the amount of closure and you still have the tabs available to make adjustments.
That's it for now... I still plan on improving the door seal with a gasket, as I noticed quite a bit of smoke escaping from there during my testing. Thanks again to all who contribute to this forum, it's a fantastic source of information! Once I get this thing all set up, look for me in the recipe and techniques section!
pkirsche