- Mar 2, 2023
- 36
- 19
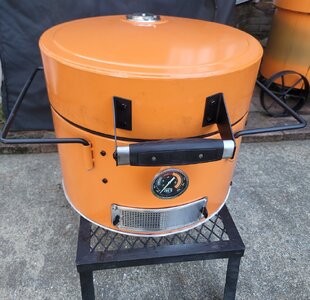
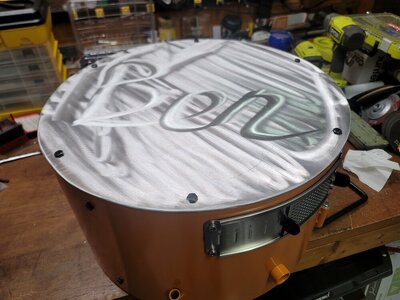
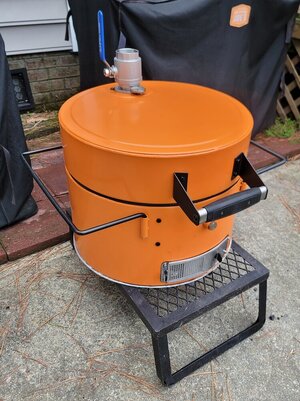
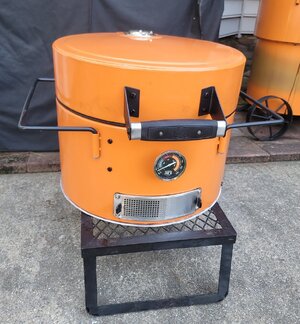
The Problem: I wanted a decent sized grill/smoker that was relatively portable, but would still fit under the tonneau cover on my truck (max height 18.5"). After looking at nearly everything available in that size, I decided to go with a 'shorty' version of the Oklahoma Joes Bronco drum smoker. I already own one and love it, but it is much more heavy than is feasible to easily move around (since the full-size 18" Bronco is around 138+ lbs.).
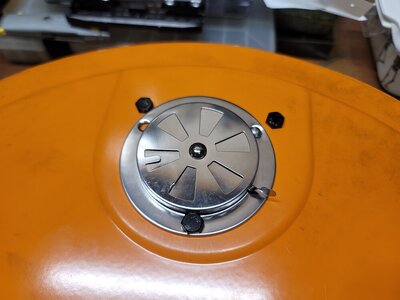
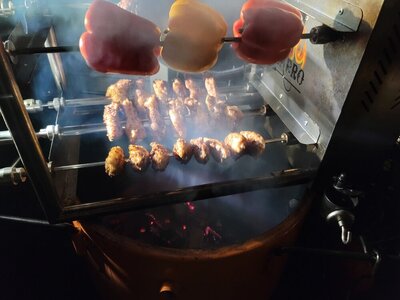
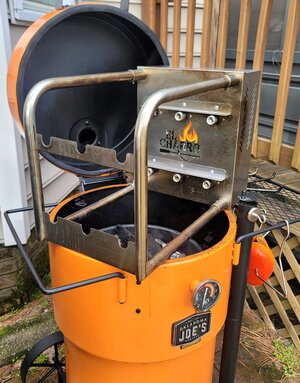
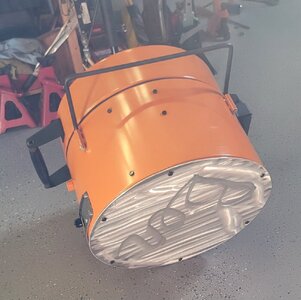
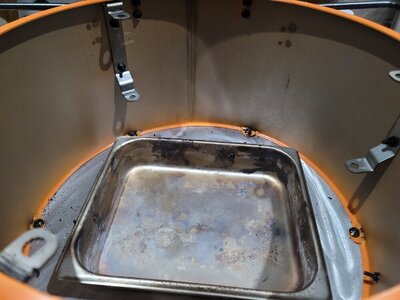
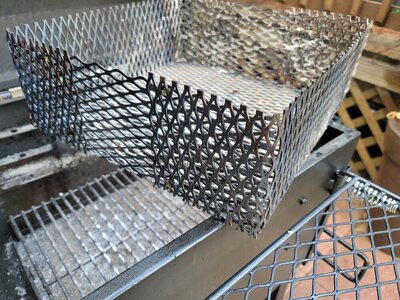
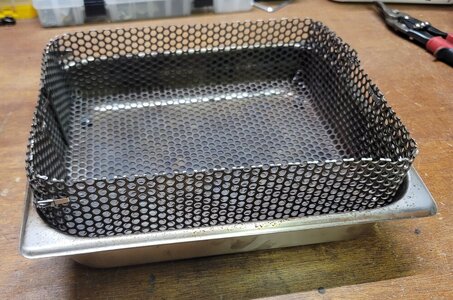
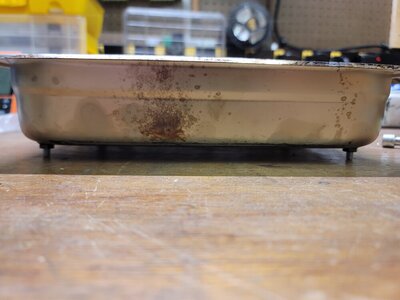
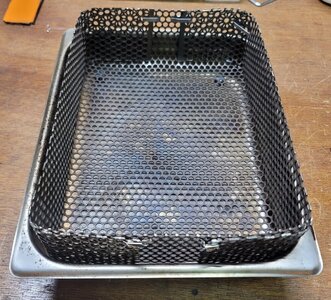
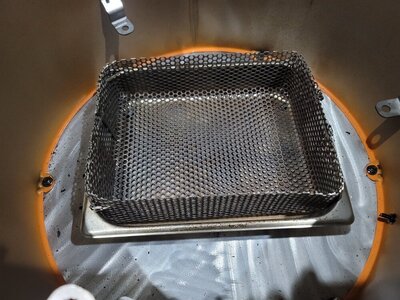
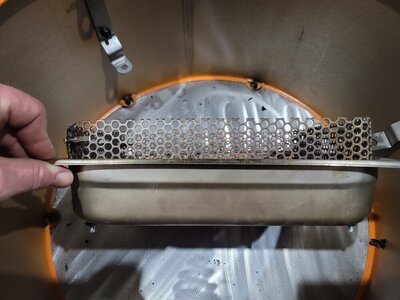
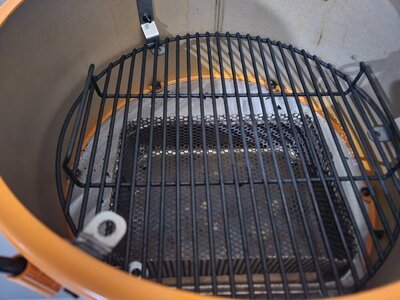
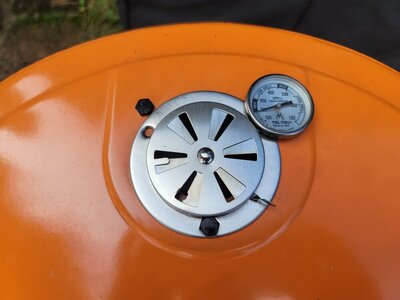
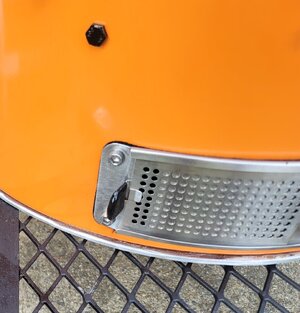
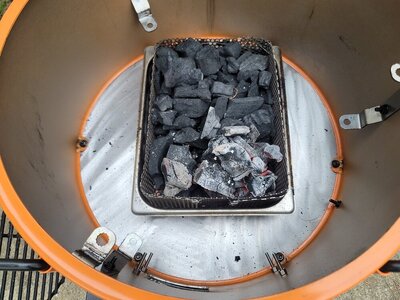
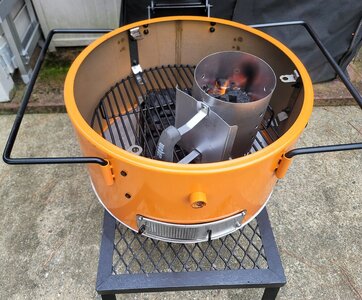
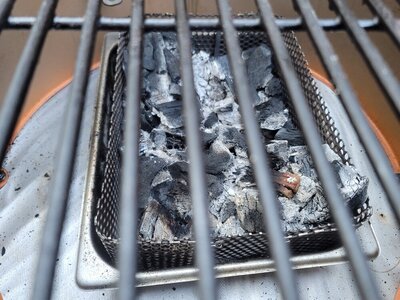
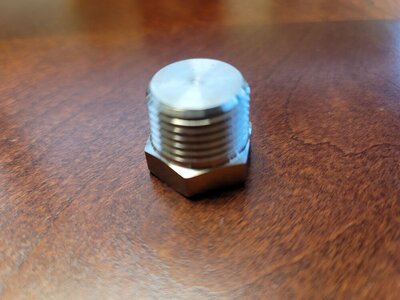
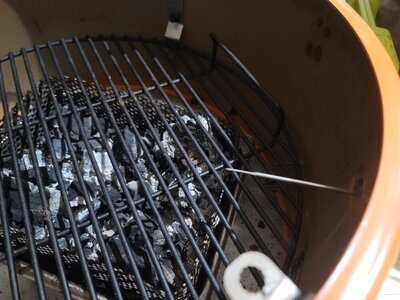
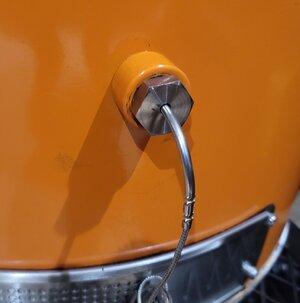
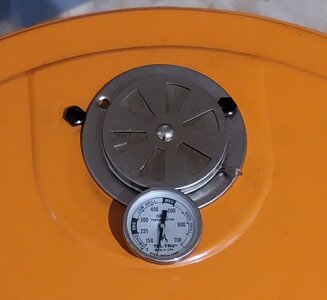
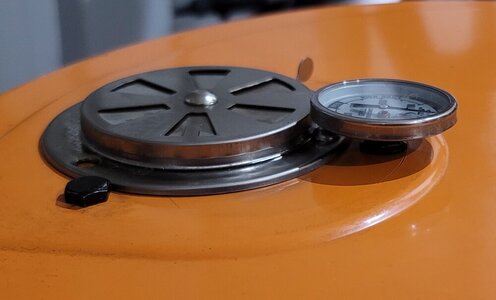
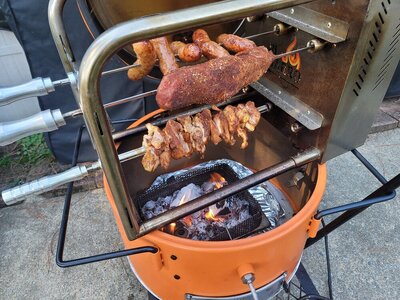
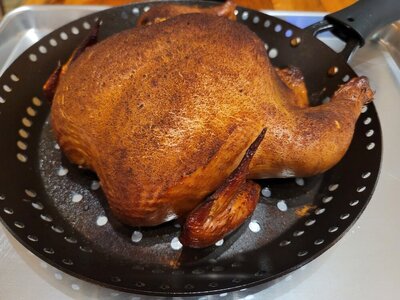
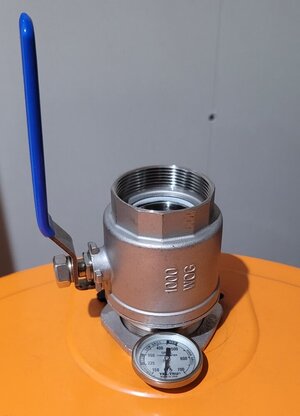
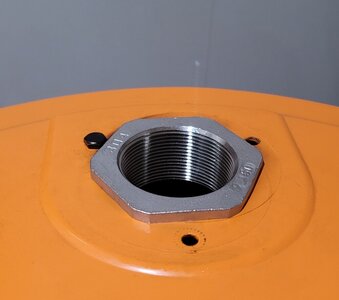
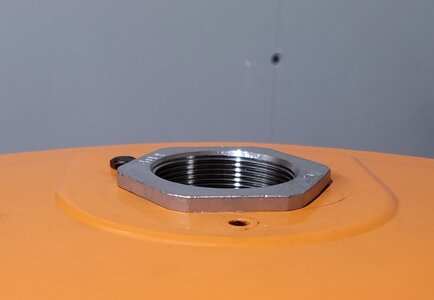
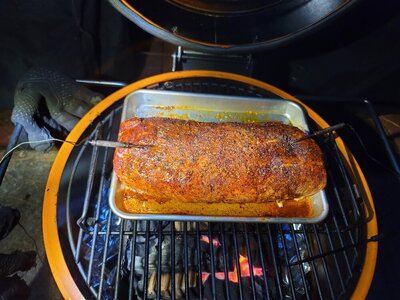
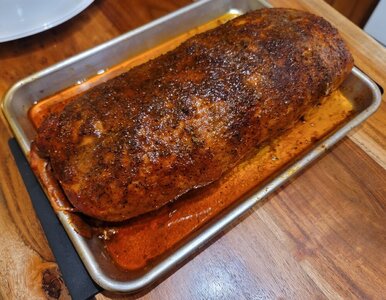
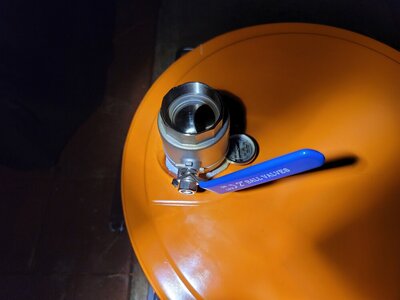
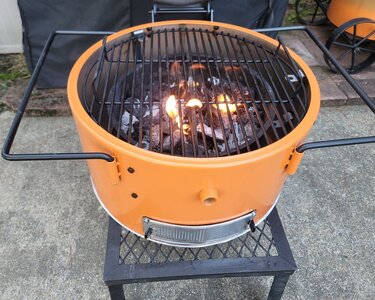
The Solution: I took the regular OKJ Bronco (in the smaller size with an 18" grill grate), added a metal plate at the bottom, an UDS style sliding intake from Lavalock, and a sliding top vent (since the stack would have been too tall for the bed of my truck under the tonneau cover). Thus, the 'shorty' was born. I've only done the initial burn-in, but performance is good so far. It can sustain up to 700 degrees with the lid closed, but when the intake and exhaust is choked down, will sustain around 235 degrees on lump charcoal (without a water pan). I've provided a few pictures of my build.
The Solution: I took the regular OKJ Bronco (in the smaller size with an 18" grill grate), added a metal plate at the bottom, an UDS style sliding intake from Lavalock, and a sliding top vent (since the stack would have been too tall for the bed of my truck under the tonneau cover). Thus, the 'shorty' was born. I've only done the initial burn-in, but performance is good so far. It can sustain up to 700 degrees with the lid closed, but when the intake and exhaust is choked down, will sustain around 235 degrees on lump charcoal (without a water pan). I've provided a few pictures of my build.
Attachments
Last edited: