I have a good bit of cast iron pans sitting around, and I have finally decided to refurbish a few. Right now I have an electrolysis tank going to clean one pan at a time. My setup is very simple. It is a battery charger that I have set to 10 amps. The positive lead is connected to two 18 gauge sheets of steel that face each other, at opposite sides of the barrel. I then have the negative lead connected to the pan that is submerged in the water. There is 1 tablespoon of washing soda (sodium carbonate) for each gallon of water. I have 15 gallons in my bucket. It can hold 30 I believe.
My setup is ugly, but it works. I'll make it pretty in the coming days. This picture is of the tank all setup and ready to go. The only thing not done was to power on the battery charger.
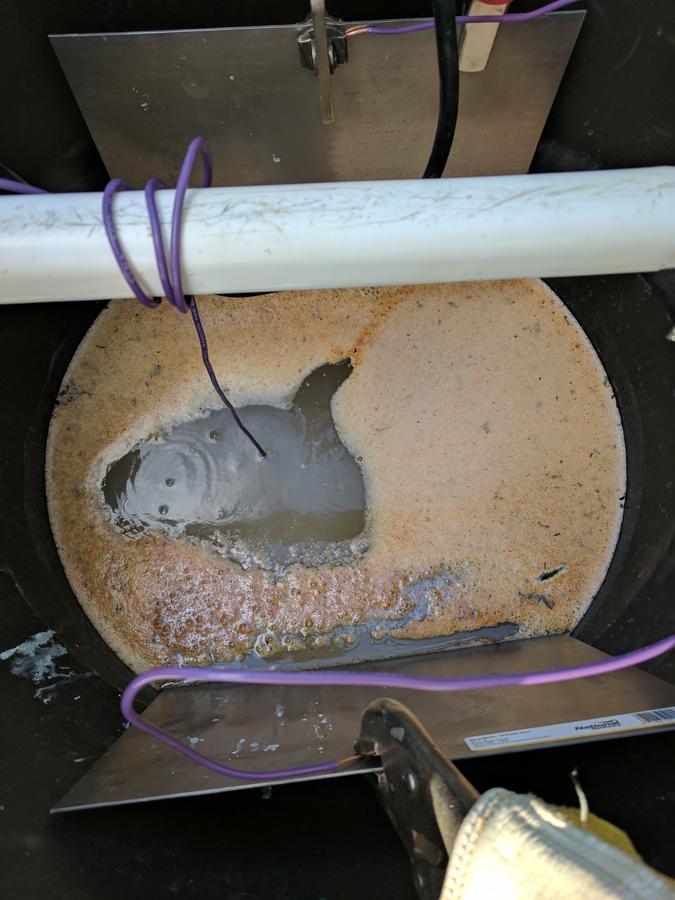
This is what it looked like after 15 minutes of the pan being in the solution. Look at all of that disgusting stuff that is coming off the pan! You can see some bubbles, so you know that we have current. If you notice I put gloves over the vice-grips so that I didn't accidentally touch them while the thing is live. Without them, I'm sure I'd forget and I would touch them.
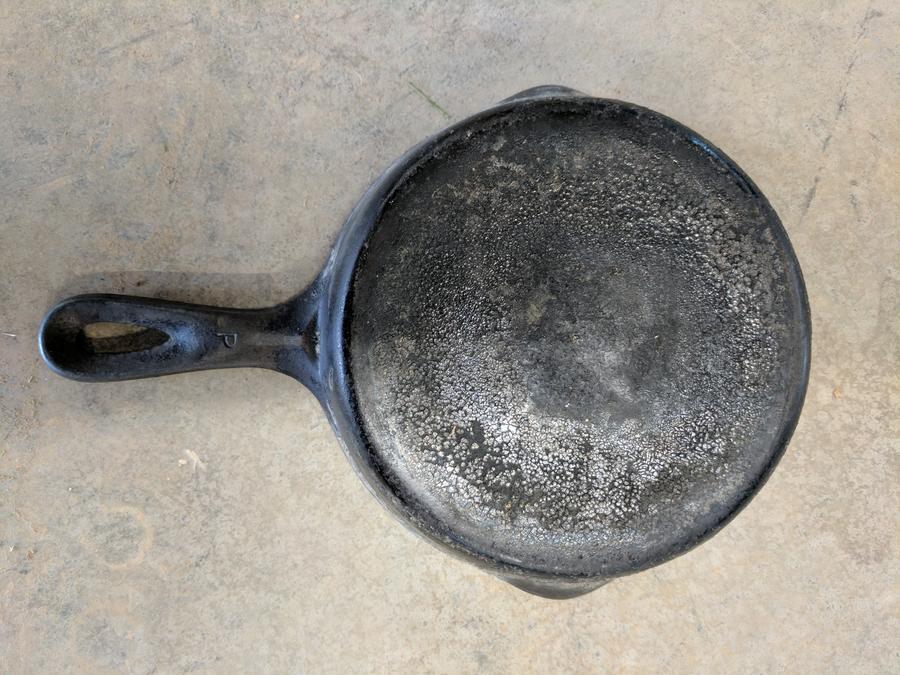
This is what the pan looked like before going in the bath. You can see what looks to be a 1/4" of ugly carbon buildup. I guess the person that had this pan used to use it in a fire.
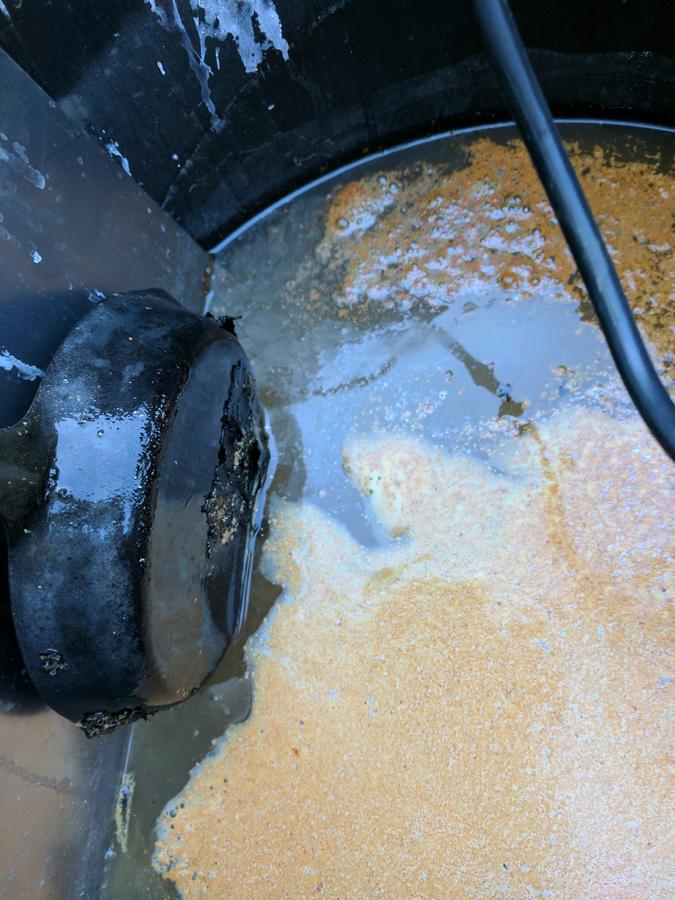
This is what happened in 35 minutes. I did not expect that much of a change in 35 minutes. I didn't touch it. I simply raised it out of the water for a picture.
This is a gallery of the pieces I will be cleaning. The rest of my collection is already in excellent condition. Some are very old with at least one being from the early 1880s (the #10 that says Erie on the top and has a heat ring).
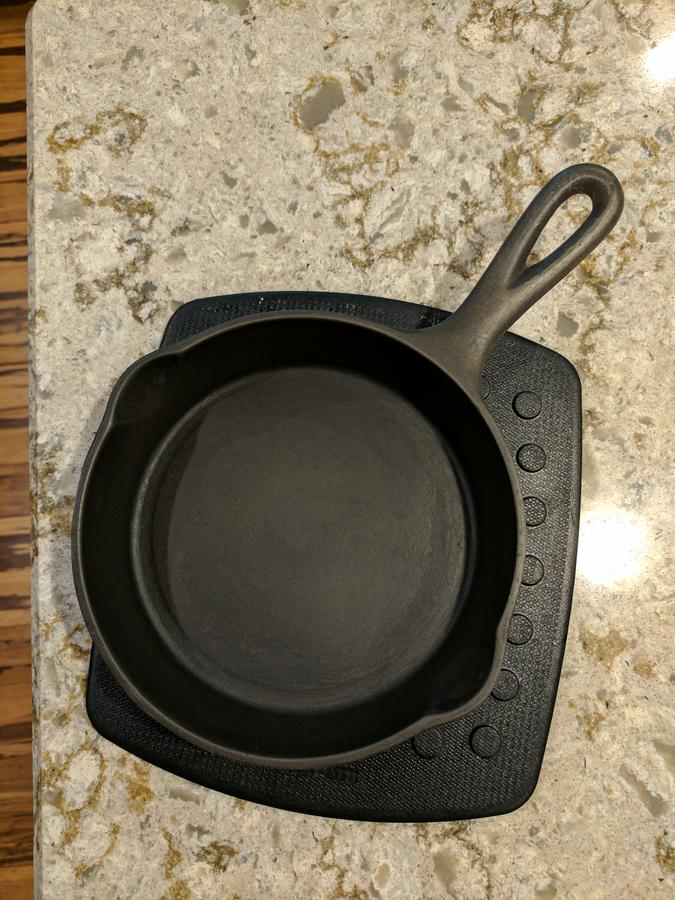
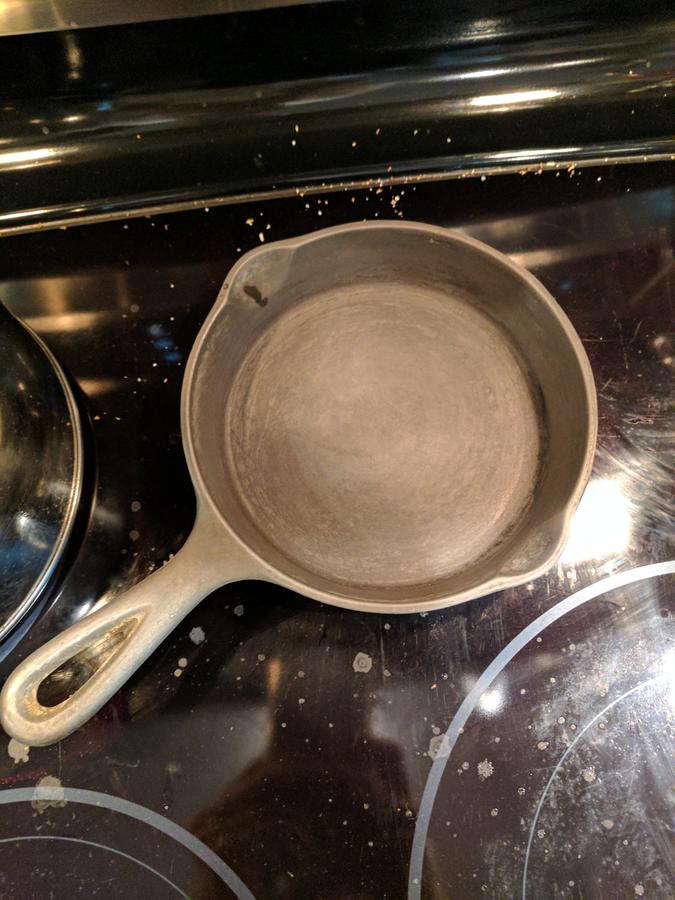
EDIT: Here is that pan back to the bare iron. Excuse the dirty stove top. You need to realize that I have done NOTHING except for putting the pan in the tank, rinse it off with a hose, and wiped it dry with a cloth. This is about 99% hands-off. It looks like an unmarked Wagner but I need to do a bit more research on it.
I don't have a picture of it but now it has a coat of vegetable oil and one of Crisco. I use Crisco for all of my seasoning (including carbon steel) but I always use a base coat of vegetable oil so I can protect the iron immediately then heated.
My setup is ugly, but it works. I'll make it pretty in the coming days. This picture is of the tank all setup and ready to go. The only thing not done was to power on the battery charger.

This is what it looked like after 15 minutes of the pan being in the solution. Look at all of that disgusting stuff that is coming off the pan! You can see some bubbles, so you know that we have current. If you notice I put gloves over the vice-grips so that I didn't accidentally touch them while the thing is live. Without them, I'm sure I'd forget and I would touch them.
This is what the pan looked like before going in the bath. You can see what looks to be a 1/4" of ugly carbon buildup. I guess the person that had this pan used to use it in a fire.
This is what happened in 35 minutes. I did not expect that much of a change in 35 minutes. I didn't touch it. I simply raised it out of the water for a picture.
This is a gallery of the pieces I will be cleaning. The rest of my collection is already in excellent condition. Some are very old with at least one being from the early 1880s (the #10 that says Erie on the top and has a heat ring).
EDIT: Here is that pan back to the bare iron. Excuse the dirty stove top. You need to realize that I have done NOTHING except for putting the pan in the tank, rinse it off with a hose, and wiped it dry with a cloth. This is about 99% hands-off. It looks like an unmarked Wagner but I need to do a bit more research on it.
I don't have a picture of it but now it has a coat of vegetable oil and one of Crisco. I use Crisco for all of my seasoning (including carbon steel) but I always use a base coat of vegetable oil so I can protect the iron immediately then heated.
Last edited: