- May 19, 2017
- 99
- 56
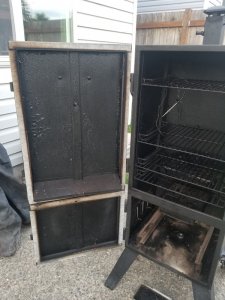
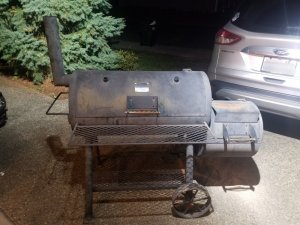
Look, it's nothing compared to what you all have, but a couple years ago my wife bought me a DynaGlo 36" vertical smoker because I wanted to try out smoking some meats. A couple months later I discovered this website and discovered the offset models are more popular, but no reason to throw out what you got, right? Being a bit of a tinkerer I decided to do some mods to improve the smoker.
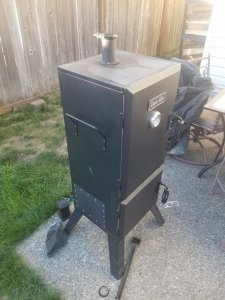
Here's a stock photo of how it looked when I got it:

Per some reading I learned that I needed to do a burn-in, which was the perfect opportunity to learn how all the vents work. Well I quickly discovered that lighting it per the instruction manual with all the vents open spiked my temps over 600 degrees! Well that's no good for smoking, but luckily didn't warp the cabinet. During that run I discovered a myriad of smoke leaks, so I bought some high-temp silicone sealant and some LavaLock gasket material and sealed the doors. Finally, drilled a couple holes with grommets to get temp-probes in and out.
And that's pretty much how I've been using it since then. It's always been a bit of a hassle, but I got the process down so that I put about 3/4 box of unlit charcoal in the basket, add about 5 lit coals with the dampers wide open. Once I hit 180F I close the damper on one side fully, and the other one I close about 75% and for the most part I end up in the 225-250F range. I've smoked a turkey the last couple of years at 350, and even to hit that temp I've only needed to have one vent less than halfway open.
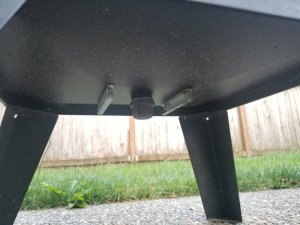
Being summer time, and smoking season, I've been around my smoker a lot recently and started noticing that even though I sealed the doors and weld seams, I still have some air leaks. First of all, there's a "grease drain" at the bottom of the box that's simple a 1" wide-open hole. Secondly, when the dampers are fully closed there's actually a 1/16" light gap that can be seen. Doing some quick math I'm estimating that I have just over 3" of open intake area even when my dampers are fully closed! And the chimney doesn't fully close either. So when I'm done smoking, I just end up letting all my charcoal burn to ash. Not very efficient when I'm aiming to do a short smoke like salmon or tri-tip!
So, I've come up with a small list of mods to do.
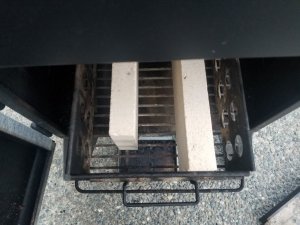
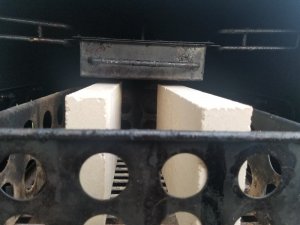
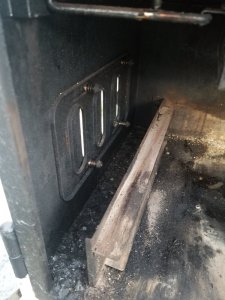
1) My firebox area is too small to fit the LavaLock minion method charcoal basket or the maze bars. It is just big enough to fit a couple of fire bricks. So I'll grab two of those to create a charcoal maze. Hopefully this will better control how many lit coals I have without having an entire basket go up in a 600 degree raging inferno.
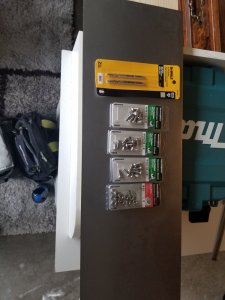
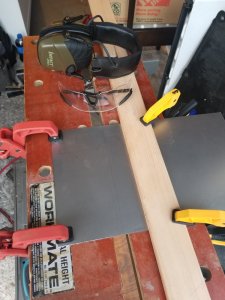
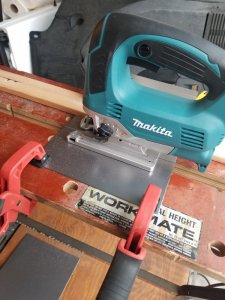
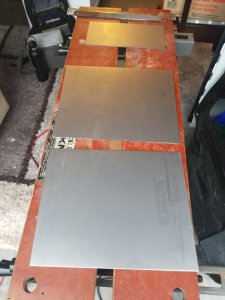
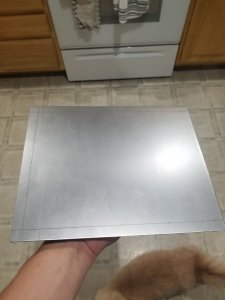
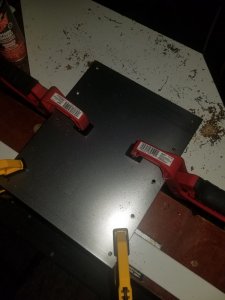
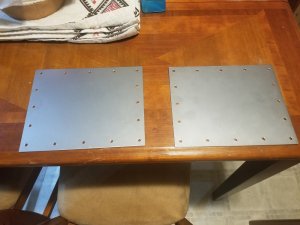
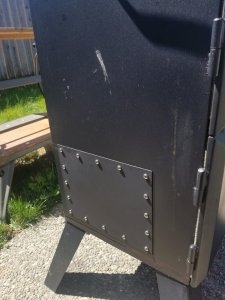
2) With all the vents fully open, this smoker has over 20" of intake area. I did some research into UDS smokers as they seem more closely related to what I have than an offset. Most of those people are using 1-2" of free intake area and easily hit their required smoking temps. So I'm going to buy some 16 ga steel to seal off one of the air intakes (since I only ever use one of the 2 anyways). While I'm at it, I'll use a 3/4" nipple to seal the grease drain hole.
3) Since I want to be able to completely shut down the vents to snuff the fire when I'm done cooking, I'll actually be using more of that 16 ga steel to cover the intake vent that I've been using. Then I'll cut in a LavaLock pinwheel damper to control intake airflow. On the fence between putting in a 4" damper or a 6" damper. The 4" is more than double the area the UDS guys use, but slightly less than I think I usually use. 6" is huge and I'm trying to get away from cooking with the vents nearly fully closed.
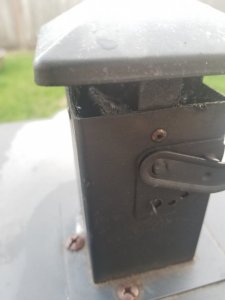
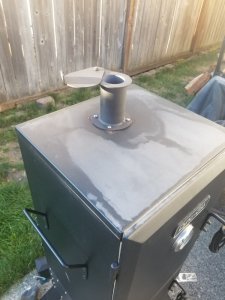
4) Going to upgrade from the stock exhaust vent to a 2" pipe with teardrop damper. This will give me the ability to completely shut off the smoker and hopefully save any leftover charcoal after the smoke.
Here's a stock photo of how it looked when I got it:

Per some reading I learned that I needed to do a burn-in, which was the perfect opportunity to learn how all the vents work. Well I quickly discovered that lighting it per the instruction manual with all the vents open spiked my temps over 600 degrees! Well that's no good for smoking, but luckily didn't warp the cabinet. During that run I discovered a myriad of smoke leaks, so I bought some high-temp silicone sealant and some LavaLock gasket material and sealed the doors. Finally, drilled a couple holes with grommets to get temp-probes in and out.
And that's pretty much how I've been using it since then. It's always been a bit of a hassle, but I got the process down so that I put about 3/4 box of unlit charcoal in the basket, add about 5 lit coals with the dampers wide open. Once I hit 180F I close the damper on one side fully, and the other one I close about 75% and for the most part I end up in the 225-250F range. I've smoked a turkey the last couple of years at 350, and even to hit that temp I've only needed to have one vent less than halfway open.
Being summer time, and smoking season, I've been around my smoker a lot recently and started noticing that even though I sealed the doors and weld seams, I still have some air leaks. First of all, there's a "grease drain" at the bottom of the box that's simple a 1" wide-open hole. Secondly, when the dampers are fully closed there's actually a 1/16" light gap that can be seen. Doing some quick math I'm estimating that I have just over 3" of open intake area even when my dampers are fully closed! And the chimney doesn't fully close either. So when I'm done smoking, I just end up letting all my charcoal burn to ash. Not very efficient when I'm aiming to do a short smoke like salmon or tri-tip!
So, I've come up with a small list of mods to do.
1) My firebox area is too small to fit the LavaLock minion method charcoal basket or the maze bars. It is just big enough to fit a couple of fire bricks. So I'll grab two of those to create a charcoal maze. Hopefully this will better control how many lit coals I have without having an entire basket go up in a 600 degree raging inferno.
2) With all the vents fully open, this smoker has over 20" of intake area. I did some research into UDS smokers as they seem more closely related to what I have than an offset. Most of those people are using 1-2" of free intake area and easily hit their required smoking temps. So I'm going to buy some 16 ga steel to seal off one of the air intakes (since I only ever use one of the 2 anyways). While I'm at it, I'll use a 3/4" nipple to seal the grease drain hole.
3) Since I want to be able to completely shut down the vents to snuff the fire when I'm done cooking, I'll actually be using more of that 16 ga steel to cover the intake vent that I've been using. Then I'll cut in a LavaLock pinwheel damper to control intake airflow. On the fence between putting in a 4" damper or a 6" damper. The 4" is more than double the area the UDS guys use, but slightly less than I think I usually use. 6" is huge and I'm trying to get away from cooking with the vents nearly fully closed.
4) Going to upgrade from the stock exhaust vent to a 2" pipe with teardrop damper. This will give me the ability to completely shut off the smoker and hopefully save any leftover charcoal after the smoke.


