Post A Picture of Your COMPLETED Mini-WSM Here ! (Mini Weber Smokey Mountain, MWSM)

  • Some of the links on this forum allow SMF, at no cost to you, to earn a small commission when you click through and make a purchase. Let me know if you have any questions about this.
SMF is reader-supported. When you buy through links on our site, we may earn an affiliate commission.
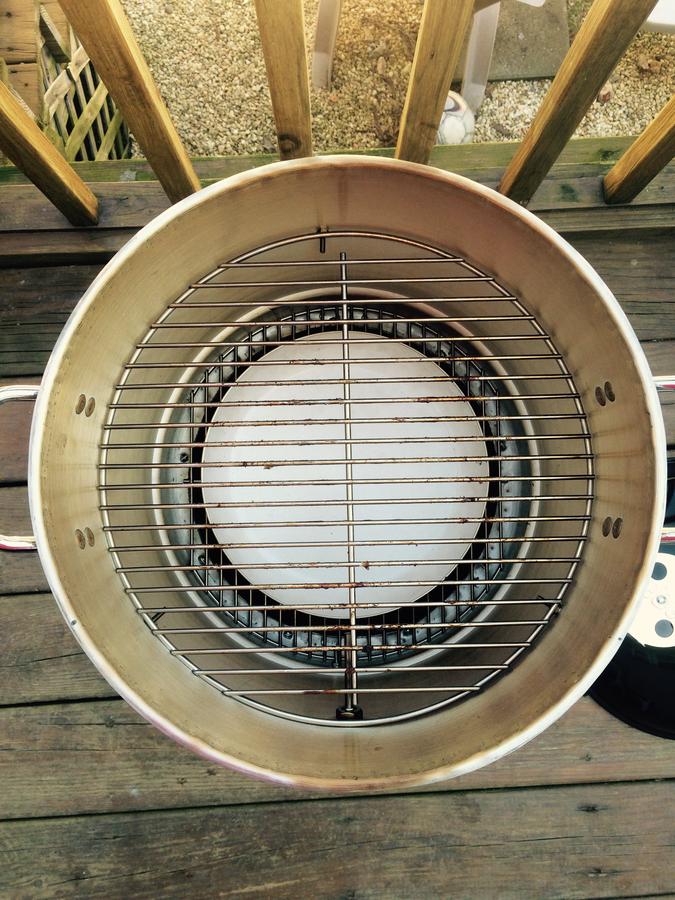
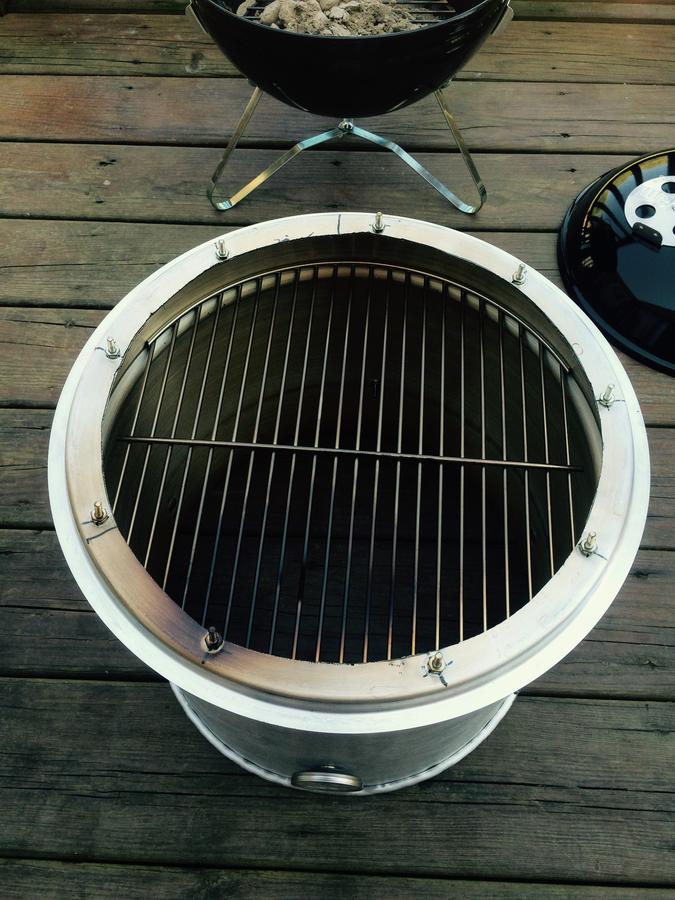
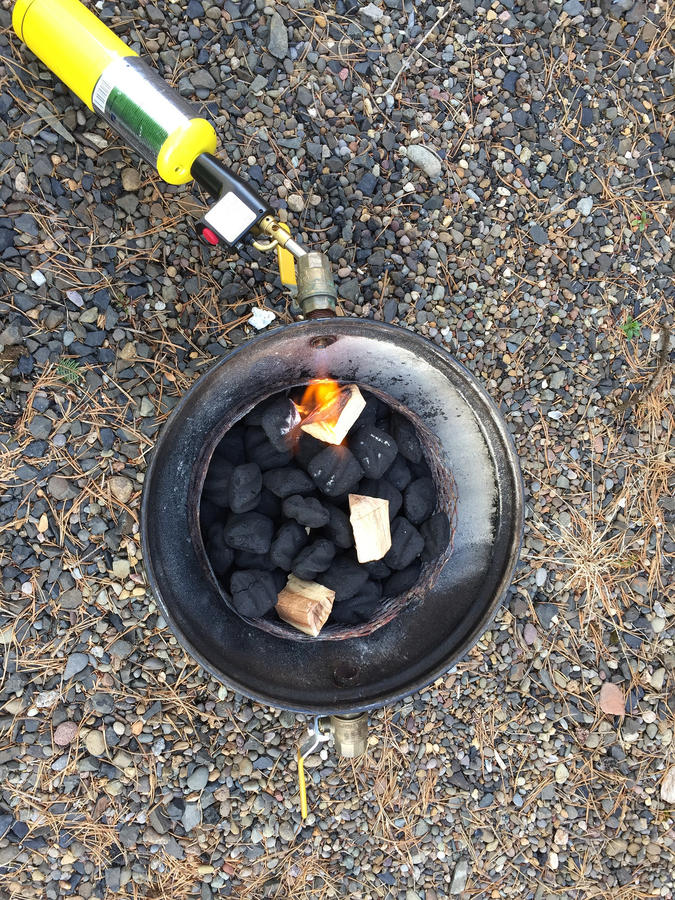
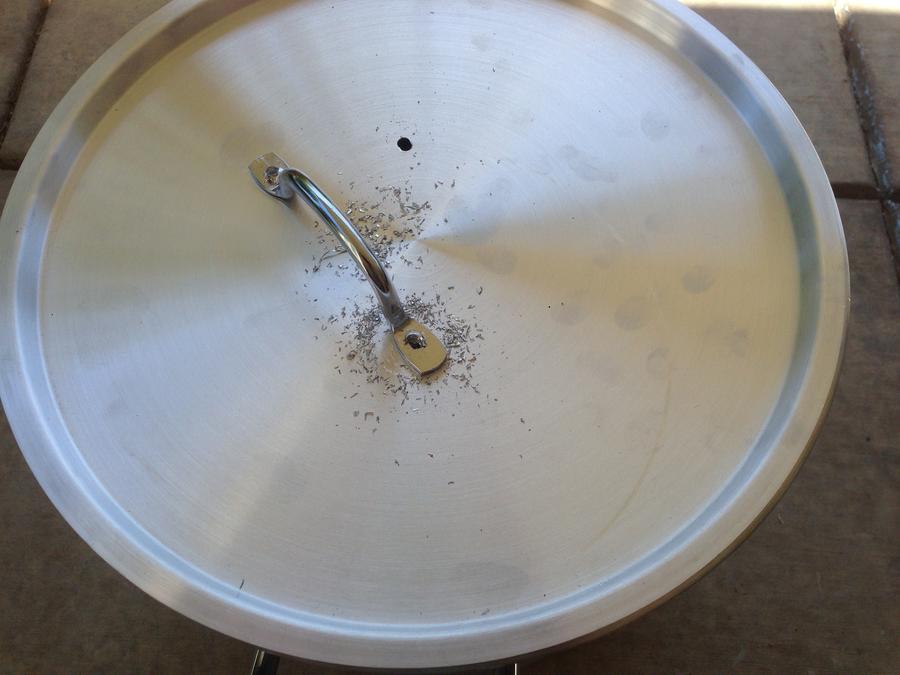
I am not sure if it is me or everyone with the 80qt pot. But I find I need more air then what the 3/4" ball valve allows. I had put 2ea 3/4" capped air vents as well, but they rusted closed, so now I am looking at a couple options. One changing the other 2 vent holes to ball valves or increasing the main one to 1 1/2" and capping off the other 2 permanently. I am also looking into changing the legs to make them more stable. The stock ones get a little wonky when you have everything loaded and 30+ pounds of meat in the cook chamber.

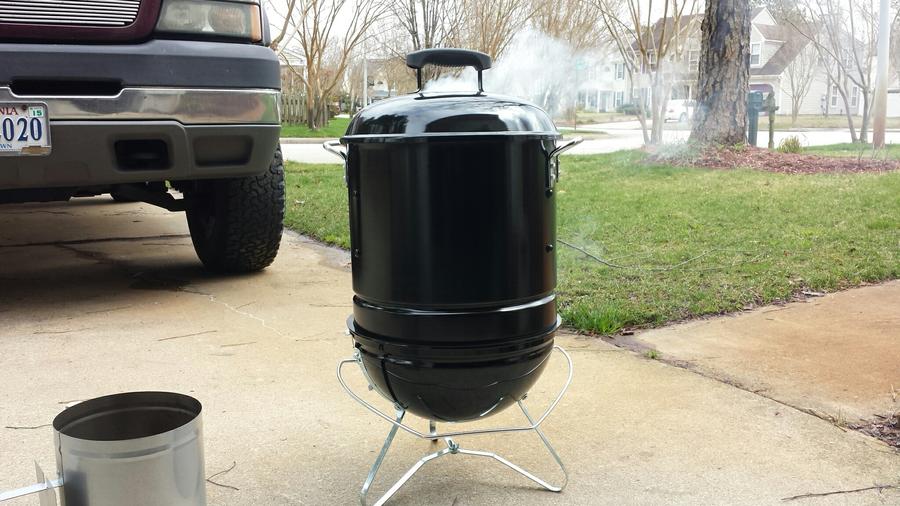
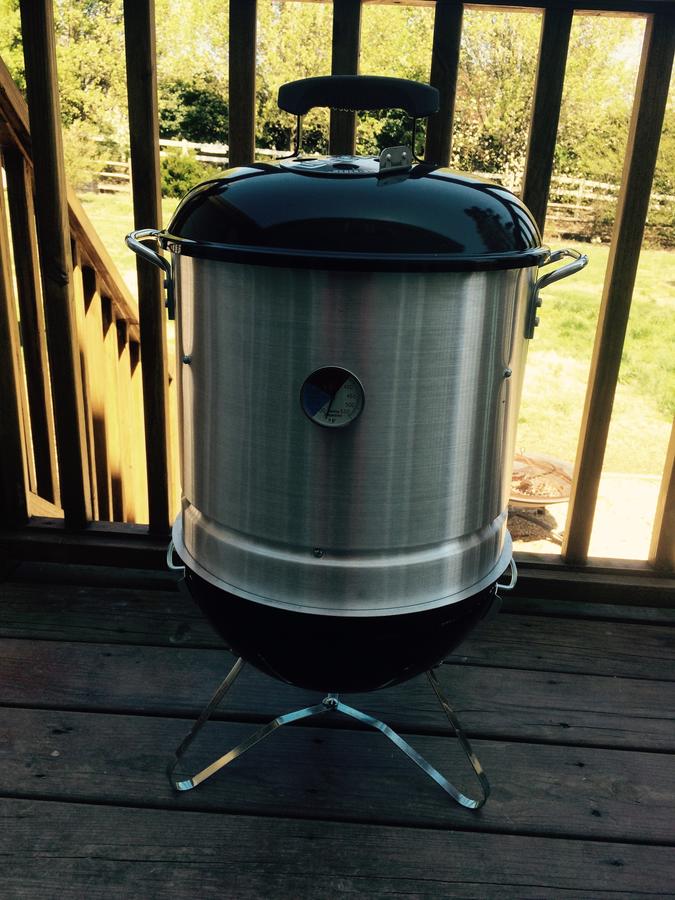
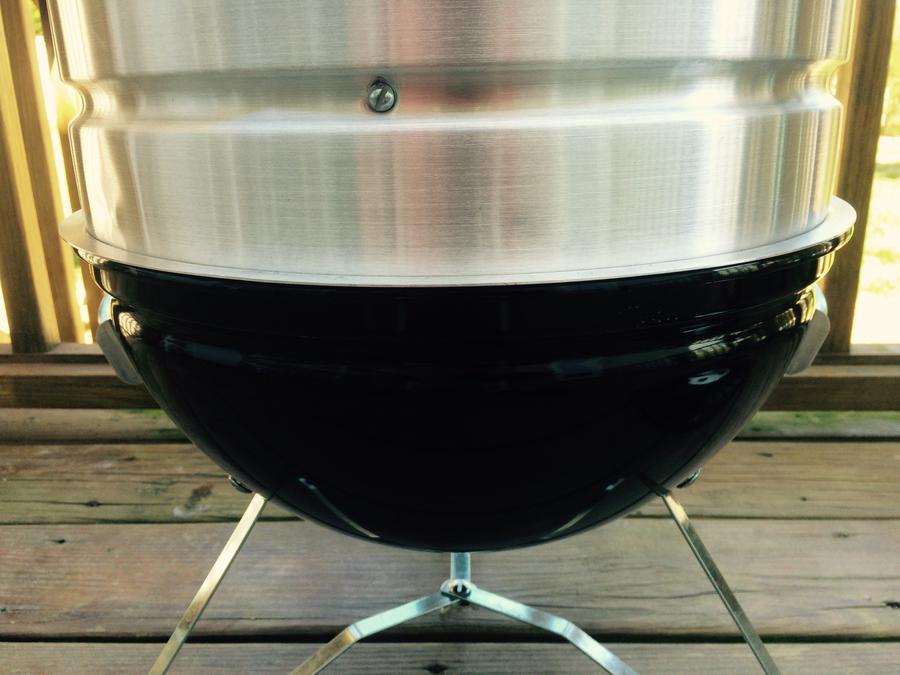
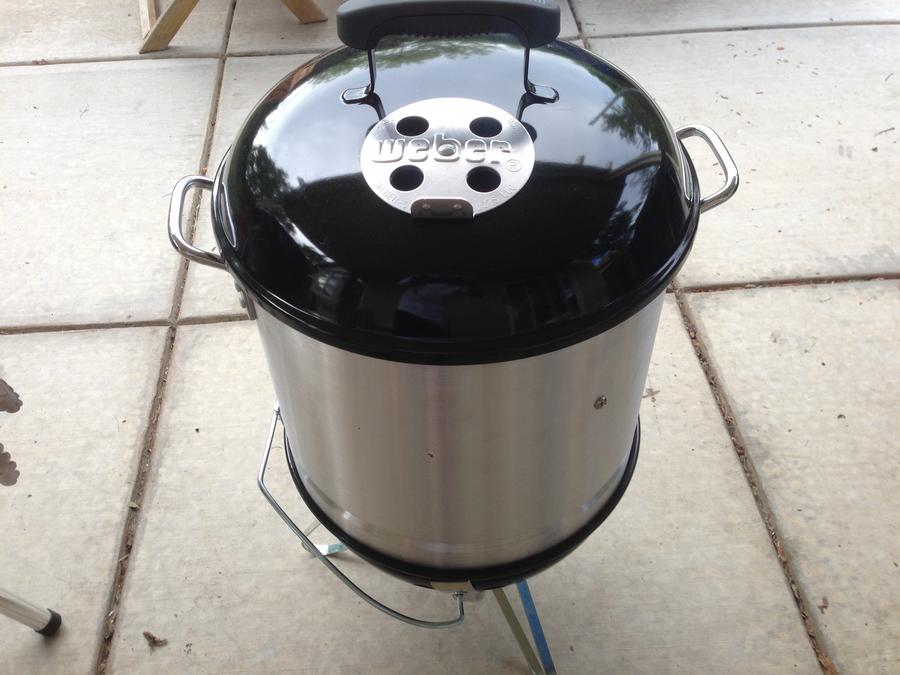
Overall I love my Jumbo Mini and would make it again.
 
Finished my first mini yesterday thanks to all the info posted here.

Used a SJG and the Imusa pot.

Did a seasoning burn. It was 42 and windy outside and once it settled in the mini held around 240-250 for a few hours with the clay saucer diffuser in place.

I ended up putting some chunks around the outside of the charcoal basket because they were bumping into the clay saucer when I put them on top of the coals. Anyway, being on the outside of the basket they seemed to smoulder just fine, at least early on when the coals were still really hot. About 2 hours in I threw a few more on top of the coals and they seemed to burn quicker with thicker smoke than I would have liked.

Would putting chunks around the outside of the basket work later in the smoke, or would they likely not catch?

I'm going to try a chicken today so I can try to dial this thing in prior to taking it camping next weekend.

 
  • Like
Reactions: bdskelly
 
Finished my first mini yesterday thanks to all the info posted here.

Used a SJG and the Imusa pot.

Did a seasoning burn. It was 42 and windy outside and once it settled in the mini held around 240-250 for a few hours with the clay saucer diffuser in place.

I ended up putting some chunks around the outside of the charcoal basket because they were bumping into the clay saucer when I put them on top of the coals. Anyway, being on the outside of the basket they seemed to smoulder just fine, at least early on when the coals were still really hot. About 2 hours in I threw a few more on top of the coals and they seemed to burn quicker with thicker smoke than I would have liked.

Would putting chunks around the outside of the basket work later in the smoke, or would they likely not catch?

I'm going to try a chicken today so I can try to dial this thing in prior to taking it camping next weekend.

Nicely done Sly! A beautiful Mini! Thank you for posting the photo. I gave you points for your completion.  Please be sure to post your Smokes!

I use chips in mine because of the room in the basket. I guess smaller chunks will do... 


Here is a link to a recent chicken smoke on the mini:

http://www.smokingmeatforums.com/t/...hicken-on-the-mini-weber-smokey-mountain-mwsm

Brian

points.gif
 
 
Last edited:
It may be a bit redundant to post mine, only because I created a new post for it about a week ago, but since you asked, here is my mini. I'd like to thank BDSkelly for the plans.
Smokey Joe Gold (Amazon) IMUSA pot (Walmart)
Inside view of the pot
As you can see, I did the lid mod. Because the lid didn't fit perfect, I had to drill 3 holes to start with and equally torque the three screws down to keep the bottom level on the lid. Then I drilled 6 more holes and torqued those down just for added measure.
After drilling the holes, I traced around a large 12" skillet and cut out the hole with a jig saw. Because the lid didn't seat flush to the bottom, I had the crimp the rim of the hole with pliers. This was very easy as aluminum is soft.
Here you can see that the lid fits perfect on top of the Smoky Joe grill base.
Next I followed BDSkelly's build by cutting off the ends of the Smokey Joe grilling grate and forcing it down below the rim for the steamer insert.
After reading several posts about the terra-cotta pot becoming fragile and breaking, I decided to go with a 10 1/2 inch skillet. I chose the 10 1/2 inch skillet because it is the same size as the Smoky Joe charcoal grate. All I did was drill out the rivets for the handle to remove it. I line it with aluminum foil when I use it.
Next, I crimped the top of the steamer pot to allow the Smoky Joe lid to fit perfectly. This was also much easier than I anticipated it to be because the aluminum is soft.
Here you can see that the lid fits perfect on the steamer pot.
Lastly, I drilled three holes, 4 inches down from the top to secure the second Smoky Joe cooking grate with 1/2" screws. I use the rim for the steamer insert for a lower cooking grate.
I have yet to paint it because I actually like the look of the aluminium and also, I don't have access to a printer right now to cut out graphics. If I do painted it will be a Carolina Panthers motif. Thank you for looking.
 
Last edited:
It may be a bit redundant to post mine, only because I created a new post for it about a week ago, but since you asked, here is my mini. I'd like to thank BDSkelly for the plans.
It was my absolute pleasure my friend.  I'm happy that my post may have contributed to another MWSM being built.  But I will certainly admit that it was the guidance of this fine mini community that helped me make the post that you and others have used.  ...So I can't take the credit.  My build post is just a collection of the ideas that my friends on this forum gave me.

Hope your unit brings years of fun! Well done Mr. Murray! 

Regards,

Brian (BD)
 
Last edited:
It was my absolute pleasure my friend.  I'm happy that my post may have contributed to another MWSM being built.  But I will certainly admit that it was the guidance of this fine mini community that helped me make the post that you and others have used.  ...So I can't take the credit.  My build post is just a collection of the ideas that my friends on this forum gave me.
Hope your unit brings years of fun! Well done Mr. Murray! 
Regards,
Brian (BD)
Thank you. Not to get all personal here, but it was your build post that brought me to the forum in the first place. I found it on Pinterest (of all places) while searching for a way to do a Boston butt on my weber propane grill.
 
Last edited:
 
Nicely done Sly! A beautiful Mini! Thank you for posting the photo. I gave you points for your completion.  Please be sure to post your Smokes!

I use chips in mine because of the room in the basket. I guess smaller chunks will do... 


Here is a link to a recent chicken smoke on the mini:

http://www.smokingmeatforums.com/t/...hicken-on-the-mini-weber-smokey-mountain-mwsm

Brian

points.gif
 
Hey Brian, do you soak those chips before you toss em in the mini?  I haven't tried chips yet because I figured they'd burn up rather quickly in the mini.  Otherwise, this would be an excellent option instead of busting the big chucks I get into smaller pieces.
 
Thank you. Not to get all personal here, but it was your build post that brought me to the forum in the first place. I found it on Pinterest (of all places) while searching for a way to do a Boston butt on my weber propane grill.
Pinterest? Ha!  The BBQ tentacles are far reaching into the galaxy... ( Attempting to be deep in thought here. ....Not working) 

Anywho... However you did it, We are happy you found us and decided to stick around! 

B
 
 
Hey Brian, do you soak those chips before you toss em in the mini?  I haven't tried chips yet because I figured they'd burn up rather quickly in the mini.  Otherwise, this would be an excellent option instead of busting the big chucks I get into smaller pieces.
I do not soak my wood chips. Because of one VERY important reason.  ..... I am inherently lazy.  Just throw em on there and don't sweat it my friend. Now if your  beer fridge craps out then you got problems. Don't sweat the chips.  BD


Hey Brian, do you soak those chips before you toss em in the mini?  I haven't tried chips yet because I figured they'd burn up rather quickly in the mini.  Otherwise, this would be an excellent option instead of busting the big chucks I get into smaller pieces.


I do not soak my wood chips. Because of one VERY important reason.  ..... I am inherently lazy.  Just throw em on there and don't sweat it my friend. Now if your  beer fridge craps out then you got problems. Don't sweat the chips.  BD

:ROTF

That's funny B !
 
 
I do not soak my wood chips. Because of one VERY important reason.  ..... I am inherently lazy.  Just throw em on there and don't sweat it my friend. Now if your  beer fridge craps out then you got problems. Don't sweat the chips.  BD
Amen (probably not the best word choice) we would most certainly have problems if the beer fridge dumped.  Smoking without drinking?? Blasphemy...
 
Hands down the best way and easiest way to get consistent temps is to light using this method. This can be done on the Silver with side vents or the gold.


Fill the basket with unlit lump or charcoal. Top with (3-4) 2"-3" chunks of smoke wood. Light with torch.


Removed the pot for clarity.


Takes 5-8 minutes of torching to get up to 225°-250°. If I am going for a high temp smoke I will light both sides of the basket. This method also creates TBS immediately with no white smoke.
 
That looks sharp freddess. Love the extra space you get with the taller pot. How many racks/ levels did you put inside?
I raised the lower grate to fit more fule and chunks. Than there is two cooking grates for standing ribs, beercaned chicken or hang smoked salmon.
 
Last edited:
Thanks for all the help on this forum!  I finally completed my mini.  So far I have smoked two pork butts, a chuck roast, and a fatty.  Before this, I have been exclusively smoking on my 22.5 Weber kettle.  I can say that I love this mini.  It really can hold the temp for a really long time and it is pretty much hands off once it gets dialed in.  I will continue to use this for most smokes.  Probably will still use the kettle for ribs and/or bigger cooks.

Charcoal ring.  I have no idea why I used the snips since I had bought a jigsaw.  I kind of messed up more than one way because I just eyeballed it and it is too high.  Also like a dummy I snipped it the wrong way and ended up with two sharp sides!  Anyways, it does the trick.


Drilling the IMUSA handle out of the way (although I didn't end up using the lid).


After the jigsaw cut.  As you can tell I'm not a perfectionist ;)


I am very pleased with this cooker.  What you can't see is that I drilled two holes for my maverick.  One below the grate for the "pit temp" and one above the grate for the meat.  The way I have used the "pit" probe so far is to stick some foil into my 1/4in hole I drilled, then stick the probe through it.  It holds it steady and horizontal.  Pretty nice.  I'm looking forward to cooking more things on here.  I may try to cut down my charcoal grate so I can fit a double decker.  The nice thing about this pot is that the kettle 18in charcoal grate fits right on through the bottom (it passes the steamer ridge nice and easy) so I don't need to cut it at all.  The only thing stopping me from using the very bottom for my diffuser (10in terracotta) is the fact that my charcoal grate is too tall and lifts the bottom grate up too high.
 
SmokingMeatForums.com is reader supported and as an Amazon Associate, we may earn commissions from qualifying purchases.

Hot Threads

Clicky