wimpy69
Smoking Fanatic
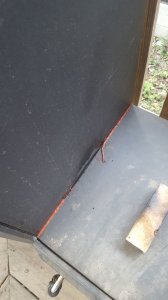
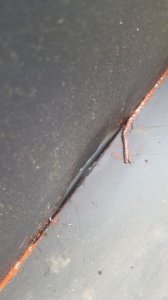
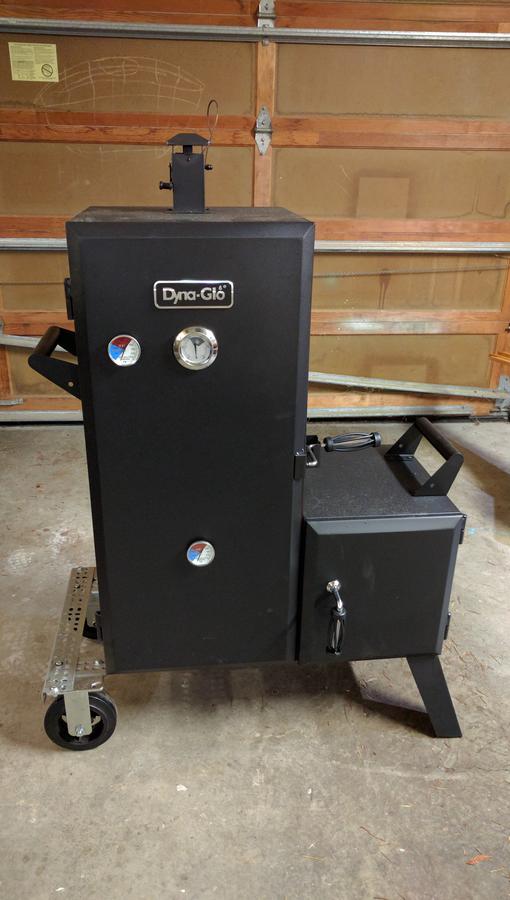
View attachment 342468 Mock up of minion divider proved well so did my final build yesterday since it was nice. Haven't layded out for a while and went old school -drill and fill.
View attachment 342466
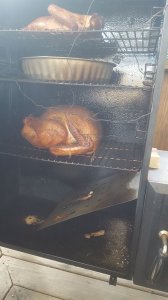
After burn off figured why not-
Smoke dry Japs, Cayenne and Red Caribbean's. 12hrs over Stubbs/pecan/mulberry
170*
+/- 4oz
View attachment 342466
View attachment 342466
After burn off figured why not-
Smoke dry Japs, Cayenne and Red Caribbean's. 12hrs over Stubbs/pecan/mulberry
170*
+/- 4oz
View attachment 342466