**New Member = First Reverse Flow Smoker Build from 60 Gallon Compressor Tank**
- Thread starter mad dart
- Start date
-
Some of the links on this forum allow SMF, at no cost to you, to earn a small commission when you click through and make a purchase. Let me know if you have any questions about this.
You are using an out of date browser. It may not display this or other websites correctly.
You should upgrade or use an alternative browser.
You should upgrade or use an alternative browser.
SMF is reader-supported. When you buy through links on our site, we may earn an affiliate commission.
Toggle clamps came today.... Man they sure are Puny suckers. Going to put them in the parts bin. They just don't look right compared to the size of the smoker. I ordered the next biggest size.
Last edited:
I am using #9 - 3/4"
What size expanded metal did you use? Went to pick up some of the supplies I need. Shop I am getting everything from ordered me "flattened" expanded metal...it was less sharp....if that makes any sense....
If you are getting it flattened, I would get thicker material. The non flattened material will stay straighter even when it heats up compared to the flat stuff. If not you may see bow's in the material quickly unless you use a stiffener under the grate up against that material to keep it straight and flat.
Last edited:
bgingras
Fire Starter
- Apr 12, 2015
- 46
- 13
I got mine from harbor freight tools for $6 ea. they are big and heavy. See picture. I bolted them on with 4 1/4" stainless bolts each, instead of welding in case they ever do need to be replaced. I also changed out the pin that holds the lid down and used carriage bolts instead of the robber bumpers that came with them.
Toggle clamps came today.... Man they sure are Puny suckers. Going to put them in the parts bin. They just don't look right compared to the size of the smoker. I ordered the next biggest size.
Looks good! How did you seal your CC Door? How about your FB?
I got mine from harbor freight tools for $6 ea. they are big and heavy. See picture. I bolted them on with 4 1/4" stainless bolts each, instead of welding in case they ever do need to be replaced. I also changed out the pin that holds the lid down and used carriage bolts instead of the robber bumpers that came with them.
bgingras
Fire Starter
- Apr 12, 2015
- 46
- 13
Lavalock Grill gasket is what I'm trying for the CC. I did not gasket the FB as of now. I'm going to see how it runs first.
Looks good! How did you seal your CC Door? How about your FB?
Been busy at work. I have not touched the smoker. I will finish it but I don't know exactly when. $$ is too good working right now to stop!
lendecatural
Smoking Fanatic
That's why they say "you have to make hay while the sun is shining" You will have time and money soon enough.Been busy at work. I have not touched the smoker. I will finish it but I don't know exactly when. $$ is too good working right now to stop!
smokejumper
Smoking Fanatic
Hey, I am right there with you in putting the "slow" in low and slow.
Been busy at work. I have not touched the smoker. I will finish it but I don't know exactly when. $$ is too good working right now to stop!
All in good time.
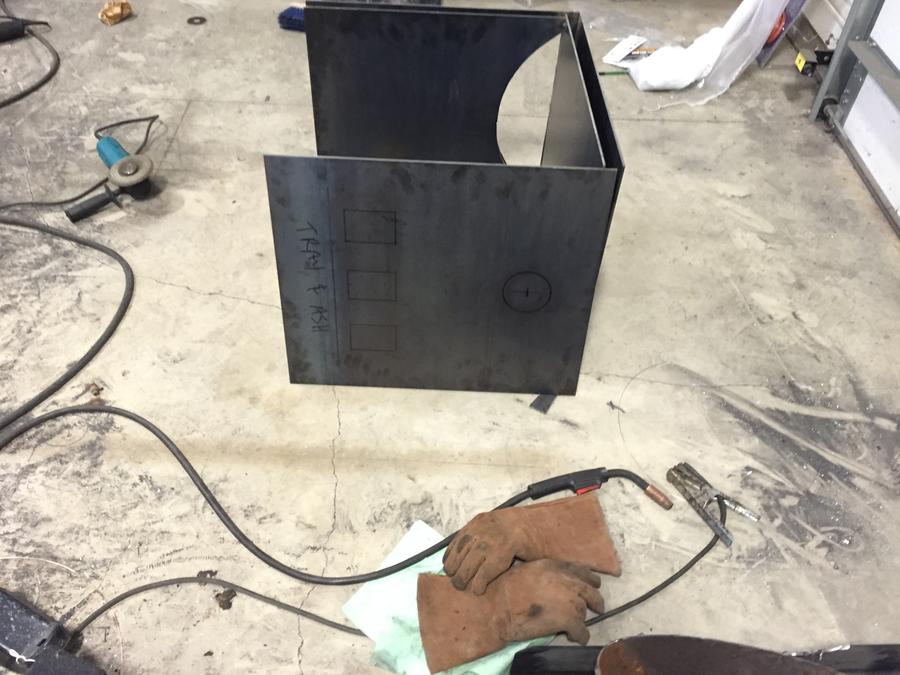
I took today partly off and got a little bit done on the FB. Later today I am going to go get a 3.5" Hole Saw for the upper vent on the FB.
I will slice off the insulation and slide it into the cavity's before I cap it all off.
I will slice off the insulation and slide it into the cavity's before I cap it all off.
Last edited:

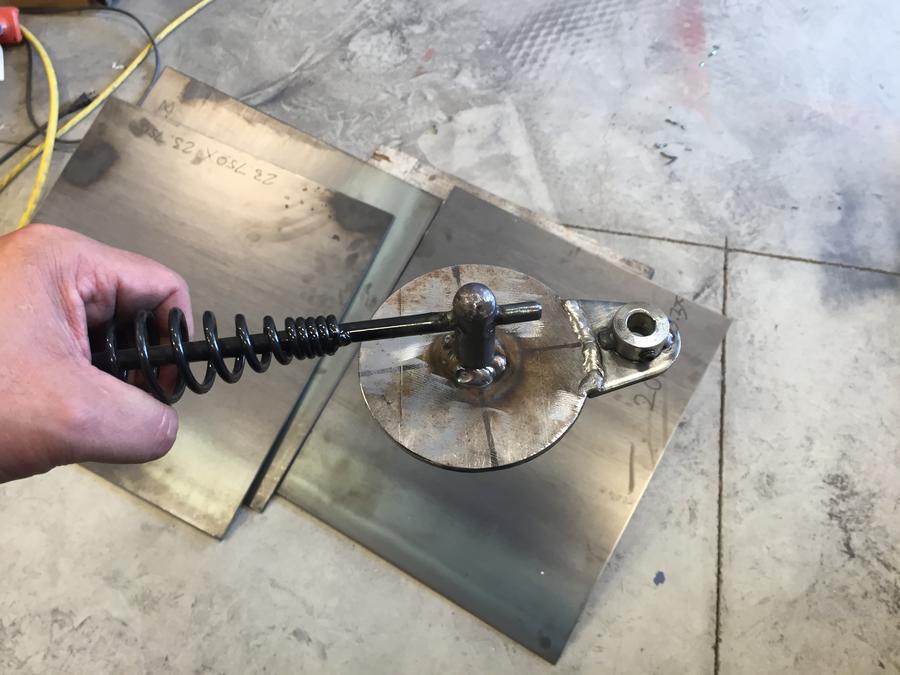
Had a few minutes to mess around with the smoker tonight. I made the upper air inlet cover. Used a 4" whole saw and added a couple things to it so it will bolt to the
FB. Will post pictures later... I did not take any. Lol
FB. Will post pictures later... I did not take any. Lol
smokejumper
Smoking Fanatic
lendecatural
Smoking Fanatic
Sitting here chicken scratching some ideas around for the FB lower vent slider, FB Door & Ash Pan.
Tomorrow in the morning I am going to try to get a little more done.
Tomorrow in the morning I am going to try to get a little more done.
lendecatural
Smoking Fanatic
Hmmm, is the space between the lower cutouts narrower than the width of the cutouts themselves? Could cause a problem......
It won't be when I am done. They are not finished just yet....... The material when I box those in will take care of what you are seeing. I tripped out on it as well.
So the material will come out and be flush with the face of the FB openings and will shrink up those openings about 1/2 of an inch all the way around. Then I will sand down the welds smooth so the the vent slides nice.
So the material will come out and be flush with the face of the FB openings and will shrink up those openings about 1/2 of an inch all the way around. Then I will sand down the welds smooth so the the vent slides nice.
Last edited:
SmokingMeatForums.com is reader supported and as an Amazon Associate, we may earn commissions from qualifying purchases.
Similar threads
- Replies
- 218
- Views
- 12K
- Replies
- 3
- Views
- 945
- Replies
- 10
- Views
- 493
- Replies
- 3
- Views
- 1K
- Replies
- 35
- Views
- 1K
Hot Threads
-
Our Second piece of Heaven, Little piece on the Atlantic Ocean
- Started by DRKsmoking
- Replies: 55
- General Discussion
-
Non fat dried milk
- Started by hog warden
- Replies: 37
- Sausage
-
How Do I Get Rid of These Armadillos?!!
- Started by seenred
- Replies: 36
- Blowing Smoke Around the Smoker.
-
Getting to the bottom of what happens to cure in smoked sausage
- Started by hog warden
- Replies: 31
- Food Safety


