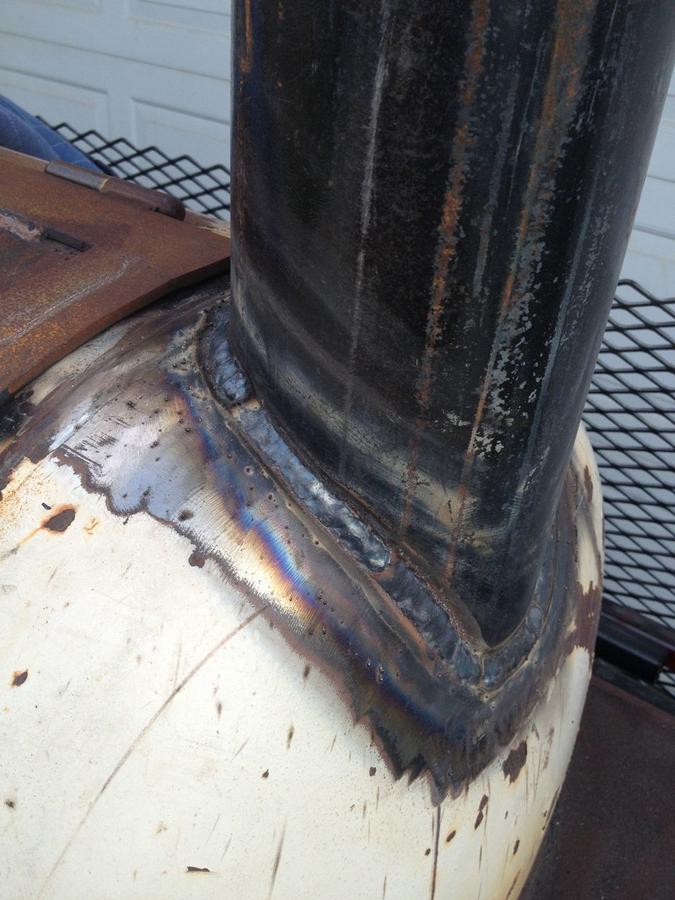
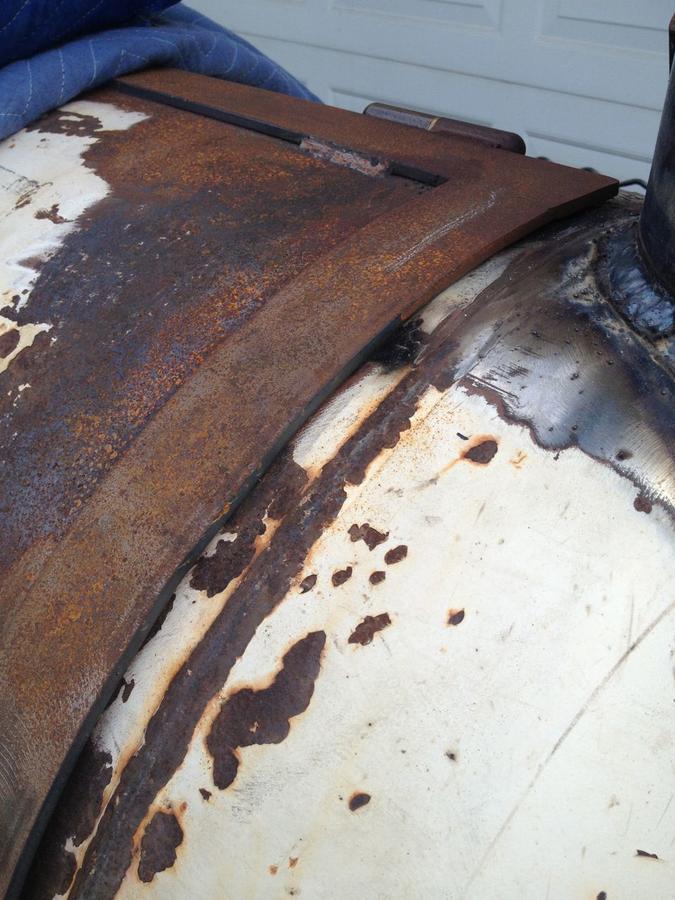
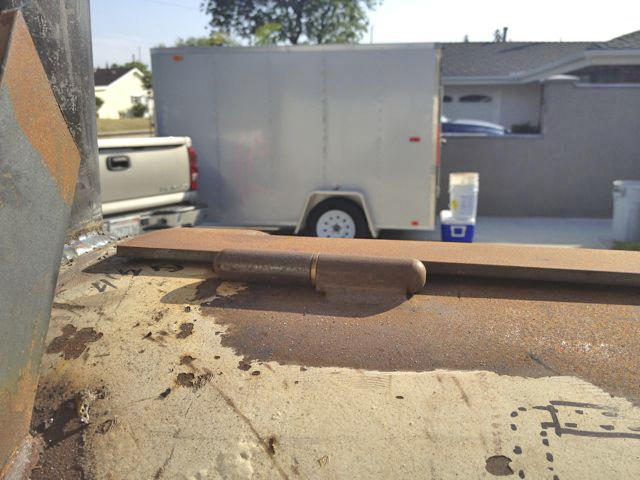
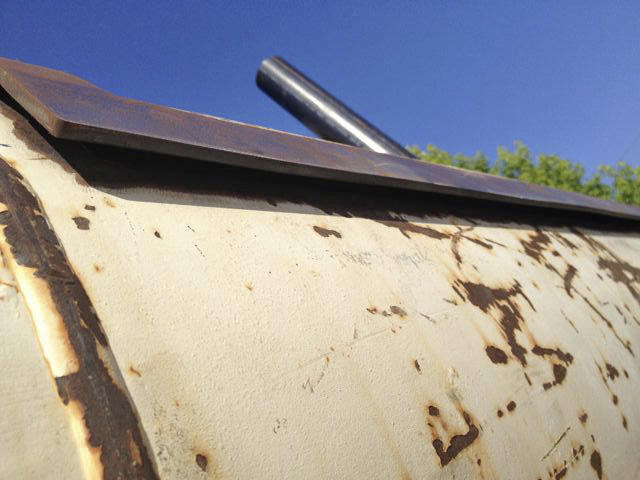
My first RF smoker build, any help would be appreciated

  • Some of the links on this forum allow SMF, at no cost to you, to earn a small commission when you click through and make a purchase. Let me know if you have any questions about this.
SMF is reader-supported. When you buy through links on our site, we may earn an affiliate commission.
DFY...I put mine to the side and I don't have the hot spots you hear about...in fact, the side towards the FB end runs 10 degrees cooler depending how much it's choked down. Not sure if that's the reason, but I'm assuming its related.
 
Well I finally got my welder down out of the hills, and we got some welding done today. Here are some pictures of a days work.

We started with the grease drain rail and drain pipe.


Then moved onto the cooking grate rails,


The stack, Leveling and welding,


The air dampers,


And the days end results,


I'm getting closer to the end, there is light at the end of the tunnel. We are gonna try and get some more done this week, hopefully before Wednesday when he picks up his new Ranger Bass Boat, heck I will never see him then, well I will see the back of him cause I will be with him on the boat. HA HA !
 
Last edited:
If you can, I'd put a slight angle to it, but dont trim it flush with the top. Imagine a line where the top of your larger cuts of meat will be sitting and cut it about there.  Your probably close where its at, thats why I say just cut a slight angle to it.
 
S.O.S. ! ! ! !

So I went out to check on yesterdays progress and noticed a problem and I'm not sure how to solve it. Pretty sure I'm not the first person this has happened to, so I thought I would get some feed back.

After all the welding that was done yesterday I noticed today that my door no longer sits flush on the bottom portion of it where it meets the smoker. It use to close perfectly, any thoughts on how to fix this problem ? ? ? ? ? ? ? ?


Looks to me like the stack weld pulled the edge of the door opening up, and the door is resting on this raised area.

You can probably heat that area between the stack and the edge of the door opening, and beat it back down to the right shape to allow the door to close properly.

Another technique would be to run a bead on the inside next to the stack which would tend to pull it back down, but this is usually less effective pulling against an already established fillet weld. Heat and beat is the way to go IMO.
 
Dave here are some more pictures,


These are both the top right and left side at the hinges and corners, this is OK its even all the way across.


These are both the right and left sides, as you can see the gap is only at the bottom and its pretty even in space on both sides


This is the gap along the bottom edge that just showed up after Sunday's welding session. Its about 3/8" all the way across. Which got me to thinking could it have been from welding in the cooking grate rails and not the stack, since its so even across the bottom edge only ? Here is a picture of where we welded the cooking grate rails in.

 
What I like to do is trace the radius of the tank on both sides of the door opening and transfer this onto a piece of 3/16 or 1/4" plate, these plates will also be what holds my door handle so kind of draw out what looks good to you, then when you cut these out and weld them onto the door, they will make the door perfectly match the tank and will not warp.

Does that make sense?
 
ribwizzard,

Makes  sense, but sounds like I should have done that a few steps back in the build (ooops). If I do that now would it still work ? How would I get the door to bend now ? Its 1/4" thick with a 1/4 thick flange all the way around. Is it still possible to do this and correct the warp in the door ?
 
 
If you can't see a high spot near the exhaust stack, it appears the door warped when the 1/4" door seal was welded in place on the curved portion of the door....  Looks like there is a minute warp on the bottom of the door also where the door seal was welded....  

When welding any steel, the metal shrinks.... welding the outside of a curve  will tend to straighten it....  welding a flat piece of steel will tend to bow the plate on the side of the weld..   blind welds help to reduce that effect if not even totally eliminating it...  If you can bolt the door in a closed and sealed position, build a fire and heating the smoker up to 5-600 degrees may take the twist out by relaxing the metal..  Also, welding beads on the inside of the door will tend to pull the door into more of a curve and back to original position or even more of a curve.... straightening, curving steel is an art... the results of welding beads will not be evident until the steel has thoroughly cooled to ambient temp... that takes hours....

Welding ribs, as RW suggests, is a very good way to give the door structural stability and they look cool....

Dave
 
It is possible that the rails could have pulled the tank in, especially if they were loosly fitted prior to welding. I would not expect it to pull it in evenly all the way across though. You can check it easily by measuring the diameter at the rails and see if it is shorter than the diameter measured vertically. You can also make a cardboard or sheetmetal template that matches the outside curve of the tank and use that to check for high and low spots, If you are sure that the tank is deformed along its length and not just propping the door open next to the stack, you can easily bend the door to close the gap. Use some chain and hydraulic jacks to bend it.Dave has a good point as well. You can try the various heating methods that Dave mentions, they work too.
 
Last edited:
The door used to fit really good and the door flanges were already welded on. This all came about after welding on the stack and cooking grate rails. I will give Dave's ideas a try, also like ribwizzard suggestion with the ribbing just wish I would have done it prior. If I get it back to a good fit again, I'm going to rib the door.
 
ribwizzard,

So I take a piece of cardboard and trace the radius of the tank, cut it out and transfer it to a piece of 1/4 plate. Cut it out and weld that rib to the outside of the door to regain the shape so it fits correctly. It all makes sense, but how do I get the door to bend to the shape of the radius on the rib ? ? ? If I'm understanding Dave right I would have to heat the inside of the door to make it curve back to its original shape, thus allowing the ribs to fit. Does that sound about right ?
 
Chain binder or bolt or tack weld the door shut and build a big fire in the smoker to heat it up and relax the steel......   Or weld beads, inside the door to "re-curve" the door..... 

That should take care of all the tweaks the CC took during fitment...

Then you can fix what ever is next.....    When scribeing for the curved ribs, Scribe the line right on the steel.....  saves from mis transfer using a template...  scribe each end of the CC opening on the rib steel....   RW has some photos somewhere.....  Those are a cool addition and stabilize everything very well...
 
ribwizzard,

So I take a piece of cardboard and trace the radius of the tank, cut it out and transfer it to a piece of 1/4 plate. Cut it out and weld that rib to the outside of the door to regain the shape so it fits correctly. It all makes sense, but how do I get the door to bend to the shape of the radius on the rib ? ? ? If I'm understanding Dave right I would have to heat the inside of the door to make it curve back to its original shape, thus allowing the ribs to fit. Does that sound about right ?
Usually they are sprung out, so just clamp it in place and when you weld the pieces on, they will hold that shape. Just fit them really good, becouse that is the shape they will hold.
When I get to the point of welding on the door ribs, how far in from the outside edges of the door do you come in for placement?
Depends on how long of a handle you want. The one Im doing now, I want a oak wooden handle that runs the full length of the doors, so I placed them right inside the door flanges. They will look bulky to you at first, but once its all dressed out with handles and painted black, it will look in porportion,   play around with the cardboard first until you get the look you want, and think about handle placement and where your thermometer will be ( helps protect it as well )
 
SmokingMeatForums.com is reader supported and as an Amazon Associate, we may earn commissions from qualifying purchases.
Clicky