buda q
Smoke Blower
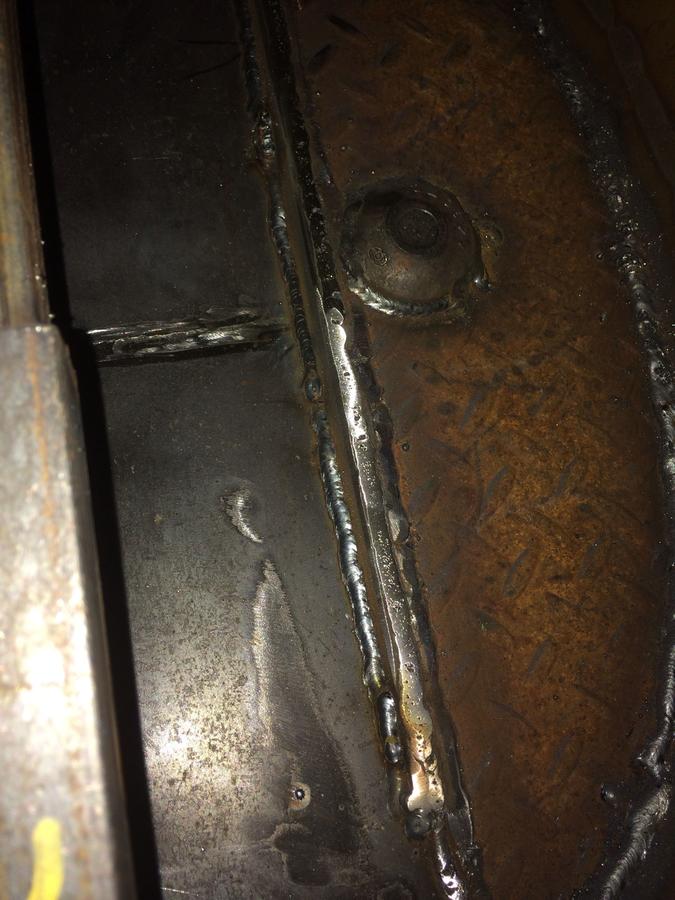
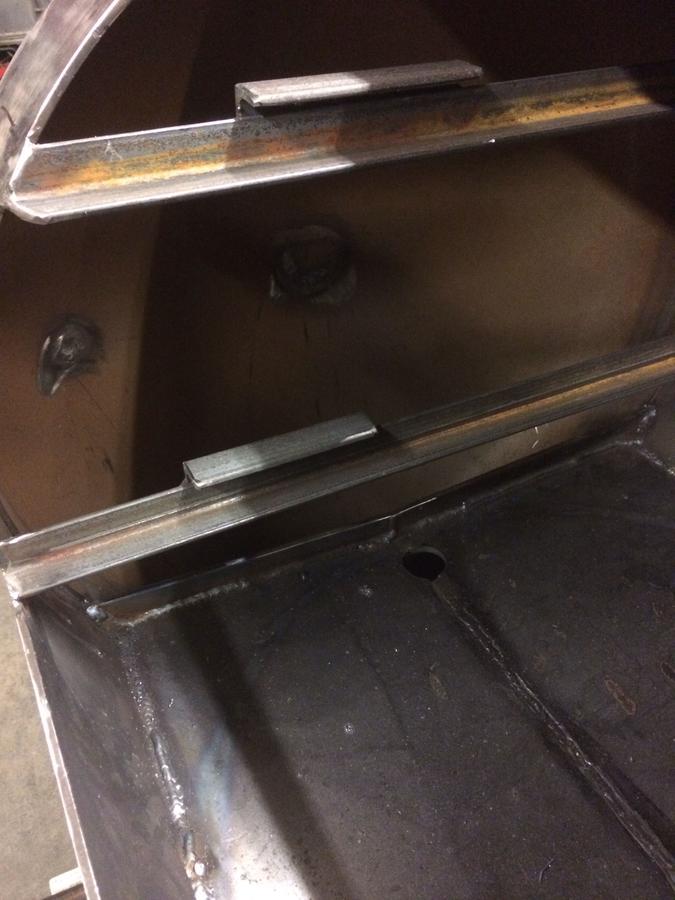
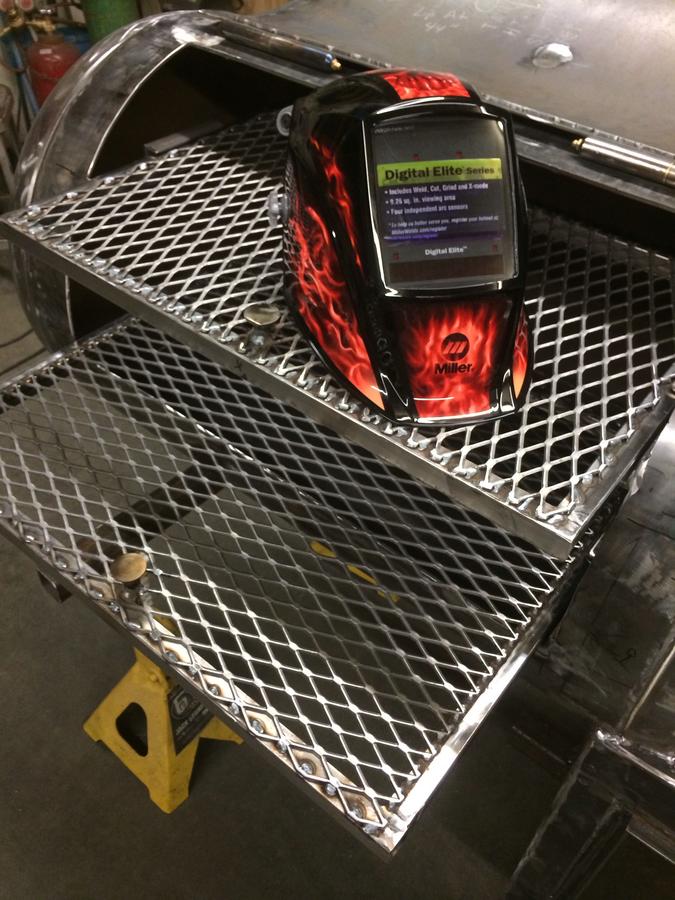
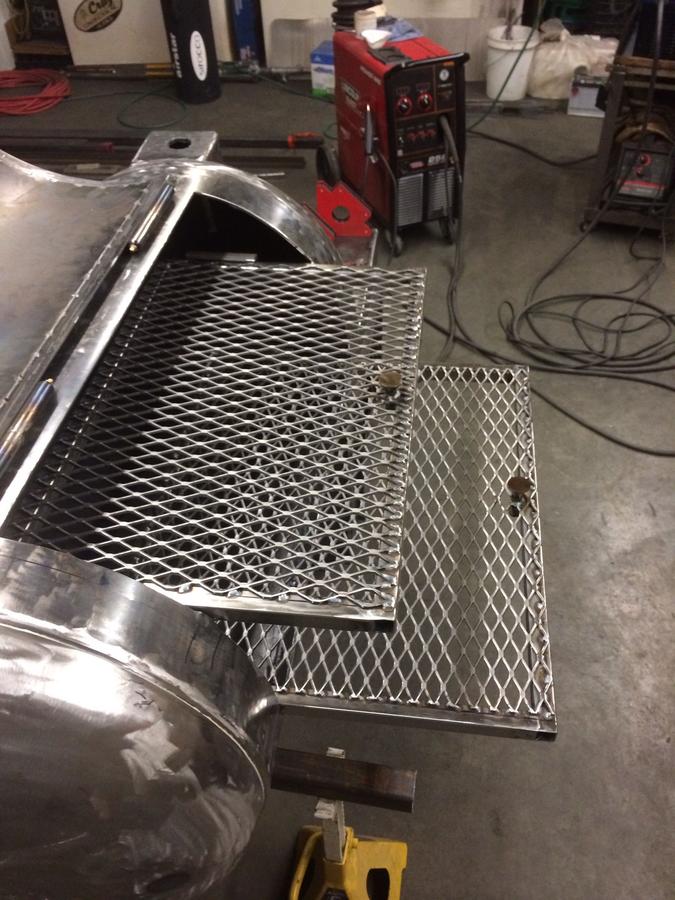
Alaska; my angle iron for my bottom grate is flush with the bottom of the door opening. It can just slide right out. Hope this is what you are asking. As far as the top grate; if your pit is vented properly you shouldn't "smoke out" the food. Just my thoughts. Thanks.