- Oct 23, 2023
- 3
- 1
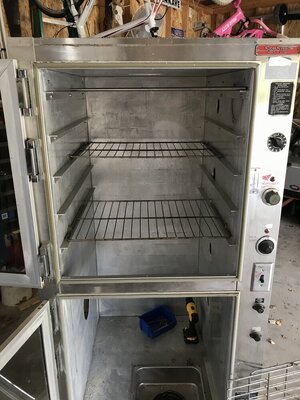
Checking in here from Kansas. Joined up since I'm building a warming cabinet smoker. Ordered a PID from AuberIn today + 2400 watt oven element. Will be 240 volt. I will probably post these in one of the other smoker-building subforums (was told to post here first haha), but here are my current questions:
1) How do you install grate/shelf holders that are level and parallel? Was planning on using a laser level + pre drilling angle iron + pre drilling warming cabinet walls, but wondered if there might be a better way.
2) Double/triple/quadruple checking: 240 volt has two hot wires + a ground. The oscillating 60 hz current means there is no need for a neutral, correct? The 240 volts makes me nervous haha. Better to respect it I suppose.
3) For the AuberIns WS-2000F-SMD (https://www.auberins.com/index.php?main_page=product_info&cPath=14_28&products_id=634) I can just wire a plug to the oven element to plug into the Auber, yes? That was my plan.
Thanks!