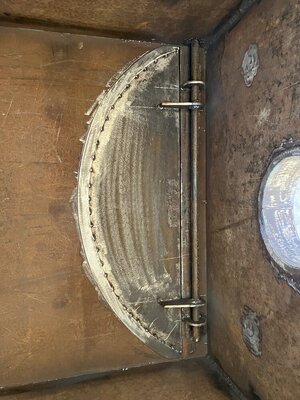
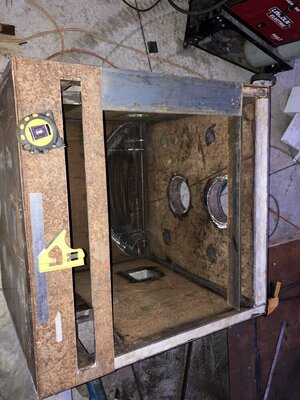
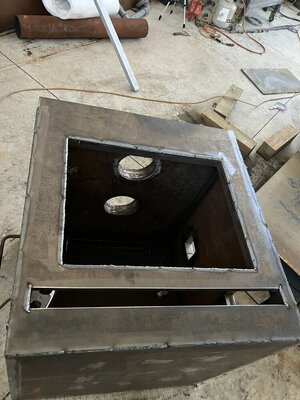
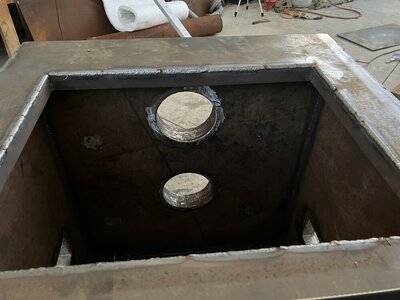
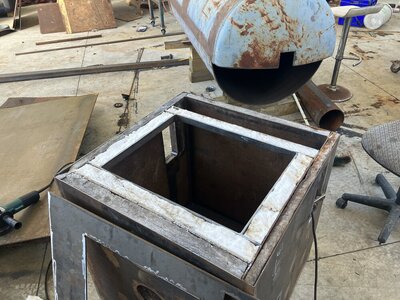
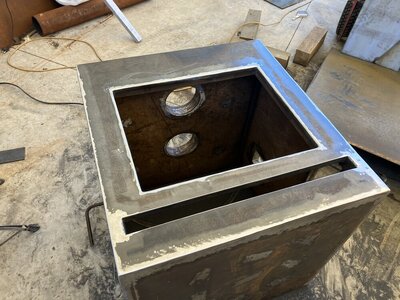
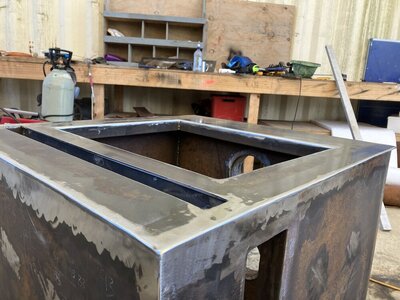
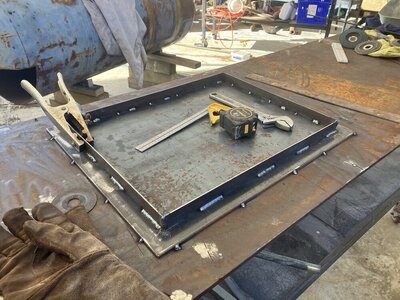
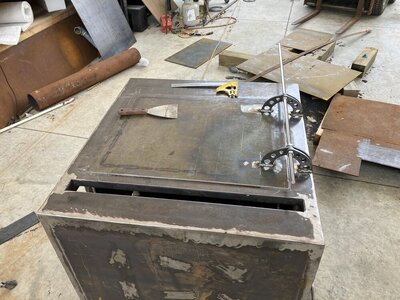
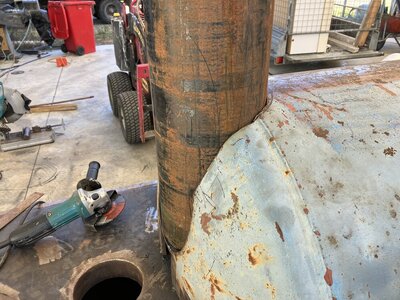
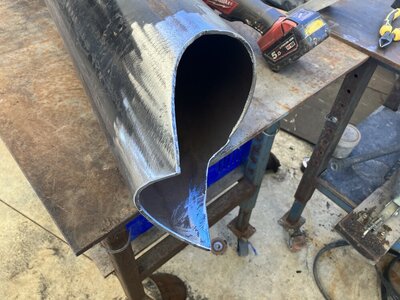
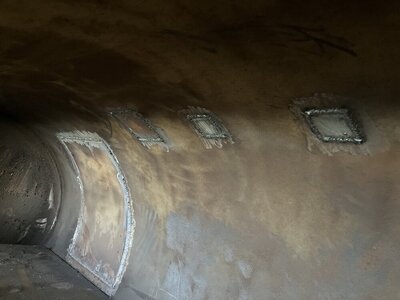
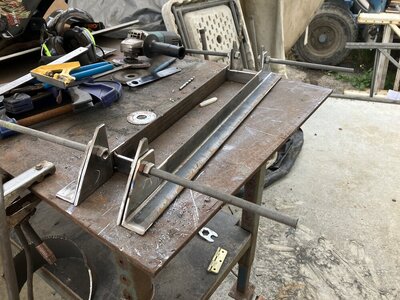
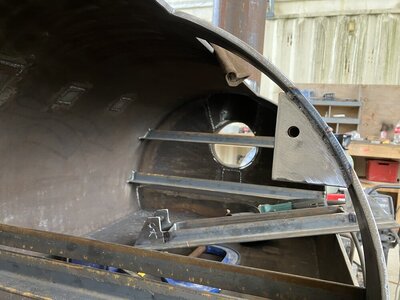
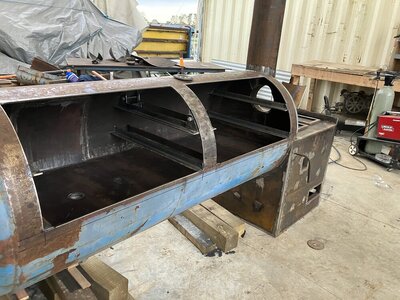
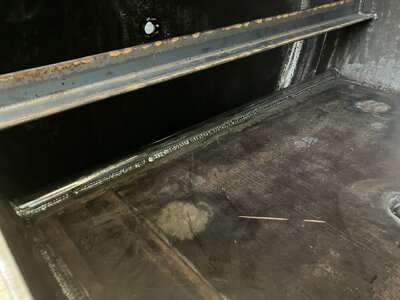
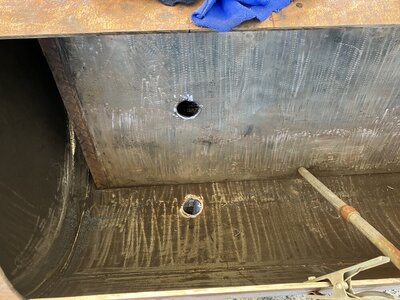
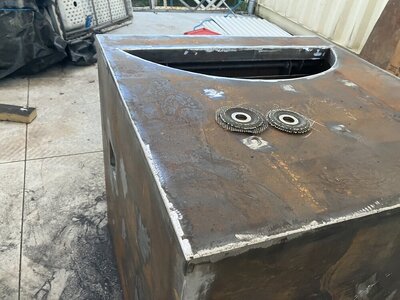
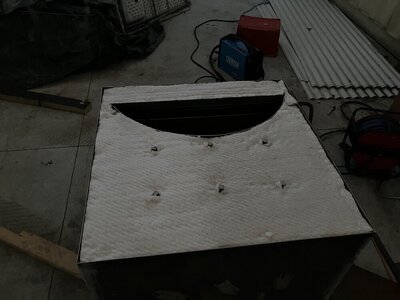
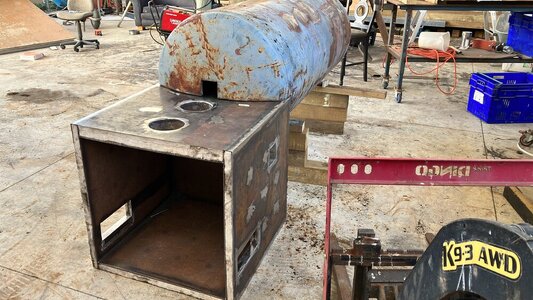
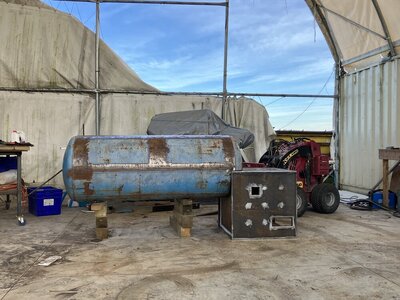
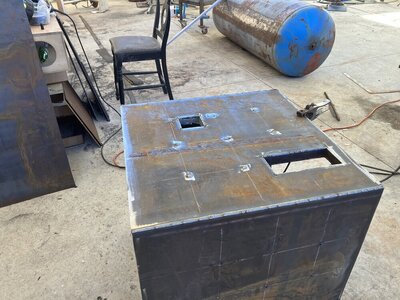
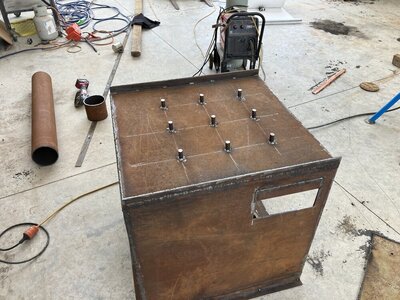
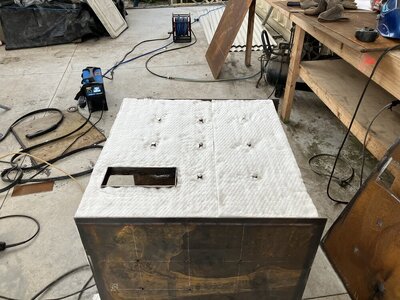
Hi guys, I am into my reverse flow offset smoker and have some questions regarding the cook chamber I am putting above the FB. I have 2 x 6 inch flues between the FB and warming box. I want to be able to use it as a warming chamber and as a vertical smoker. Was thinking I would install a baffle plate “pan” that is approximately 1 and a half inches short of touching the WB sides to diffuse the heat and smoke and catch most of the fat when hot smoking. Also thought I would install this 2 inches above the FB top( insulated FB) The box is approximately 500mm deep x 700 wide x 950 high. Standard grates apart seem to be 6-7 inches? Sound good? Also was wondering how tall flies on top should be? Aiming on 6 inches x 2.
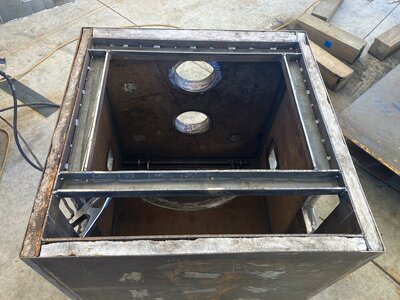
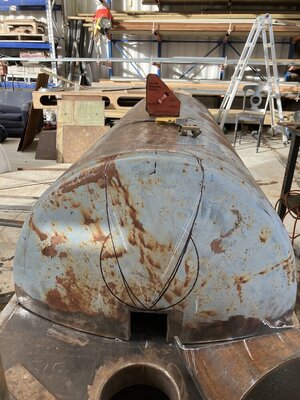
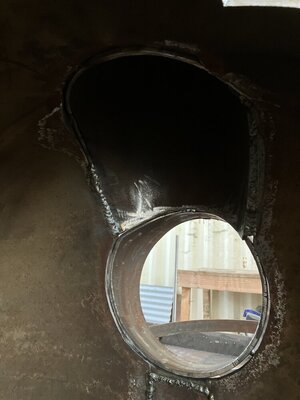
Also has anyone had an opening from CC of main smoker come into WB? Was going to run a 8 inch pipe directly through that I can control with a sliding grate. Any thoughts or advice would be appreciated
Also has anyone had an opening from CC of main smoker come into WB? Was going to run a 8 inch pipe directly through that I can control with a sliding grate. Any thoughts or advice would be appreciated
Attachments
-
 IMG_3638.jpeg151.6 KB · Views: 29
 -
 IMG_3557.jpeg90 KB · Views: 22
 -
 3372372B-B5BA-4718-8855-C244D9EB5E1D.jpeg172.6 KB · Views: 21
 -
 IMG_3358.jpeg156 KB · Views: 23
 -
 IMG_3333.jpeg166.1 KB · Views: 22
 -
 IMG_3234.jpeg177.1 KB · Views: 21
 -
 IMG_3236.jpeg177.9 KB · Views: 21
 -
 86BC1ED3-6F0A-4398-A651-060EF984F553.jpeg88.9 KB · Views: 23