Some of the links on this forum allow SMF, at no cost to you, to earn a small commission when you click through and make a purchase. Let me know if you have any questions about this.
Granite Falls WA. After successfully building a wood fired Pizza oven, it's time to try a hand at a slow cooking BBQ. Hopefully lots of build examples here on the forum ;)
Great looking oven! There are tons of build threads here. Some simple like the mini-WSM or UDS. Some critics motivated like the brick and mortar builds. All depends on what medium you want to build.
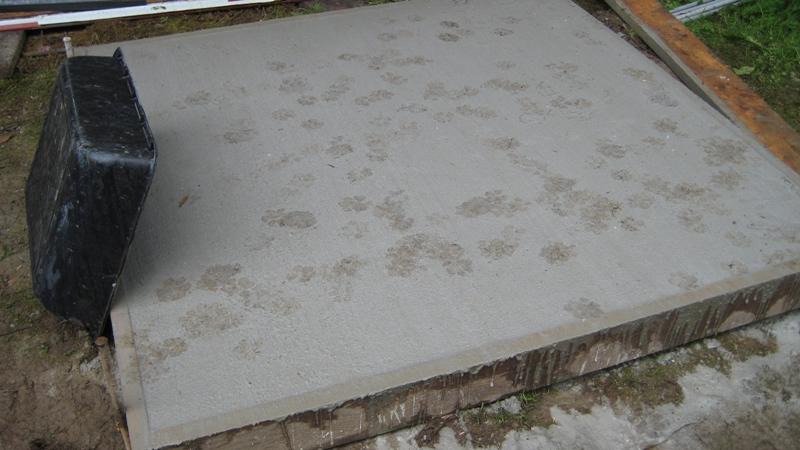
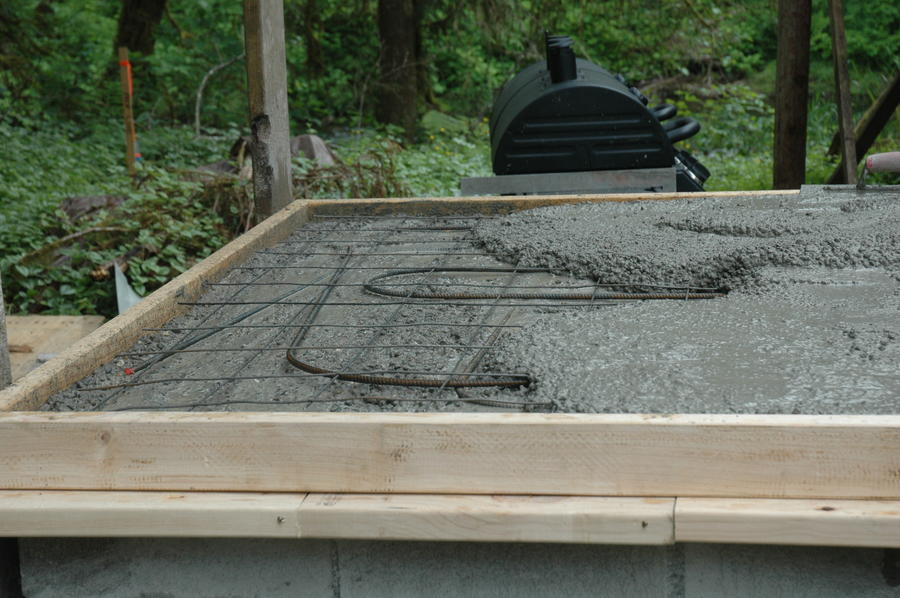
The top is created by putting in a 3/4" plywood piece supported by 1" pipe in the center. The plywood sits about 3' - 4" down below the lip and a frame around the outside to end up with a concrete top about 6" deep. Lots of scrap re-bar the strengthen the top.
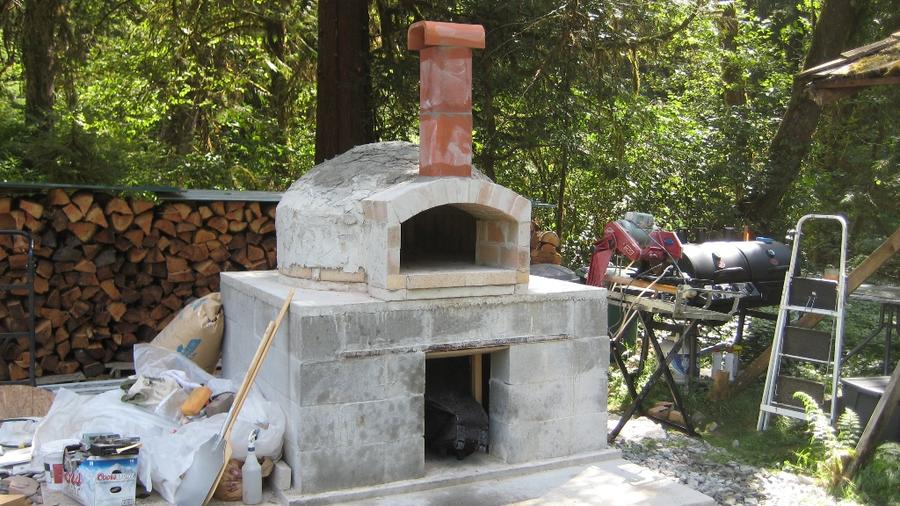
Now starts the fun part, designing the dome. Basically it's an igloo shape that is not a pure dome, it's flattened on the top to reflect the fire/heat down to the cooking surface.
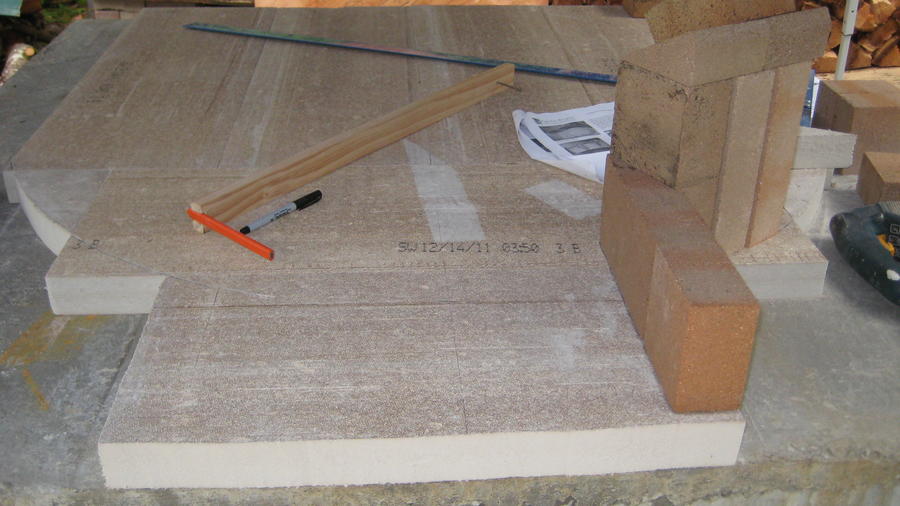
Using mortar made for high heat, the cooking floor the first row of Solders (Vertical) firebricks are mortared in place. The transition to the entrance is angle cut bricks. You need a good tile saw for this job. I wore out 2 blades before it was all done.
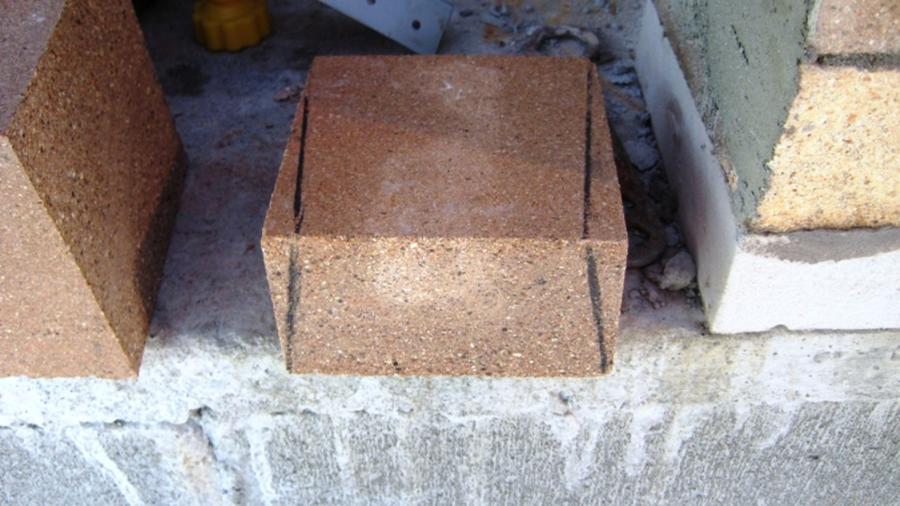
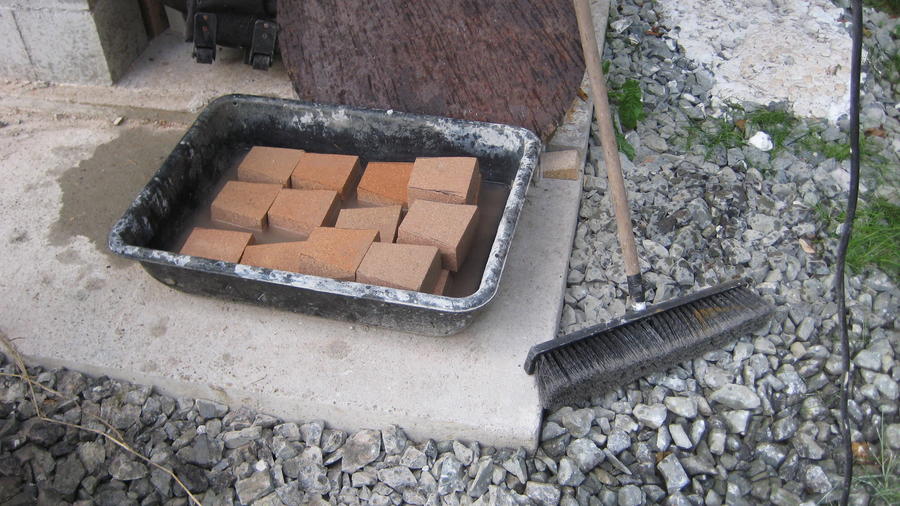
Now it's time to cut the rows of bricks. Notice the ones around the circumference are half bricks. This is both for weight and heated mass. Using full bricks would take way too long to come to temperature.
Once this is dried, a layer of fiberglass insulation like you would find between a household oven and the exterior to isolate the heat, is added the the exterior of the dome. This is held in place with wire. then a layer of cement is put over the while thing to tie in with the concrete surround.
At this point slow low burns are done to cure the oven. Each burn gets it a little hotter. After about 6 burn cycles it should be ready for cooking. I starting a mosaic on the outside for that artsy look.