Westinghouse ED-60 Build

  • Some of the links on this forum allow SMF, at no cost to you, to earn a small commission when you click through and make a purchase. Let me know if you have any questions about this.
SMF is reader-supported. When you buy through links on our site, we may earn an affiliate commission.

admah

Newbie
Original poster
May 12, 2016
6
10
Nashville, TN

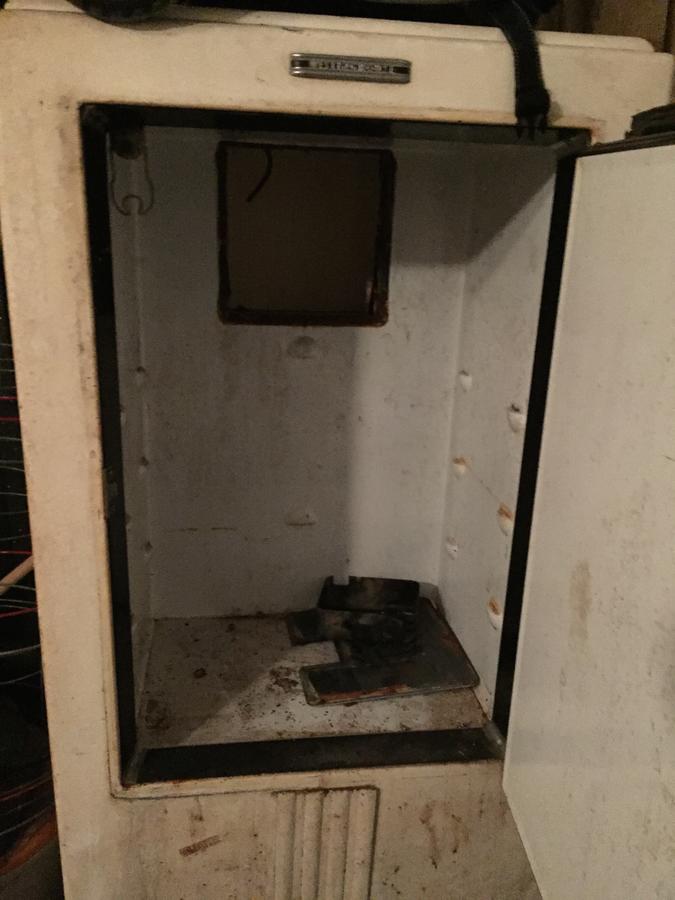
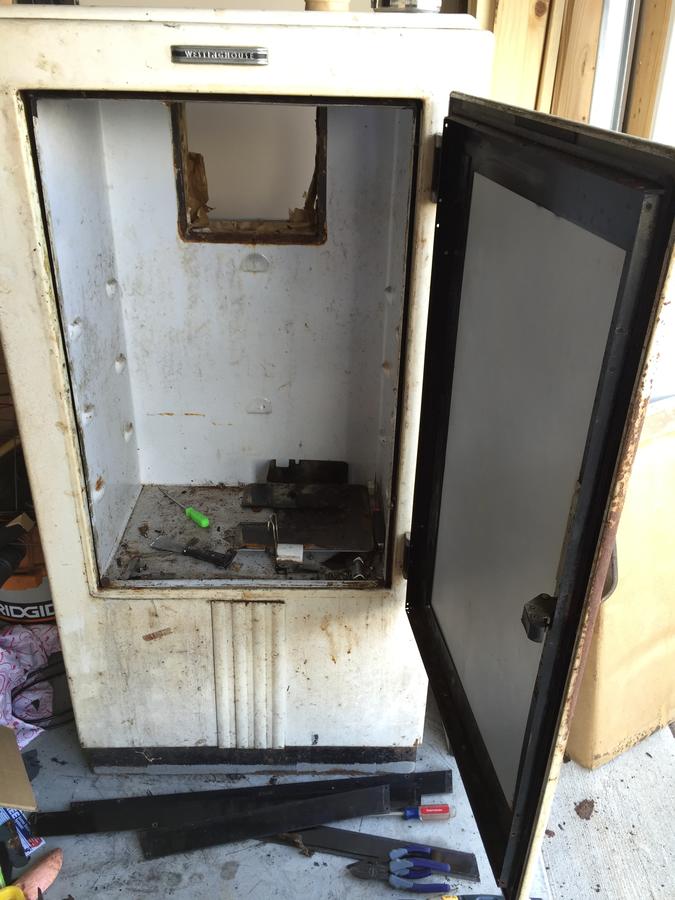
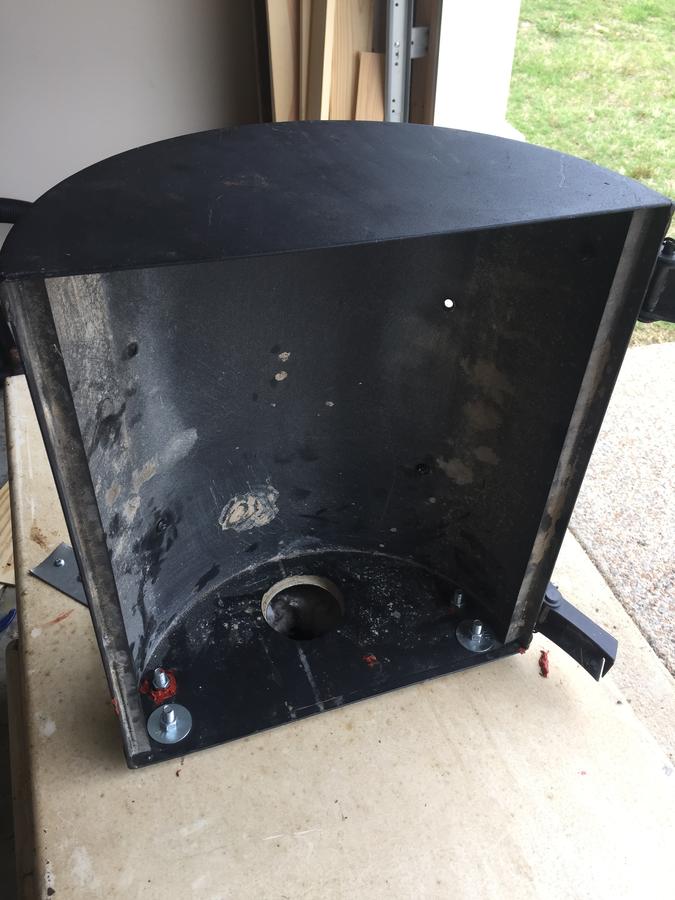
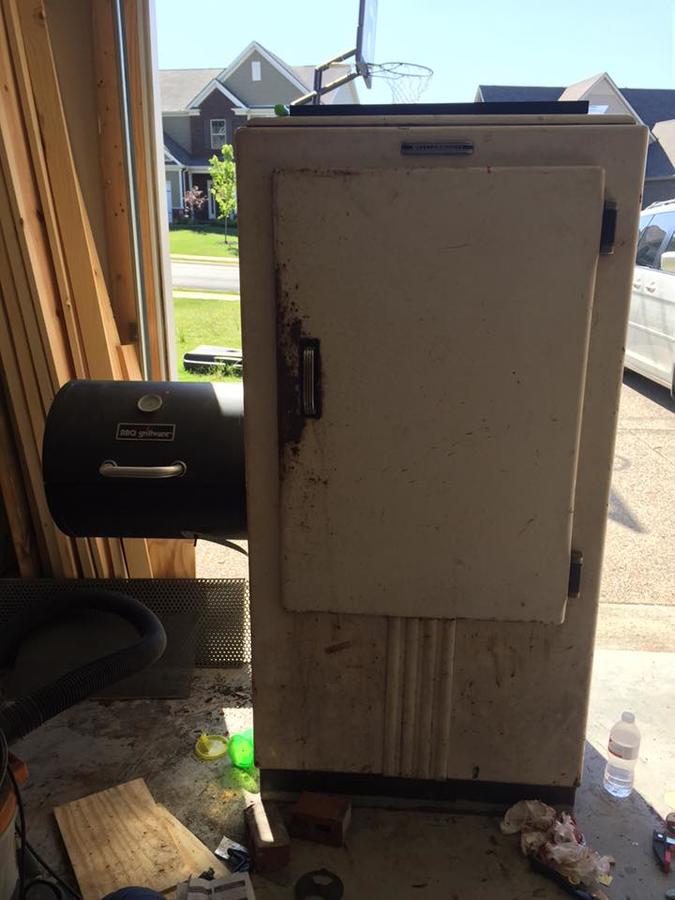
About a year ago, I was able to purchase this from the original owner - who was a Westinghouse salesman.  It's about 80 years old from the info I could find on it.  Obviously, I added a 15-in barrel smoker for the firebox.

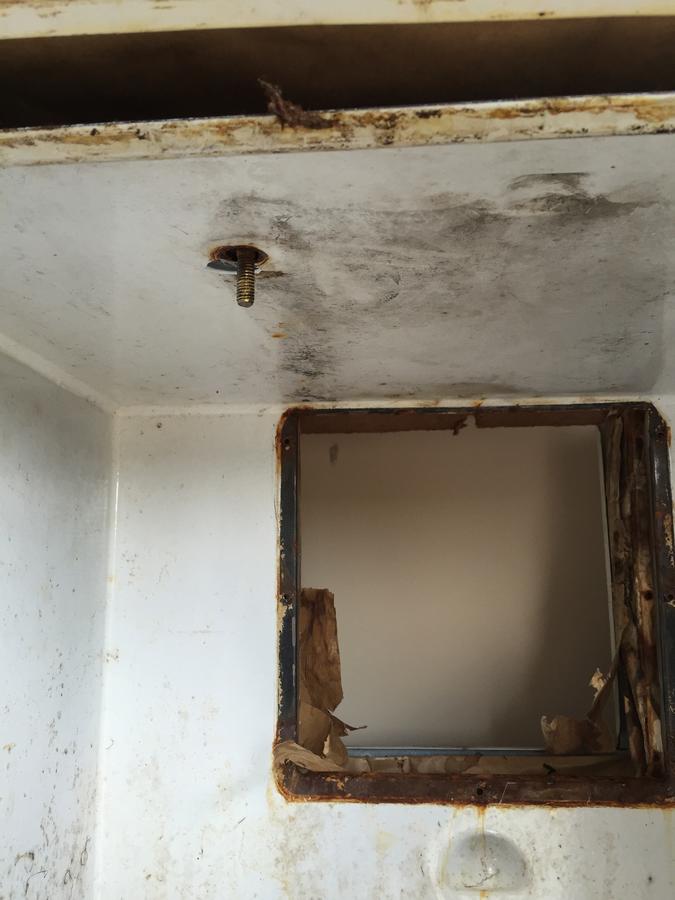
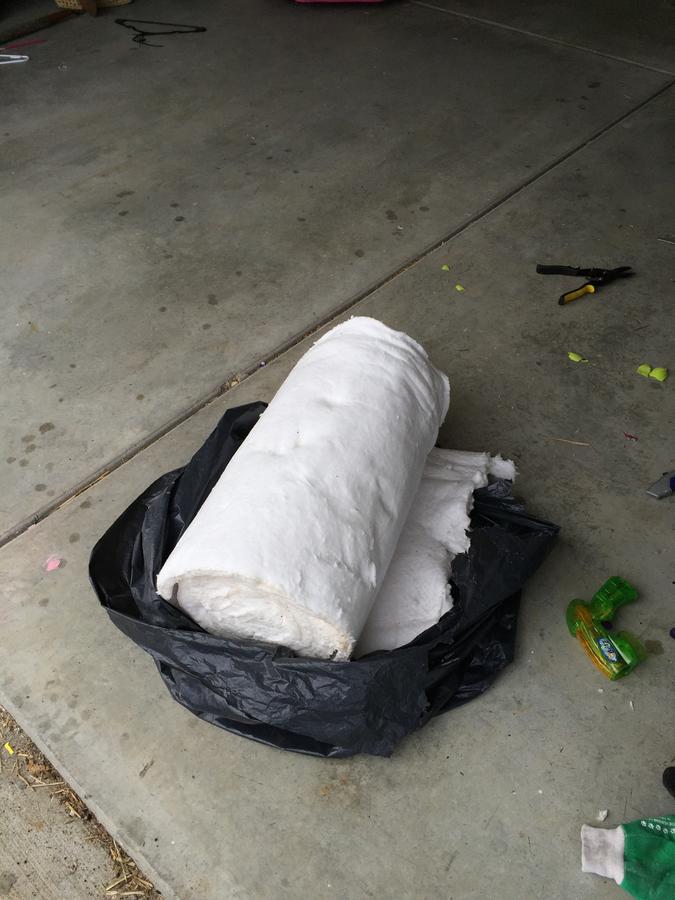
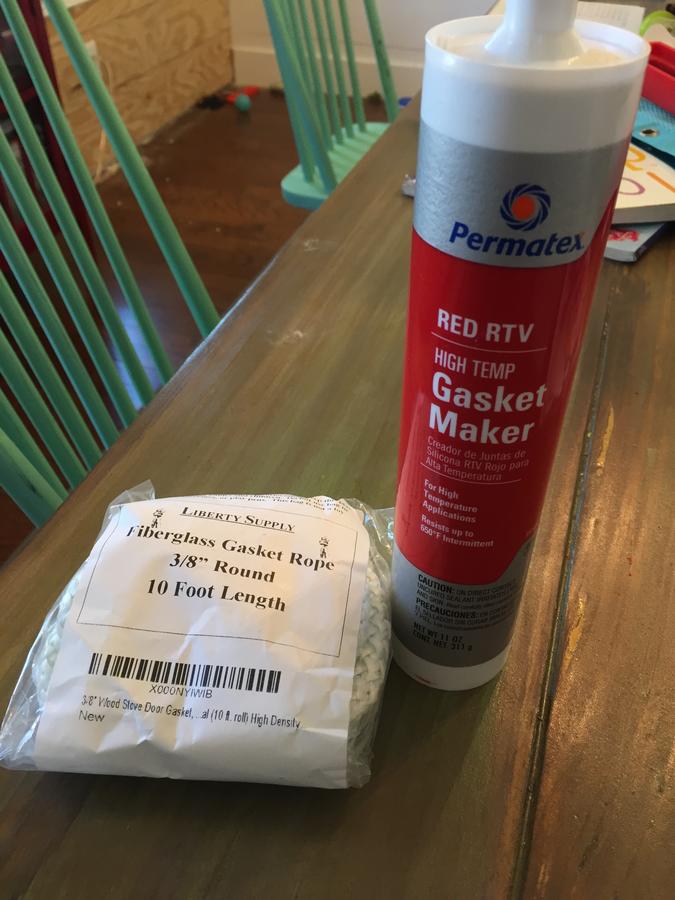
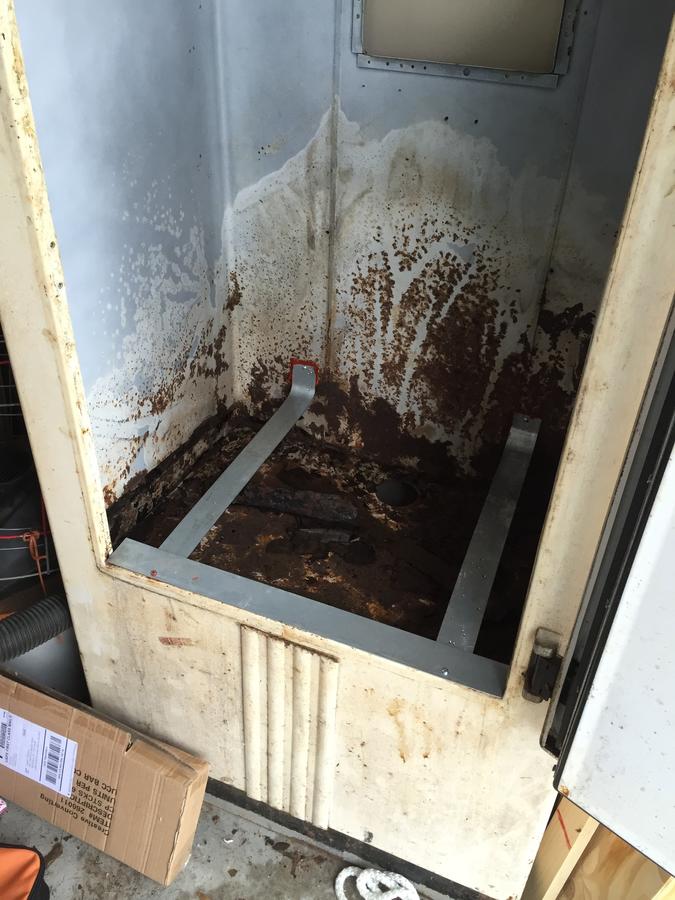
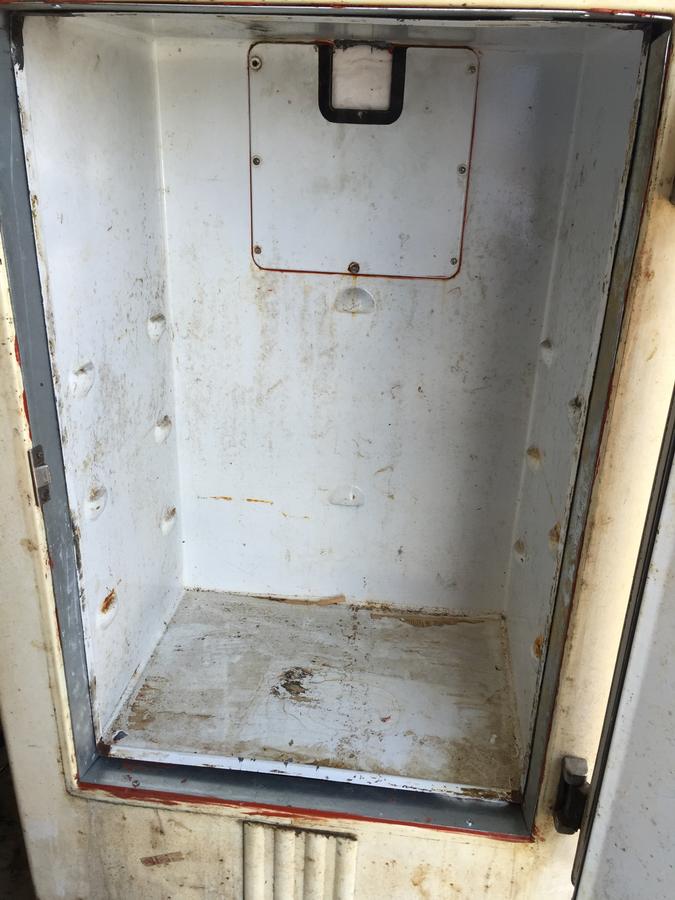
The first part of the build included a complete tear-down in order to replace the insulation.  I replaced the paper-covered fiberglass with high-temp airplane insulation I was able to get from a friend.  Beyond that, it was doing some basic metal work to replace any plastic pieces, adding the firebox/piping, and sealing everything with a ton of Red RTV.

I've been working for the past 6 weeks or so on the build (in what little spare time I have), and I'll be doing a test smoke with it hopefully in the next couple of days.

I have a lot of photos detailing this build, so I will be uploading those later to this thread as well.

Thanks for all of the help along the way!  
 
First I had to take out the freezer that was located inside, strip off the plastic pieces that surrounded the interior of the fridge and door, and cut the metal straps holding in the interior.


Next, I removed the interior and gutted the old insulation.


I used the old plastic pieces as templates, and cut aluminum bars to match. This let me recreate the structure of the original.


For insulation, I had a roll of aircraft insulation. To seal the door and other areas, I used fiberglass rope and Red RTV.


The original had the interior held in by metal straps.  I tried to recreate this with aluminum bars across the bottom.


Once this was all set, I put the interior back in and sealed all edges. 


Next, I moved to install the firebox. I was able to purchase a 15-in barrel smoke off of Craigslist for $25, which also provided the smoke stack and other pieces that may be valuable in the future.


Added smoke stack out the top.  I had some strapping that I used to attach the exhaust to the fridge.  I also have some left-over aluminum ducting that I will be using to finish out enclosing this after my test smoke.

 
Last edited:
Update : Did test smoke today and failed :)  Heat/smoke didn't transfer from firebox to smoker.  It appears that need to readjust the firebox lower to allow the heat to vent out the top and seal it better.
 
That is going to be a good looking cooker when it's all done and you get it dialed in. If I am seeing it correctly you are using the 2 1/2"ish hole to transfer heat/smoke from fb to the cooking chamber? If that is the case, then it would be my opinion that you'll need about 3-4 times that area to really move the heat and smoke. Move it as low as you can in the body of the refrigerator, and let thermodynamics do what it do. You'll also need strict air control in your firebox to keep temps from running away on you. Seal the firebox door and add a latch, and if you have the ability to fabricate, it would be helpful to insulate your firebox.
 
SmokingMeatForums.com is reader supported and as an Amazon Associate, we may earn commissions from qualifying purchases.

Hot Threads

Clicky