Wanted to show people what I used as a lid shim to make the Weber Kettle lid fit onto my UDS. Couldn't really find any posts dedicated to this, so wanted people to share what they did for this. (IF YOU WANT TO SKIP OVER MY LONG WINDED TENDANCY, THE PARAGRAPH STARTING WITH
 GETS TO THE MEAT OF THE PROJECT)
For me, I don't have any major tools/welders, or things like that, so I needed to find something that would work without the need for that stuff. I posted this in my actual build post, but wanted to share it here so anyone looking for this specifically, and other options/ideas you guys may have can find it easier.
I was procrastinating this project because I couldn't think of what to use as a lid shim, as the Weber lid is slightly too small to fit on the drum alone, and the idea to try and use wood popped into my head. First I'll mention some of the other products I think could work without having to have special tools to bend and weld, etc. I walked around home Depot and Lowe's for a while debating what to use. Some of the best I found we're thinner steel strips they have in the roofing section of the store, they have varying sizes and lengths all with pre-drilled holes. Another, are aluminum strips they have in the flooring or misc trim section of the store, about 1-2" wide and the thickness of a quarter. Various types and sizes of wood trim pieces in the finish work/wall trim area, and what I ended up using which is some cedar "lath"
So basically, I liked the wood idea because it is a thicker material, thus providing a more stable base, but being that it is wood it also provides a better natural seal against the lid.
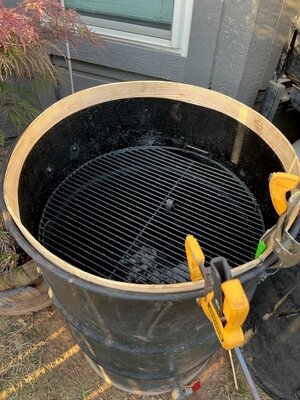
I took a piece of lath, and calculated that it needed to be just shy of 70", soaked it in water for about 10 minutes, then it easily bent to the inside of the drum. (try to find a piece with no knots.) Clamped it in place, at 4-6 points and let the wood dry.
A couple hours later, I pulled the ring out, applied some high heat caulk around the rim of the barrel and put the wood ring back in and again clamped it.
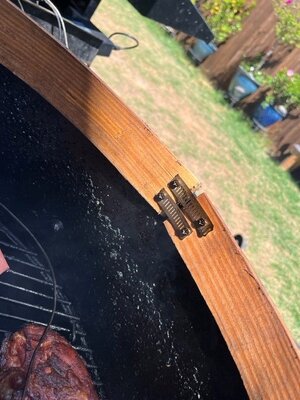
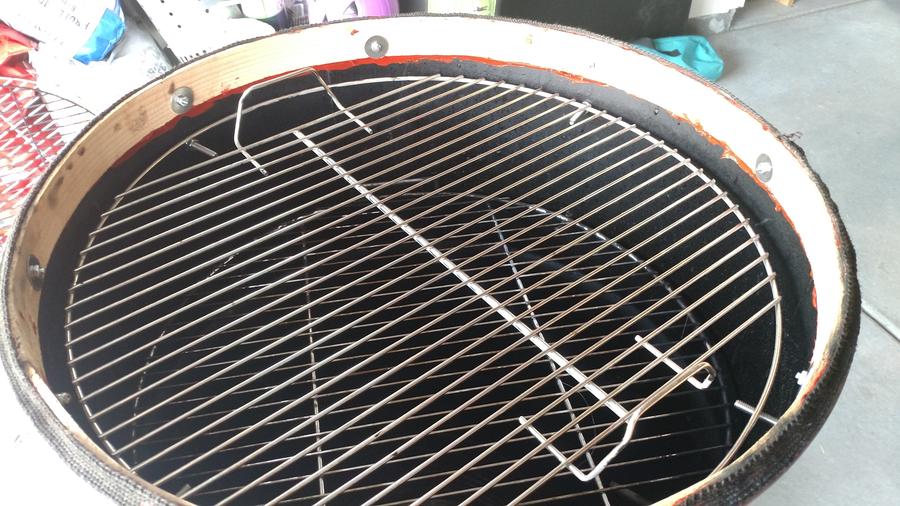
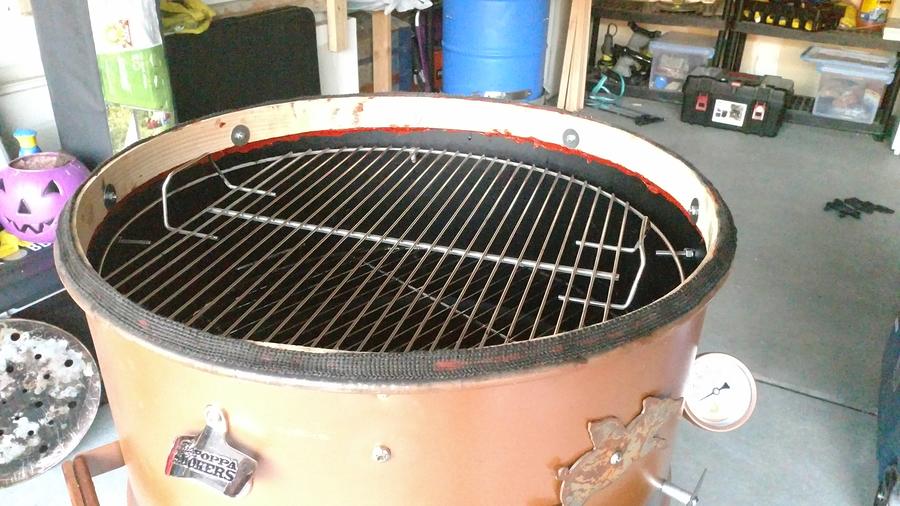
After a few hours I installed some hardware with large washers to keep it all in place.
Then I installed a rope gasket around the lip of the barrel and up the side of the lath to make a good tight seal when closed.
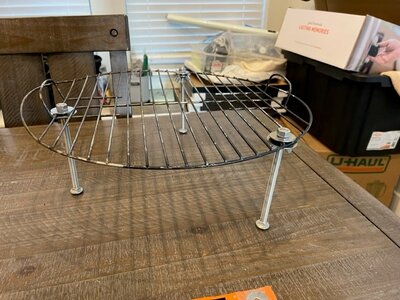
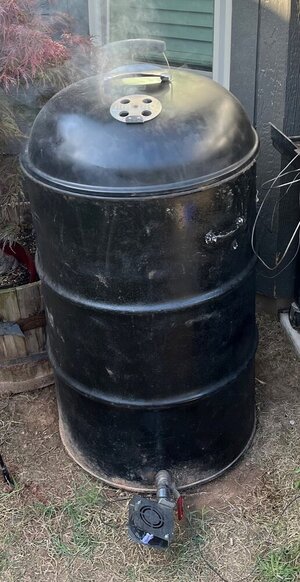
Here is what it all looked like: (oh I also added the hardware for, and the second rack)
Used the same pig handle from the old lid, and the smokestack from a Lowe's brand smoker
What else have you used for this mod? (Ive heard others say that the 22.5" Weber lid should fit a 55 gallon drum without a shim, but this has not been my experience with the 3 drums I have)

For me, I don't have any major tools/welders, or things like that, so I needed to find something that would work without the need for that stuff. I posted this in my actual build post, but wanted to share it here so anyone looking for this specifically, and other options/ideas you guys may have can find it easier.
I was procrastinating this project because I couldn't think of what to use as a lid shim, as the Weber lid is slightly too small to fit on the drum alone, and the idea to try and use wood popped into my head. First I'll mention some of the other products I think could work without having to have special tools to bend and weld, etc. I walked around home Depot and Lowe's for a while debating what to use. Some of the best I found we're thinner steel strips they have in the roofing section of the store, they have varying sizes and lengths all with pre-drilled holes. Another, are aluminum strips they have in the flooring or misc trim section of the store, about 1-2" wide and the thickness of a quarter. Various types and sizes of wood trim pieces in the finish work/wall trim area, and what I ended up using which is some cedar "lath"
So basically, I liked the wood idea because it is a thicker material, thus providing a more stable base, but being that it is wood it also provides a better natural seal against the lid.
A couple hours later, I pulled the ring out, applied some high heat caulk around the rim of the barrel and put the wood ring back in and again clamped it.
After a few hours I installed some hardware with large washers to keep it all in place.
Then I installed a rope gasket around the lip of the barrel and up the side of the lath to make a good tight seal when closed.
Here is what it all looked like: (oh I also added the hardware for, and the second rack)
Used the same pig handle from the old lid, and the smokestack from a Lowe's brand smoker

What else have you used for this mod? (Ive heard others say that the 22.5" Weber lid should fit a 55 gallon drum without a shim, but this has not been my experience with the 3 drums I have)
Last edited: