SQWIBS Urban Garden Adventure
- Thread starter sqwib
- Start date
-
Some of the links on this forum allow SMF, at no cost to you, to earn a small commission when you click through and make a purchase. Let me know if you have any questions about this.
You are using an out of date browser. It may not display this or other websites correctly.
You should upgrade or use an alternative browser.
You should upgrade or use an alternative browser.
SMF is reader-supported. When you buy through links on our site, we may earn an affiliate commission.
Anyone else note how the "Plant box" he built resembles the size of a coffin? He showed us all the "Composte" added, then the dirty on top. He is from Philly. Anyone know his nickname? Maybe Joe SQWIB Mouse? Uncle Joe SQWIB? Maybe Big Lou SQWIB, I am just saying, you never know whats under all those pavers either, might have been a slow year for building erection or bridges needing concrete. You realize how many places he's showed us where he could have gotten rid of all the evidence?
We could rat him out to the feds, were did you want the ground all tilled up and ready for planting SQWIB?
We could rat him out to the feds, were did you want the ground all tilled up and ready for planting SQWIB?
That might explain the Skulls placed around the top of the Pond Wall???
Anyone else note how the "Plant box" he built resembles the size of a coffin? He showed us all the "Composte" added, then the dirty on top. He is from Philly. Anyone know his nickname? Maybe Joe SQWIB Mouse? Uncle Joe SQWIB? Maybe Big Lou SQWIB, I am just saying, you never know whats under all those pavers either, might have been a slow year for building erection or bridges needing concrete. You realize how many places he's showed us where he could have gotten rid of all the evidence?
We could rat him out to the feds, were did you want the ground all tilled up and ready for planting SQWIB?
Bear
okie362
Smoking Fanatic
Oh my.... if he tries to make any deal with you, don't refuse.
That might explain the Skulls placed around the top of the Pond Wall???
Bear
jaxrmrjmr
Smoking Fanatic
I didn't say he was a soldier, he's probably more like a consigliere or a caporegime. He knows where all the bodies are hidden.
Last edited:
What you mean my X-Wives
That might explain the Skulls placed around the top of the Pond Wall???
Bear
Well I'm losing my Brandywines and Mortgage lifters in the hydro setup, what the freak is up with these heirlooms!!!
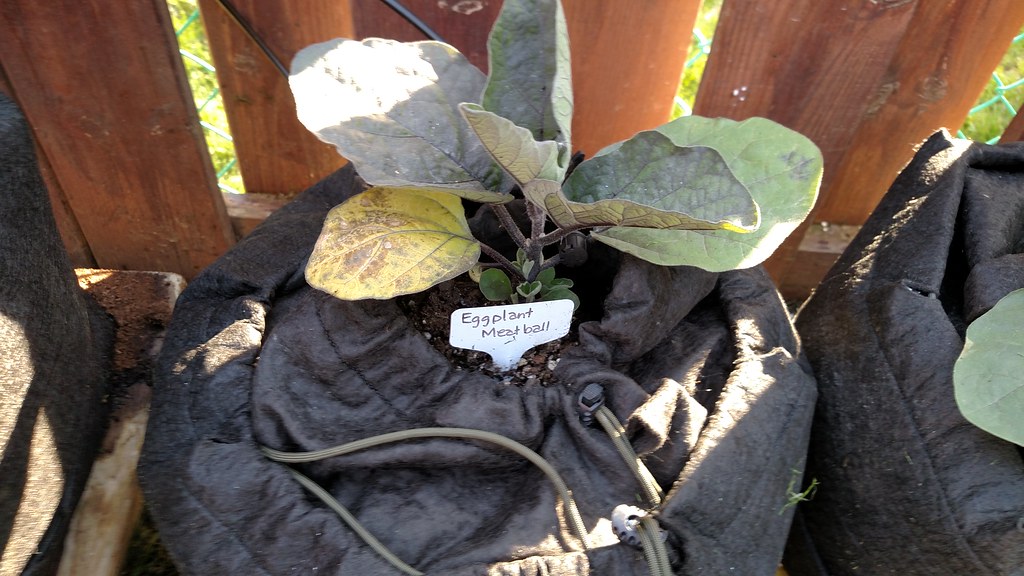
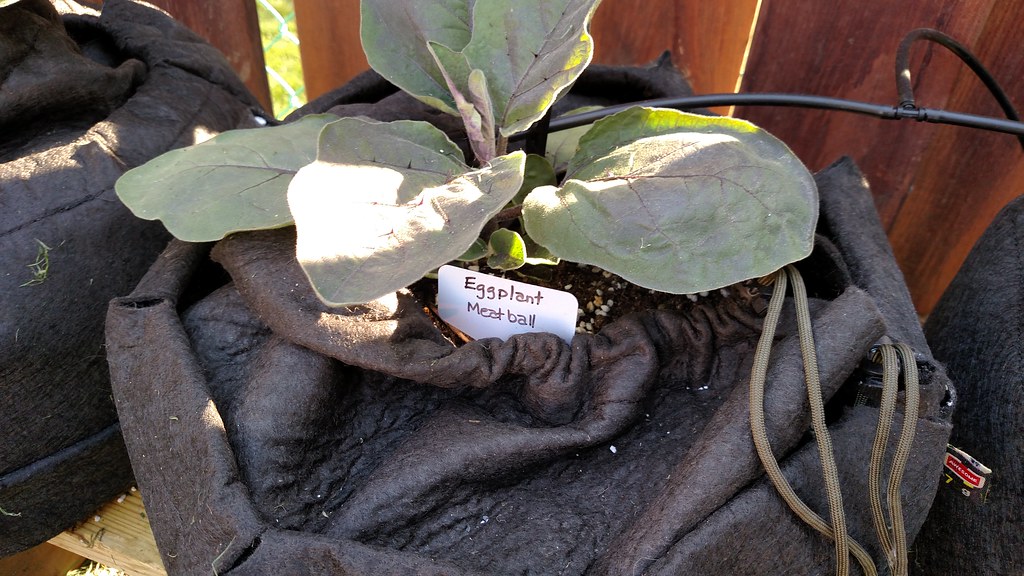
Grow bag update,
April 18th, 2016 - I gotta say, I am really liking these grow bags so far, no weeding or mulching, just close the lid and you are done, the only problem is if planting more than one plant in a bag, then the top is a bit tricky to secure but manageable. The turtles love the little area under the bags too! I may get two 15 gallon bags next year for watermelons.
Hopefully they will be easy to put away at the end of the season, my plan is to let the bags dry out snip the plants at the base and store away covered, then the following spring remove whats left of the root-ball, add some compost, fertilizer and replant.


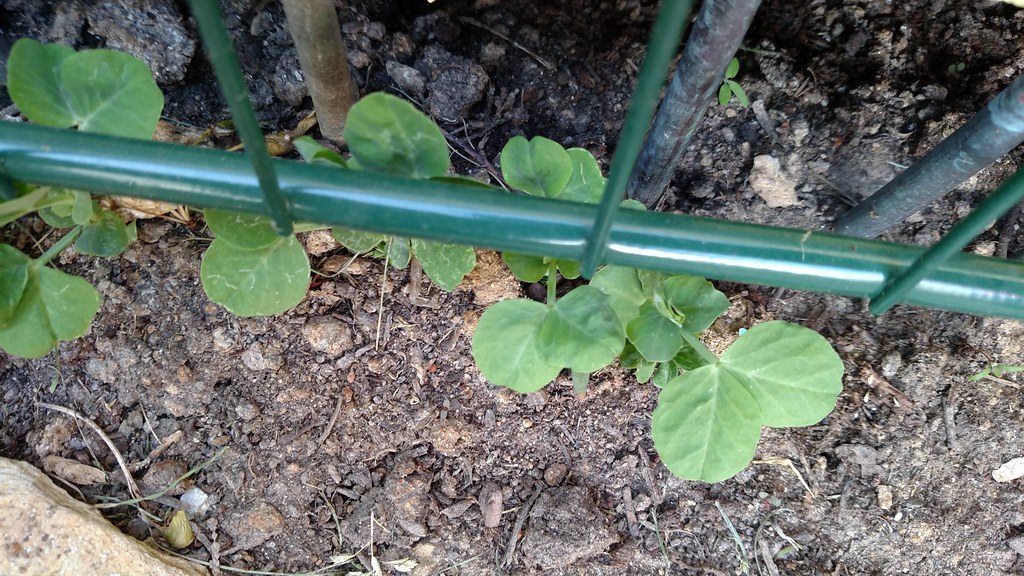
- Sugar Snap Peas
- April 20th, 2016 - Leeks are perking up
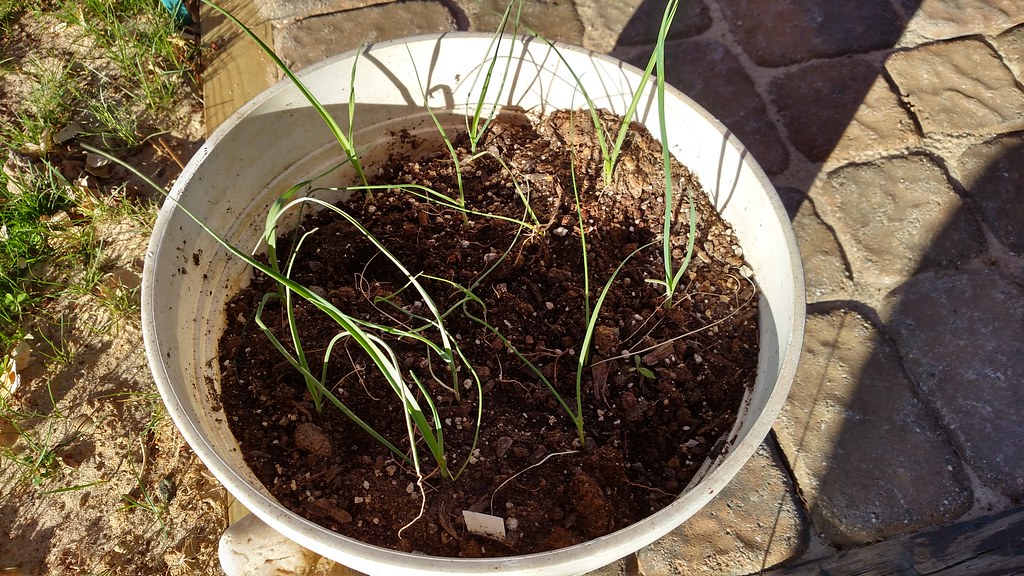
- April 20th, 2016 - I lost one plant and another was on the brink of death but pulled through, I should have pushed the roots into the center more instead of downward. I started watering every few days to keep the soil moist until the roots are a bit more established.
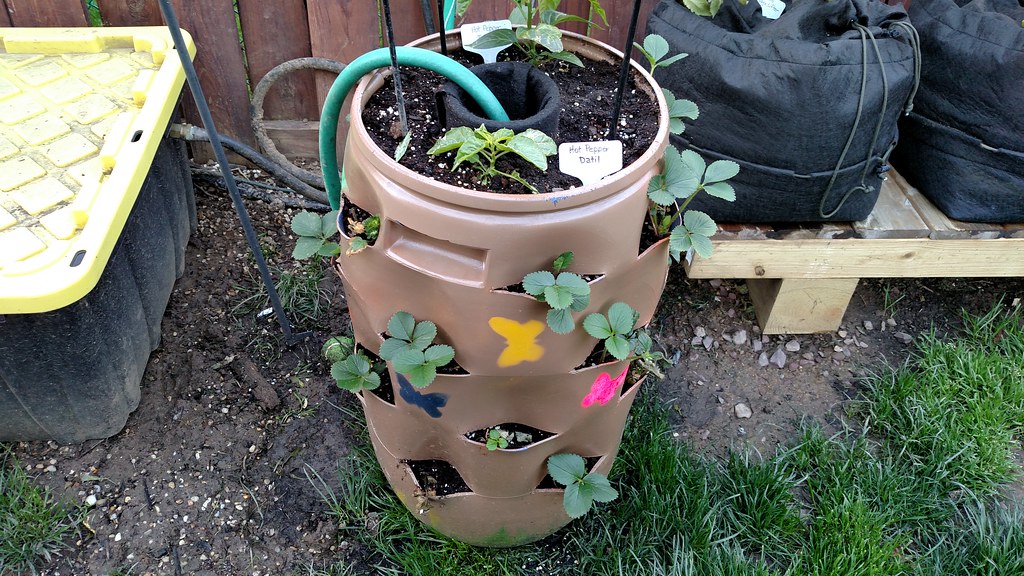
- April 20th, 2016 - I wasn't going to use this tower but had so many orphaned plants that I decided to just toss them in here to see if they make it..they are mostly peppers. I'll have to come up with a self watering setup for this tower...I can see this tower drying out in a day!
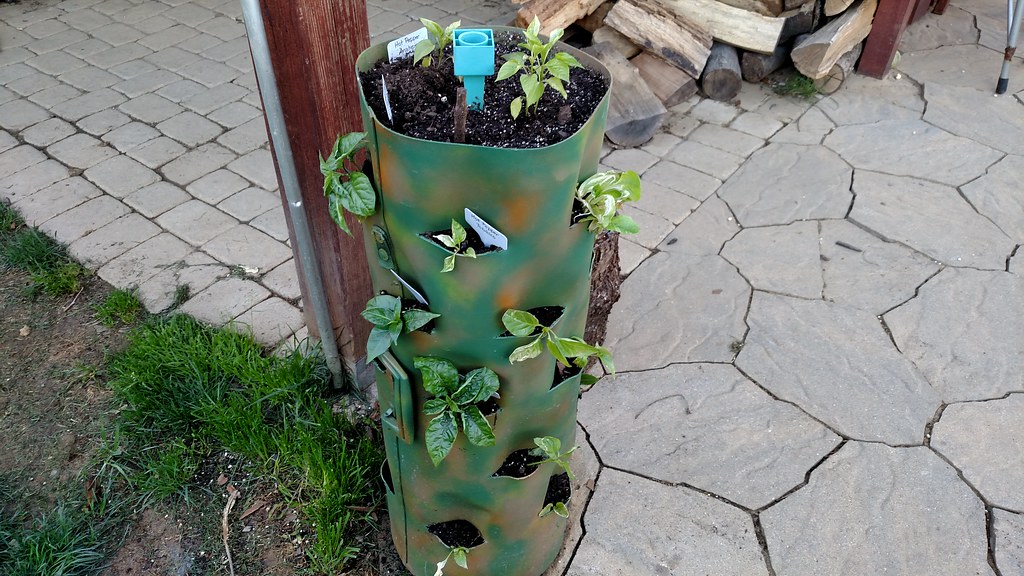
Raised Bed #5
Did he say "5", Yes! I said "5"
[h1]Hugelkultur Bed[/h1]April 19th, 2016 - I must be freaking nuts... I'm sitting in the yard playing with the dogs looking around thinking, "this is great, the bulk of the gardening is done, now I can relax", I'm sitting on the grass tossing the ball up by the Hugelkultur bed past the Hydroponic system, the dogs a Shepherd (Maggie) and Shitzu (Millie) are happily retrieving the ball each time.
A couple tosses and the ball lands behind the Hydro Buckets, as Maggie is trying to dig out the ball I'm thinking, hope she don't tear up the plants or the air lines... a couple more tosses, then I start eyeing up my Hydro setup and then the Hugelkultur bed, then the Hydro, then the Hugel and thought, Wow that Hugeklkultur bed looks really nice. I especially like the clean look of the pavers up to the side of the bed, and the irrigation setup is working out so well.
I just like the aesthetics more of the Hugel bed. Anyhow as I'm processing all of this, I started comparing the setup of the Hydro and the Planting of the Hugel bed, thinking how nice it was planting in the Hugelkultur bed compared to the Hydro System.
I know what my subconscious mind was doing, it already knew what the outcome was gonna be, it just had to convince my conscious mind.
I called the wife out and said, "what do you think about another raised bed instead of the Hydro system", she looked at me like I had two heads and said, "What will you do with the Hydro setup", I said, "I'll give it away"! "Really", she replied. "But you just built the hydro setup and love it". I said, "but look how nice the Hugelkultur bed looks"... every time I say Hugelkultur I expect someone to say, "gesundheit".
So the conversation continues with stuff like, "I'll make the bed at bench height and make a top piece wide enough for a sort of bench, it is right across from the bar". "It will also tidy up the pavers a bit", "It will look neater than the buckets in the winter", she says, "yeah I do like the pavers you just did". I have such a mish-mosh of pavers, but that story is for another time. I said, "Plus I can get rid of the rest of the trees that I cut down", she liked that idea. I do have wood all over the yard.
"And the irrigation line is already there, I only need to install 2 barbs and that's it", she of course had no clue what I was referring to.
Her last statement was the kicker, "well it would be easier on you with your back and stuff, we are getting older, chuckles all around.
"OK, I'm doing it this weekend", her reply, "Your nuts"! We both smile and my mind starts racing!
Now the hydro setup is pretty easy but there are more things to consider and a much larger margin of error when using this setup, there's a lot more worries like Nutrient Level, getting the plant roots just right so they don't dry up or drown, water temperature, air pump or water pump cutting out, electricity going out, squirrel chewing through any of the air hoses or electric.
And then there's end of season cleanup, water pump is removed and stored indoors, air stones are removed, air hoses and air pump are removed and store indoors, hydroton and growstones are cleaned and stored, net-cup lids are cleaned and stored, buckets are flipped so they don't catch water and the up-righted buckets aren't aesthetically pleasing. Now all this sounds like a lot of work but it really isn't that bad, its just me trying to convince myself to go with the Hugelkultur bed.
Now none of the aforementioned problems have happened, but I do worry about these things on a regular basis and the more I thought about the Hugelkultur bed, I was definitely going to build it. What can I say... I love dirt!
I thought, I can do this, I still have 2 weeks till mothers day (my normal planting time).
OK So here we go again!
You sound like my Pop did. He always kept an immaculate vehicle both cosmetically and mechanically but ya knew when he had the bug to trade. LOL
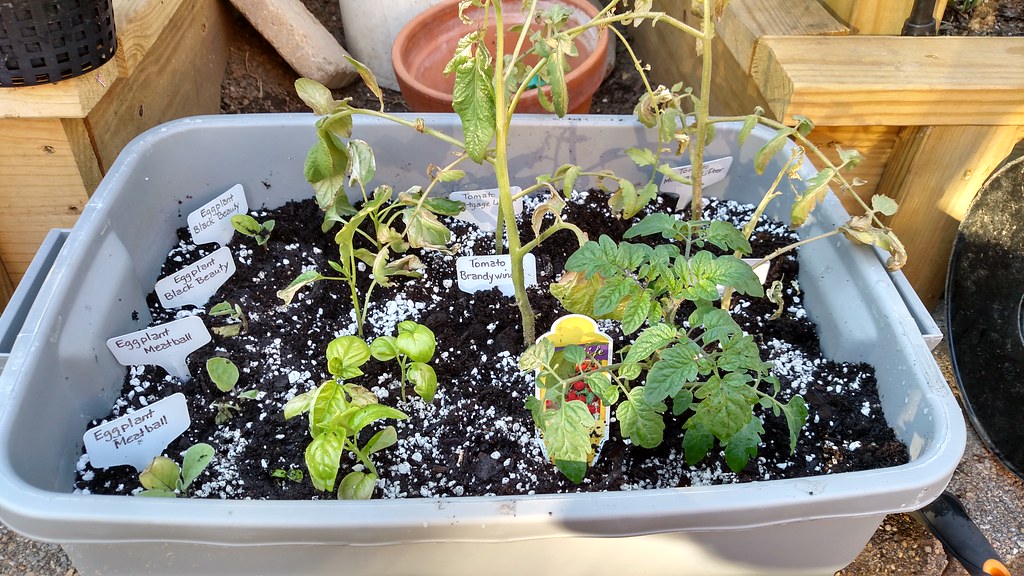
Hydrponics system has been broken down, trying to save my Heirloom Tomatoes, have them in potting soil.
Started the Hugelkultur bed yesterday, just need some finishing touches and need to fill.
Long post but figured there may be something here to help someone if building raised beds.
I thought I can do this, I still have 2 weeks till mothers day (my normal planting time).
OK So here we go!
After work, I Picked up all the wood at Lowes, I was only going to get the 2x10x10's but got crazy and got some 16 footers too. Dam the wood was heavy, it was very wet, if you ever hauled dry vs. wet pressure treated wood, you'll know what I'm talking about.


April 19th, 2016 - This morning on the way to work I stopped at Home Depot and picked up some hardware for the beds and a new Segmented Diamond Blade for my angle grinder.


April 21st, 2016 - I gotta say, "I really have good feeling about this project". I feel like a kid in the candy store! C'mon 4:30!!!
4:00 I head straight home and into the back yard, no dinner. I start by running a line for the pavers to be cut, second time doing this, I just did this Saturday for the Hydroponics before I decided to replace it with a Hugelkultur bed.


April 22nd, 2016 - Before work, I saturated all the wood in the bed.


Off to Lowes for more supplies after work today.
Long post but figured there may be something here to help someone if building raised beds.
I thought I can do this, I still have 2 weeks till mothers day (my normal planting time).
OK So here we go!
After work, I Picked up all the wood at Lowes, I was only going to get the 2x10x10's but got crazy and got some 16 footers too. Dam the wood was heavy, it was very wet, if you ever hauled dry vs. wet pressure treated wood, you'll know what I'm talking about.
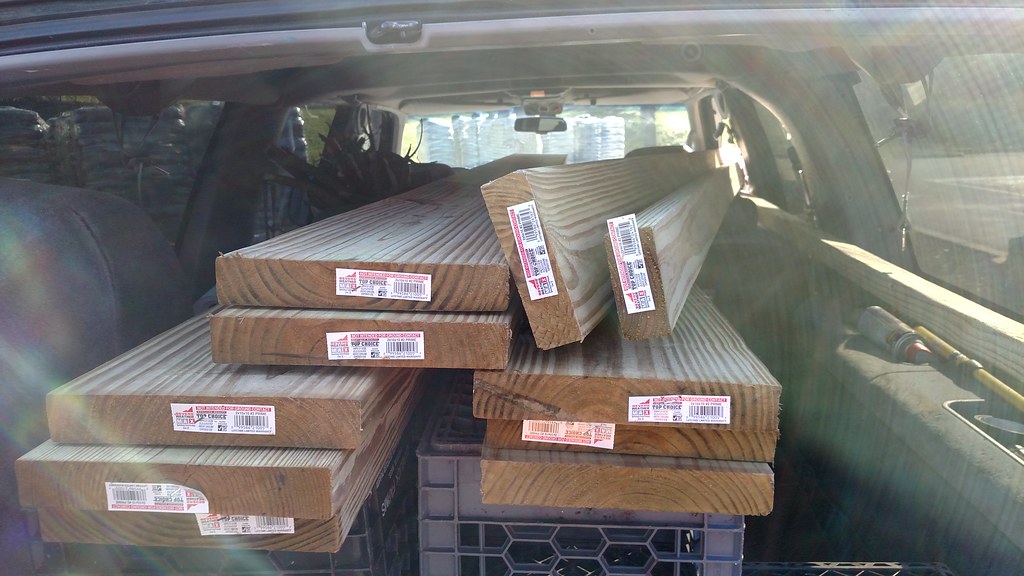
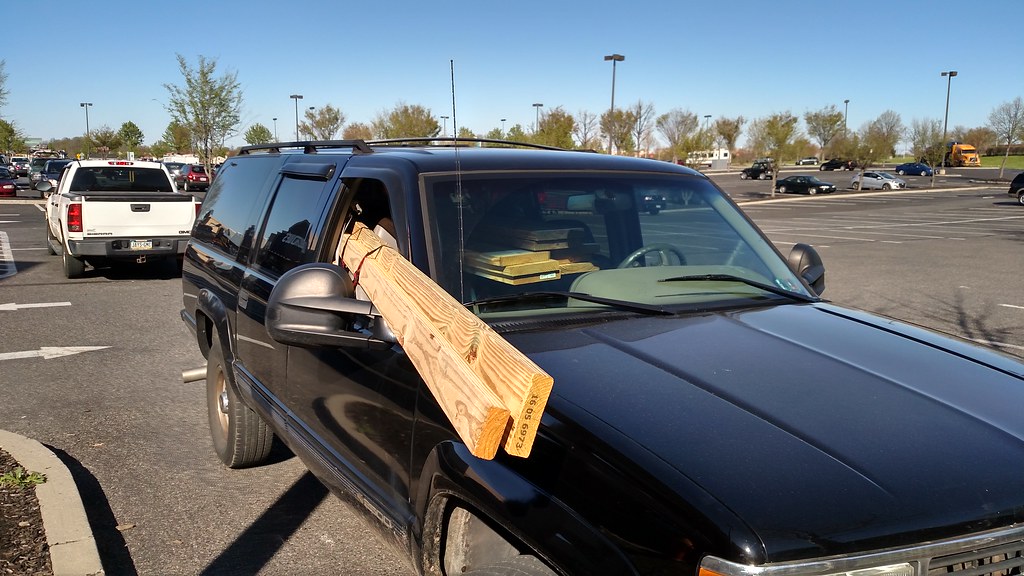
- I have Rear side open doors on my Suburban and was going to wait and take my wife's suburban, to get the 16 footers, her Suburban has a rear hatch that would have been much easier (safer) to leave the back window open and leave the wood hang out of the back.
- New hobby, Suburban Jousting!
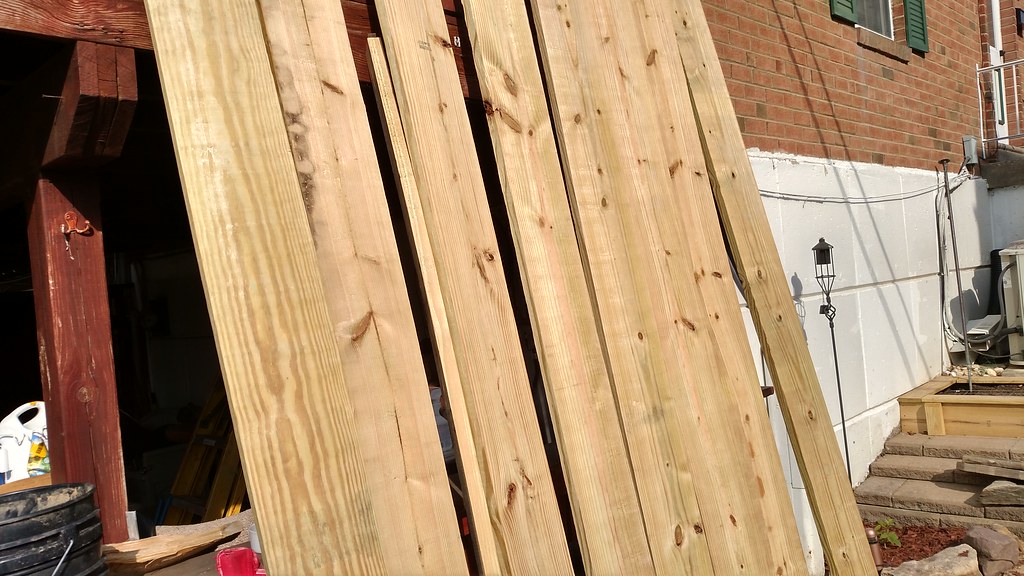
- I got home safely and unloaded the wood and stood the wood upright to inspect and decide which pieces will be the front (visible) part of the bed.
- Then I broke down the Deep Water Culture setup and transplanted the plants to a tote with potting soil. Hopefully, I can save these guys.
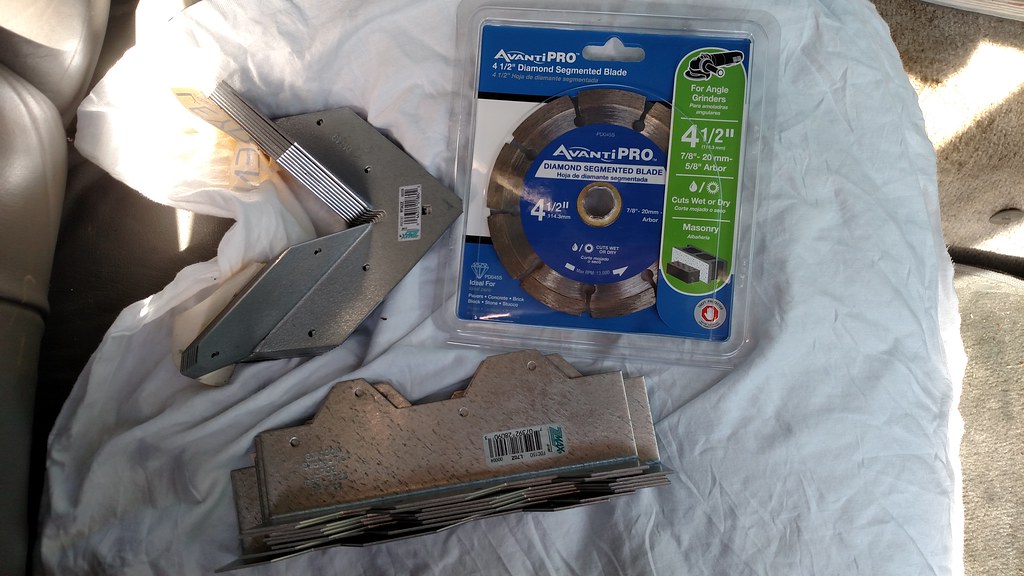
April 19th, 2016 - This morning on the way to work I stopped at Home Depot and picked up some hardware for the beds and a new Segmented Diamond Blade for my angle grinder.
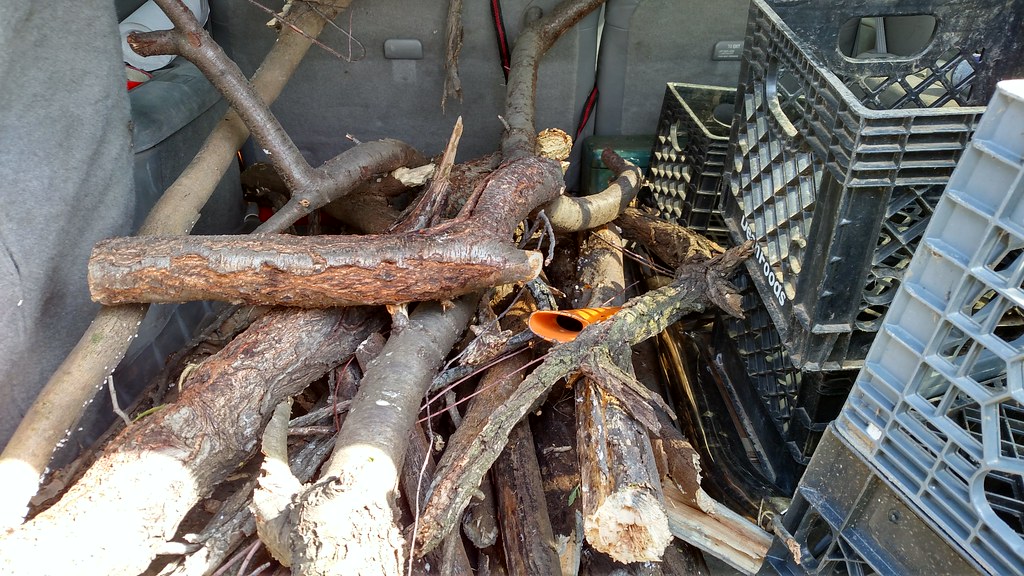
- During break I went out into our parking lot and chopped up some dead wood for the Hugelkultur bed, hey... killed two birds with one stone!
April 21st, 2016 - I gotta say, "I really have good feeling about this project". I feel like a kid in the candy store! C'mon 4:30!!!
4:00 I head straight home and into the back yard, no dinner. I start by running a line for the pavers to be cut, second time doing this, I just did this Saturday for the Hydroponics before I decided to replace it with a Hugelkultur bed.
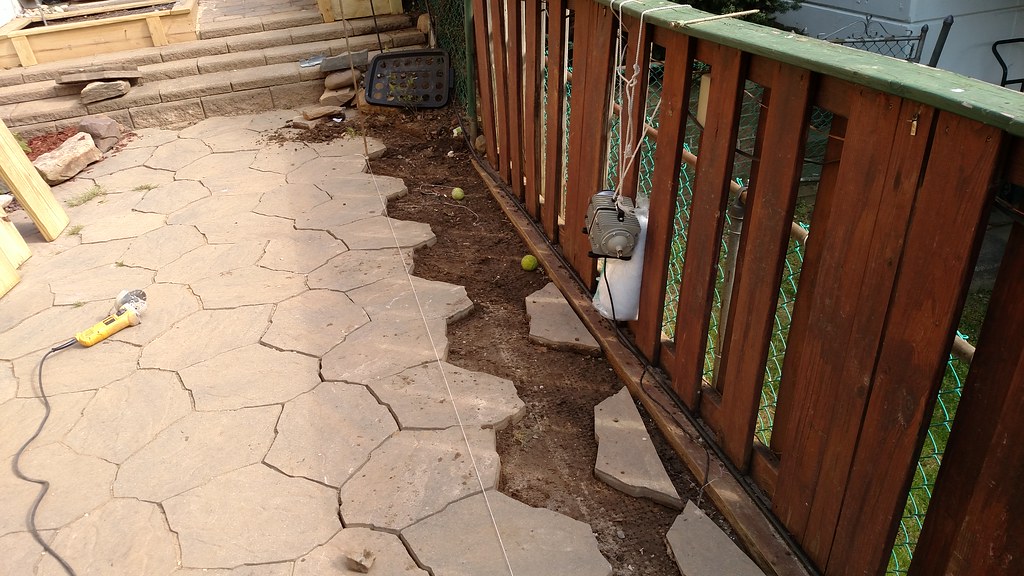
- The area is somewhat leveled but made very flat. Next step was to get the chop saw and make all the cuts. Each box length is 7' 11" the reason I used this measurement was so that a 16' 2x6 would cap the top without any seam, the 16 foot 2" a 6" was 1" over length (16' -1") I deducted 3" from the overall length of the 16 footer and divided by 2,to allow for a 1-1/2" over hang on each side so the 2x4 uprights would be flush on the sides.
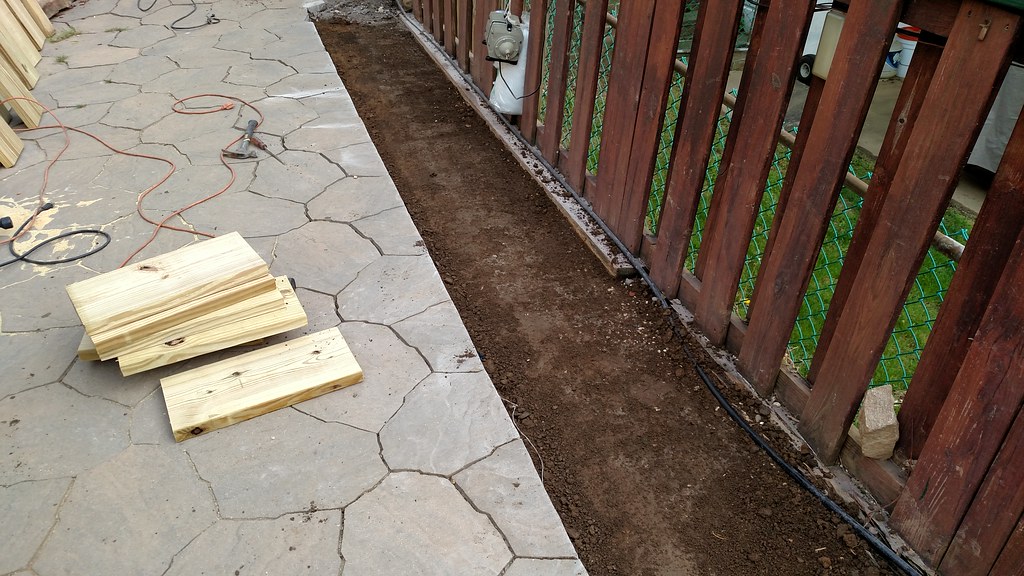
- The first bottom half of the box is put together, angle pieces were used, then 3" deck screws secure the other end.
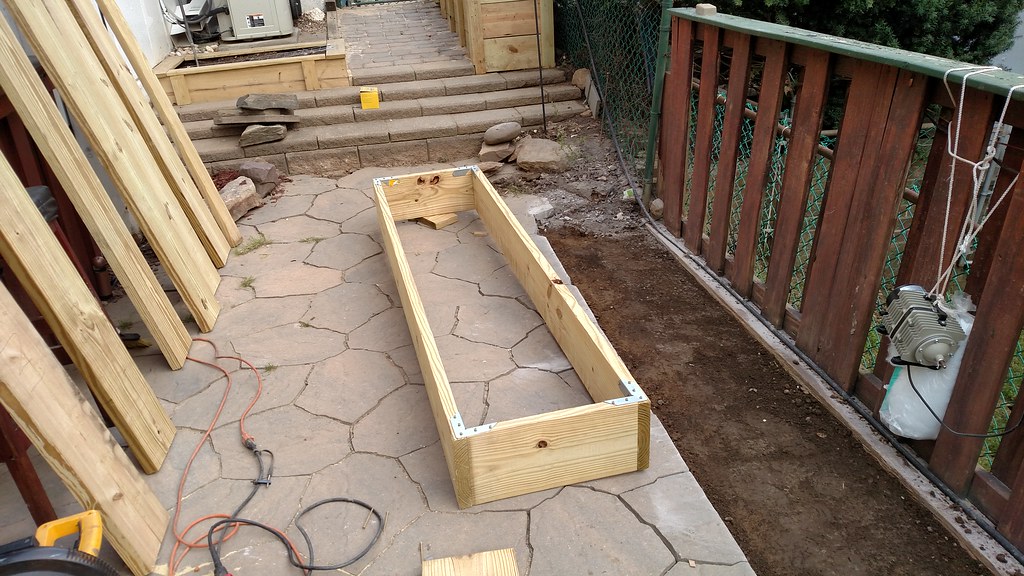
- The bottom half of bed #1 is flipped so the corner braces are on the bottom. $HIT, that's tight, I did add over a half inch to the depth when cutting the pavers.
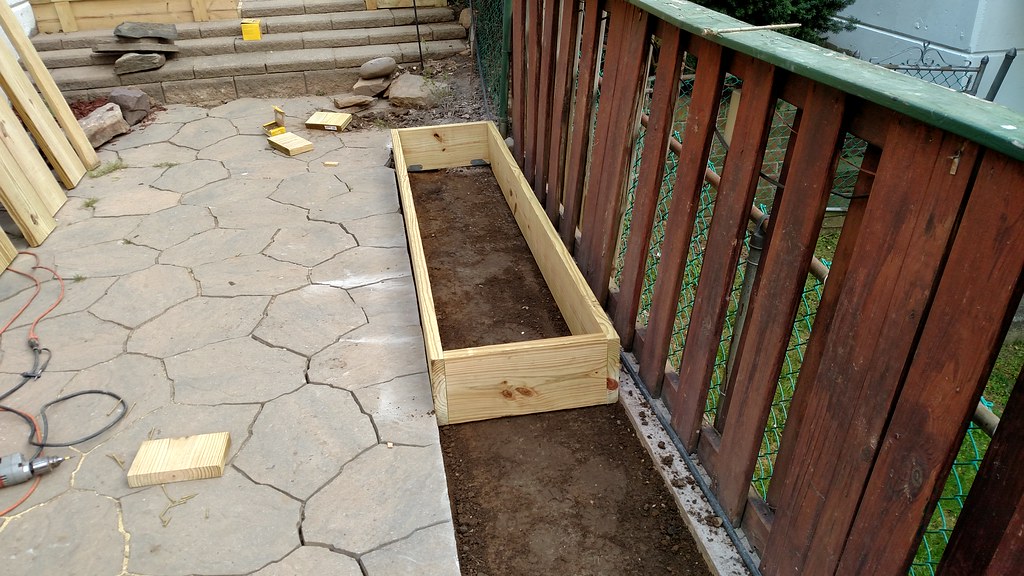
- Building the bottom half of raised bed #2
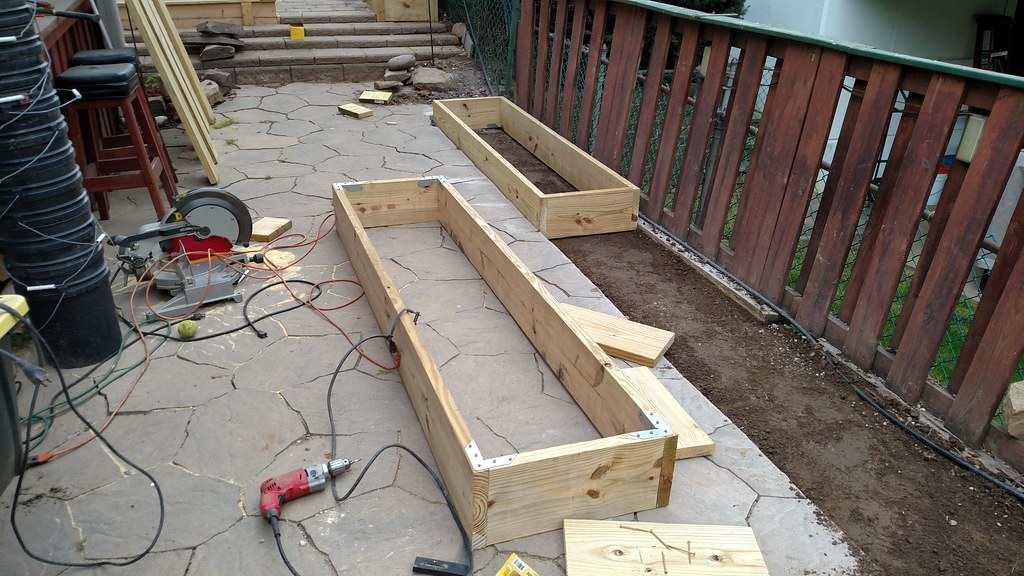
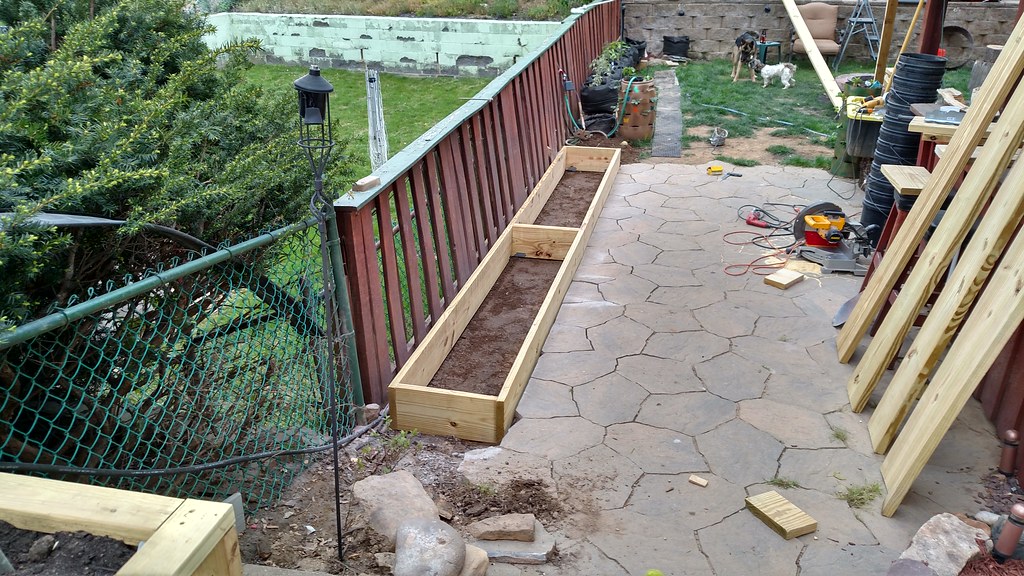
- Same with the bottom half of box #2. Then the boxes are leveled and the center pieces are secured together. This is even tighter.
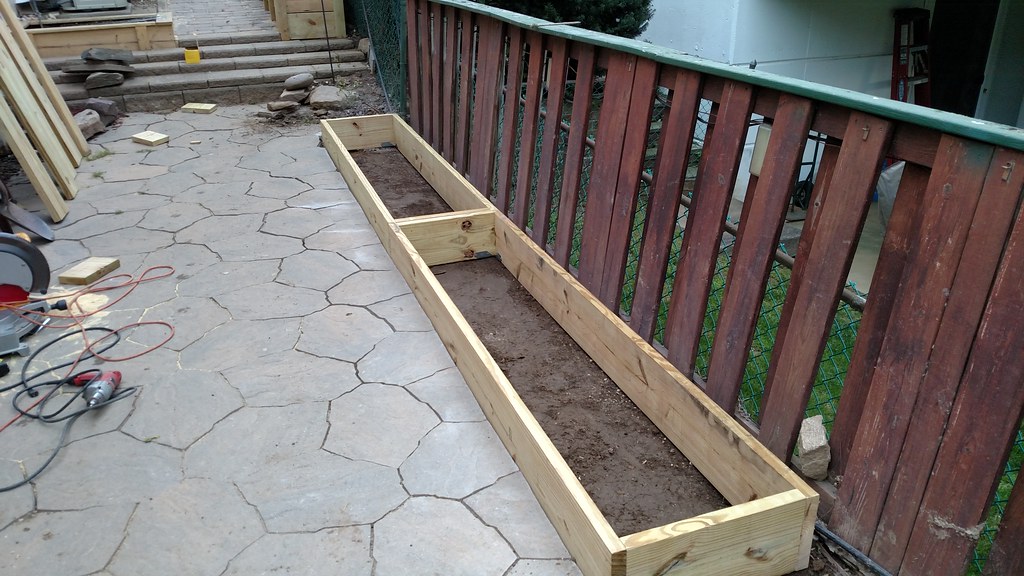
- OK, Looks good so far.
- Installing the Galvanized reinforcing L angle. I strongly suggest using these especially if you are going to join more than one board together or are in a tight spot. The angles are offset so they will be screwed into both sections of the bed.
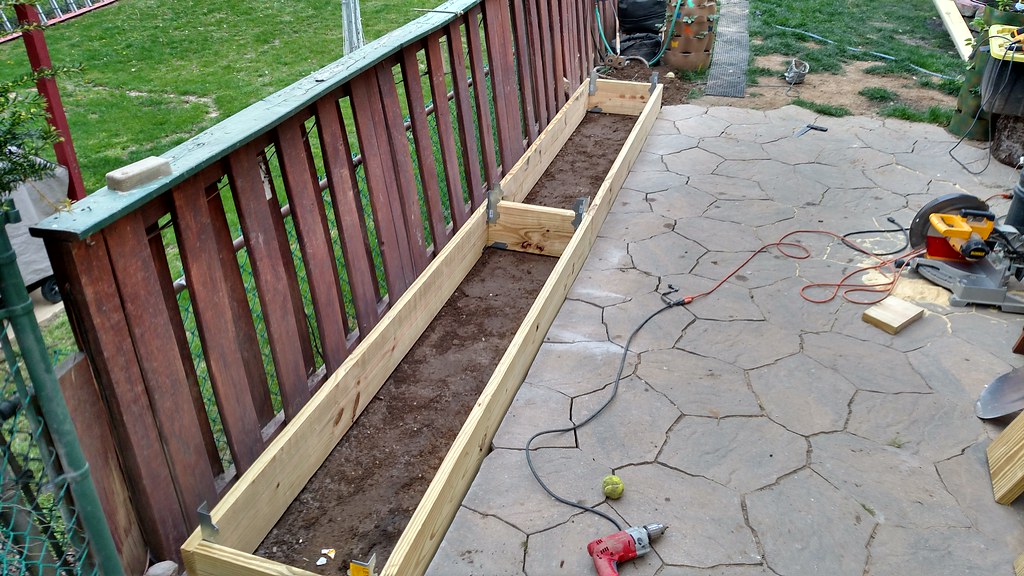
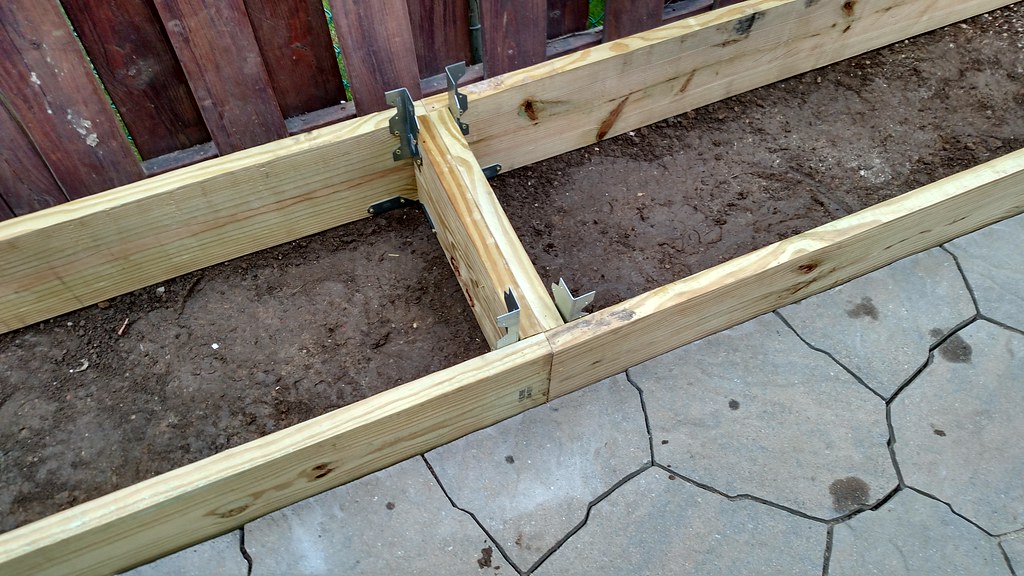
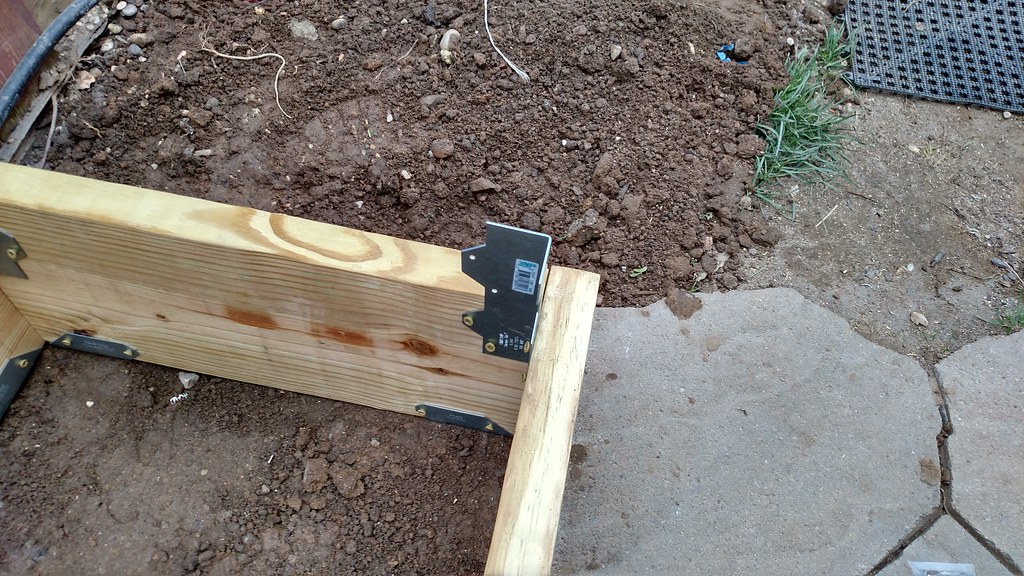
- Then the side pieces are installed.
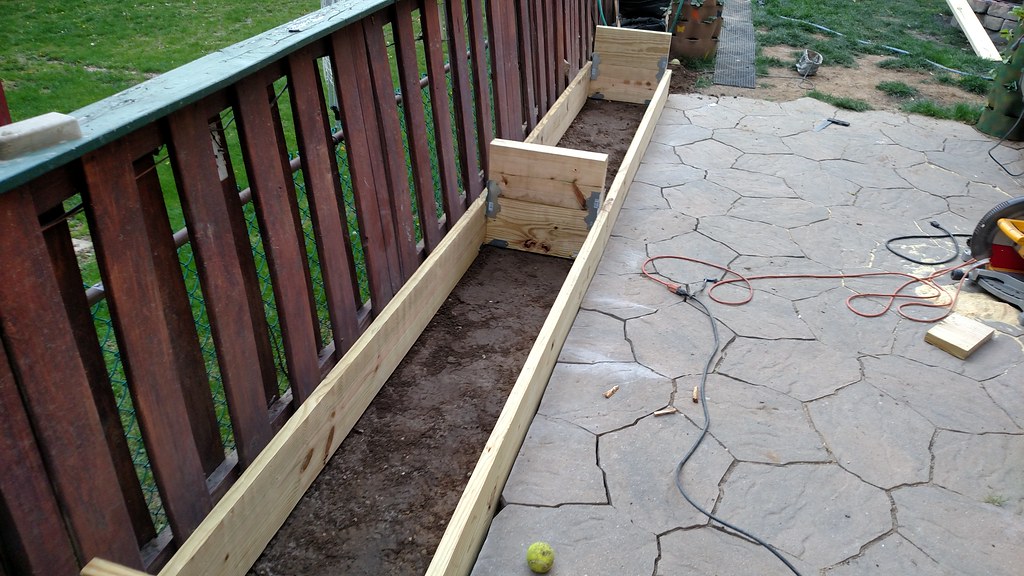
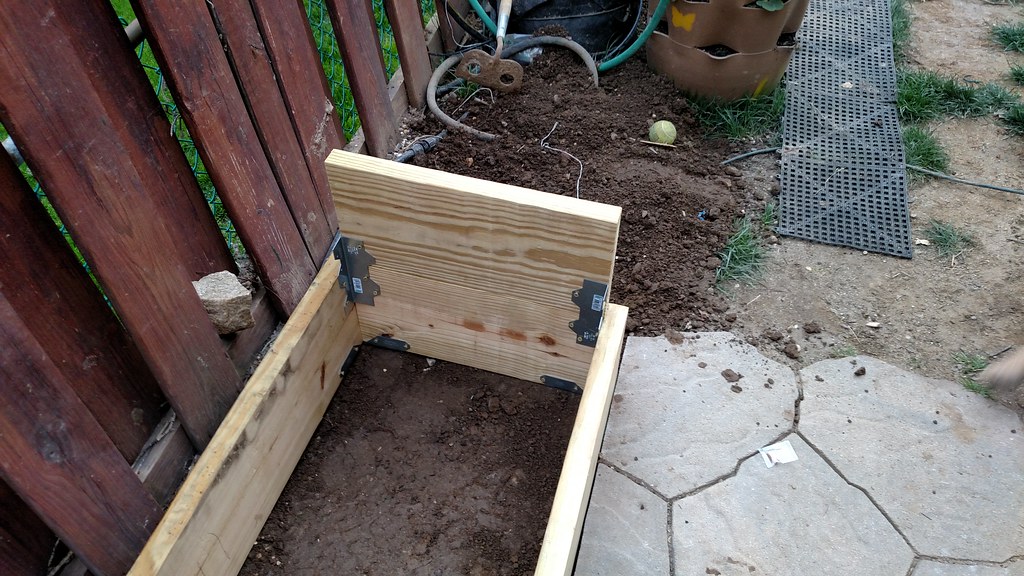
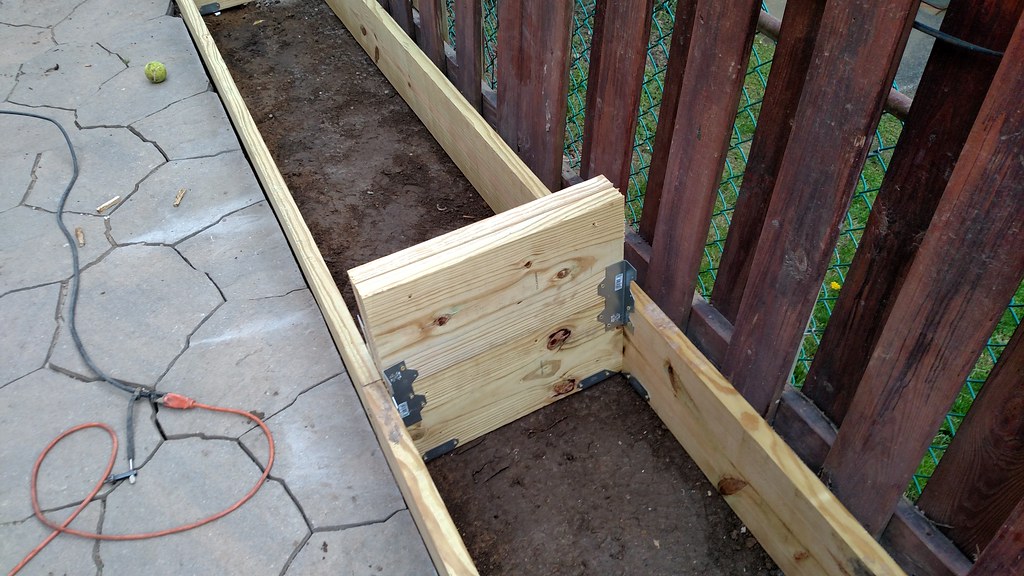
- Followed by the fronts and backs.
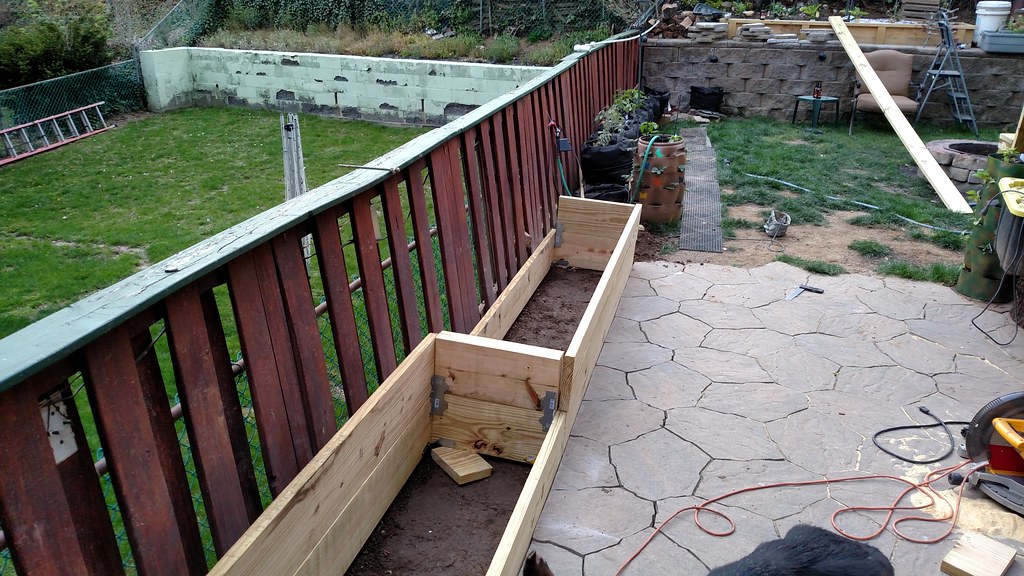
- After everything is secured,m the two end pieces in the center are secured to one another.
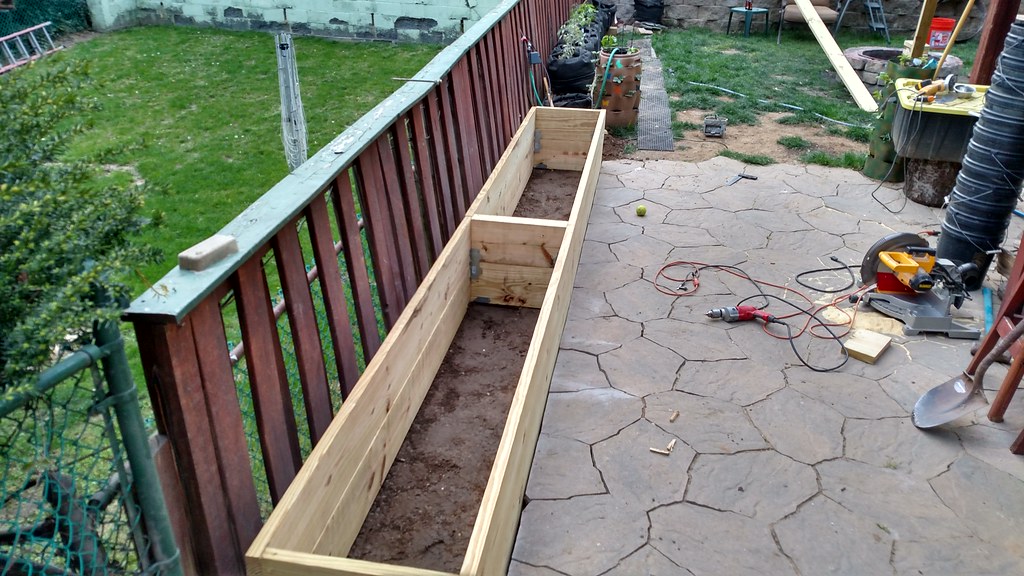
- Capped the top with 2"x4"s on the sides and back, the front is a 2" x6" for a little bench.
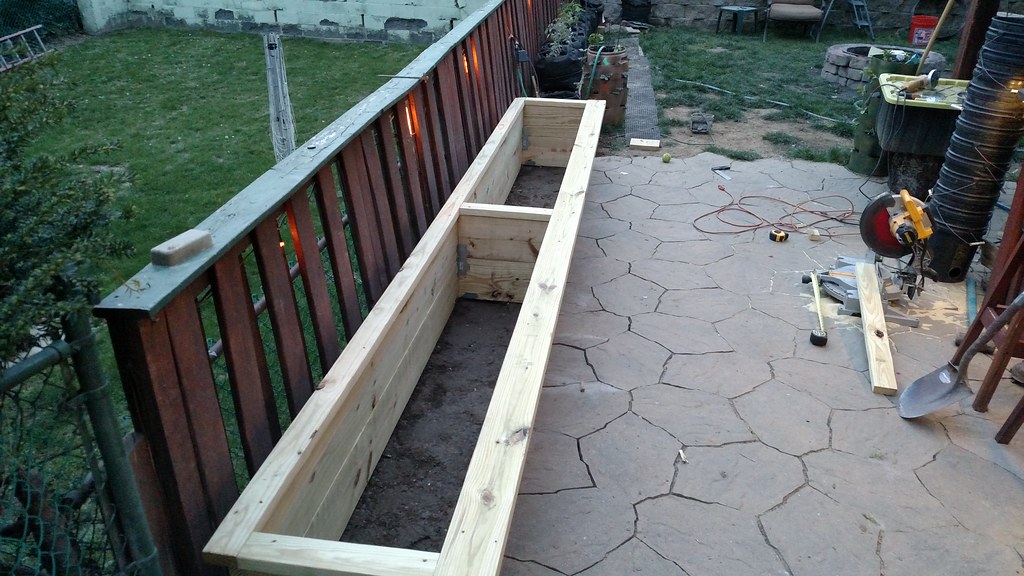
- I started filling with wood but its getting dark and I haven't eaten yet.
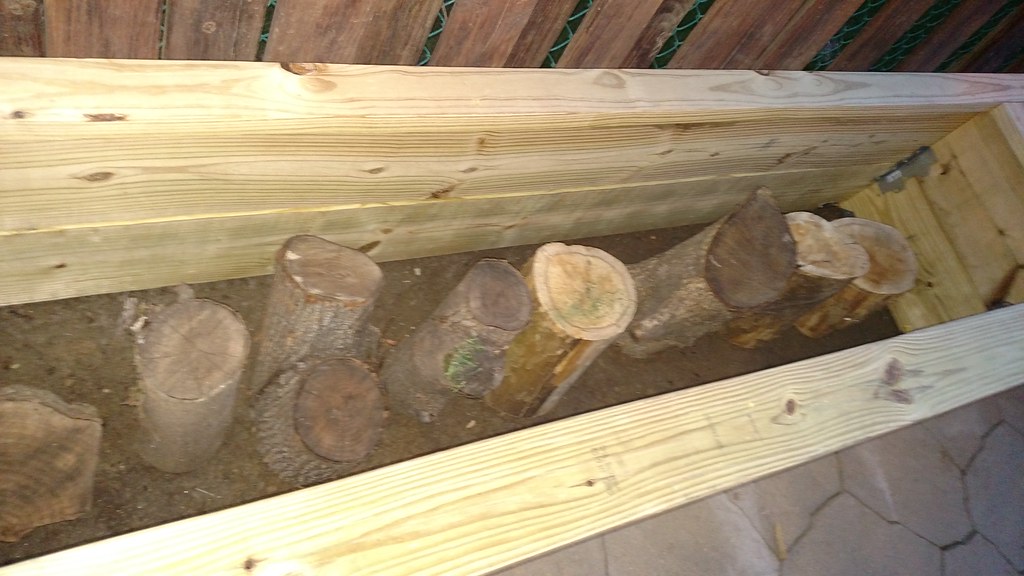

- Maybe I should go eat something, these are going to my head!

April 22nd, 2016 - Before work, I saturated all the wood in the bed.
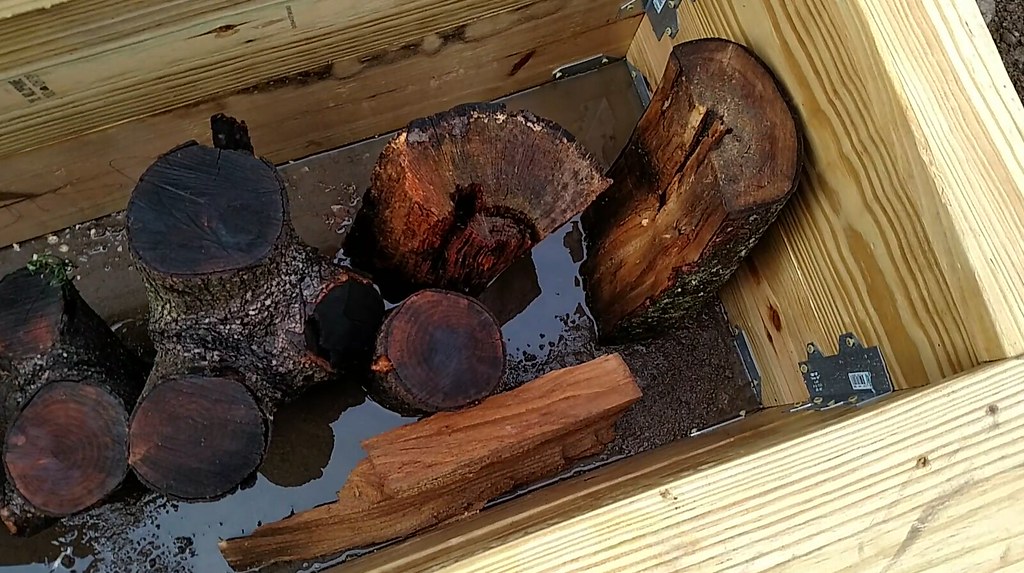
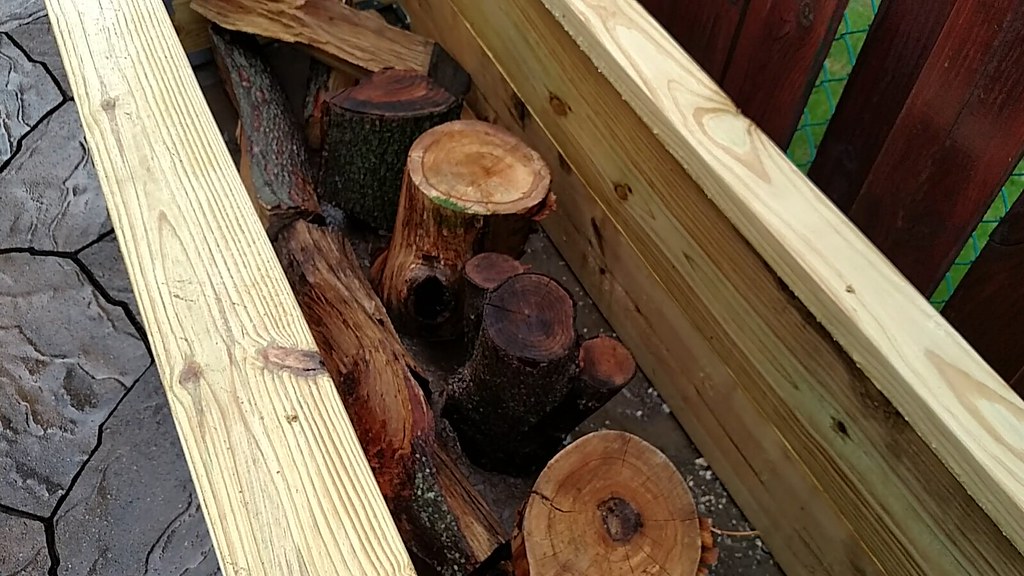
Off to Lowes for more supplies after work today.
SmokingMeatForums.com is reader supported and as an Amazon Associate, we may earn commissions from qualifying purchases.
Similar threads
- Replies
- 24
- Views
- 543
- Replies
- 5
- Views
- 286
- Replies
- 4
- Views
- 236
- Replies
- 0
- Views
- 190
- Replies
- 8
- Views
- 403
Hot Threads
-
Our Second piece of Heaven, Little piece on the Atlantic Ocean
- Started by DRKsmoking
- Replies: 58
- General Discussion
-
How Do I Get Rid of These Armadillos?!!
- Started by seenred
- Replies: 44
- Blowing Smoke Around the Smoker.
-
Non fat dried milk
- Started by hog warden
- Replies: 37
- Sausage
-
Getting to the bottom of what happens to cure in smoked sausage
- Started by hog warden
- Replies: 31
- Food Safety
-
8 second ride!
- Started by Buckeyedude
- Replies: 29
- Flat Top Griddles and Discada


