So I made a Mini WSM

  • Some of the links on this forum allow SMF, at no cost to you, to earn a small commission when you click through and make a purchase. Let me know if you have any questions about this.
SMF is reader-supported. When you buy through links on our site, we may earn an affiliate commission.

jamielamb

Newbie
Original poster
Dec 28, 2014
22
10
Kansas
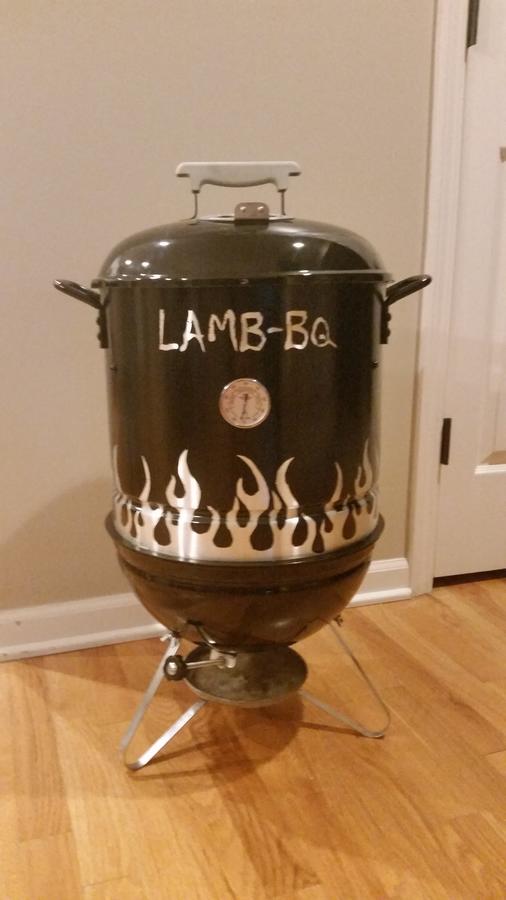
I am sure everyone has seen plenty of posts about people making mini WSMs, but I just had to share mine.   I had some painter's tape, high-temp semi-gloss grill paint and some creativity so I went for it.  Turned out awesome.   My tip:  lay tape out on wax paper and then cut out your pattern on the wax paper.  It creates a sticker out of the tape that you can peel off the wax paper and stick to the pot when ready.  I did the flames first and ended up adding several strips of tape around the pot.  I cut the flame pattern out directly on the pot with a razor blade and it took more time than I wanted.  I printed the letters on printer paper and cut them out using wax paper method and it was so much faster and easier. 


I found the Weber Smokey Joe Silver on Craigslist for $10 and it was in like new shape.  For whatever reason these 32qt steam pots are difficult to find here in the Midwest, but I ended up finding a 32qt tamale steam pot at a grocery store in a very Hispanic part of the city for $25.  I took my tape measure and my Smokey Joe lid into the store before purchasing it to make sure the pot would fit.  Bottom fits perfect.  I ended up just having to squeeze the roll on the top lip of the pot a little tighter against the pot with some pliers and a small block to wood (to prevent damage) to get the lid to fit a little easier.  It now fits like it was made for the Smokey Joe.

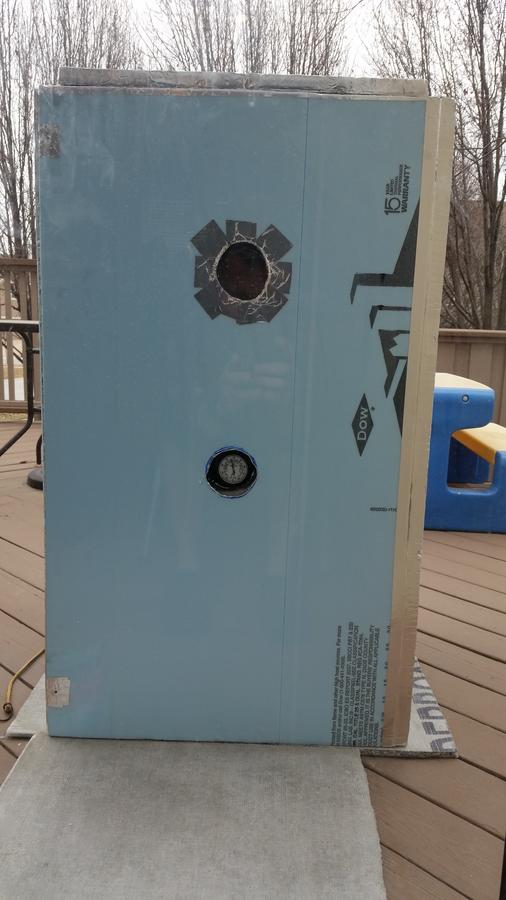
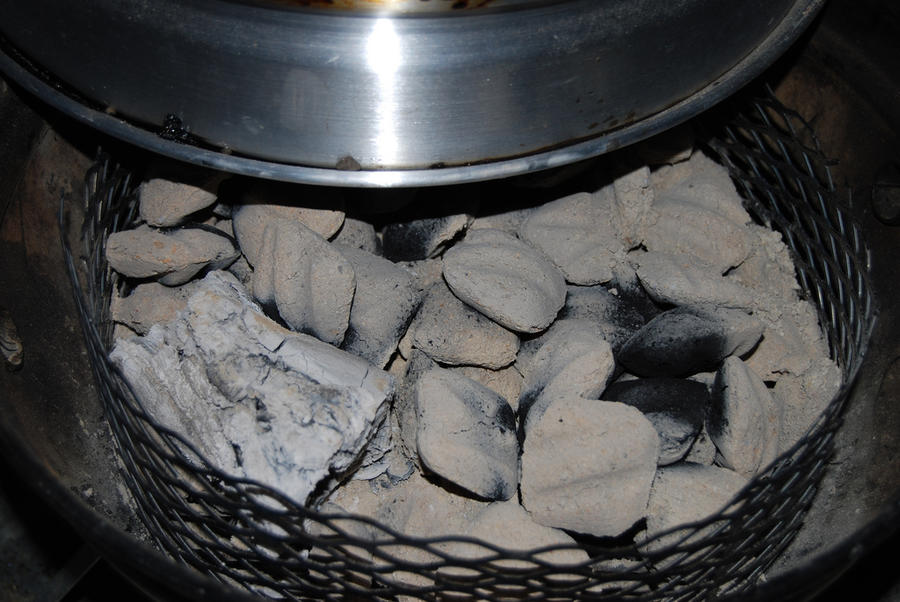
I cut the bottom of the pot out (leaving a 1" lip) and a new Weber 7440 grill grate fits perfectly.  I cut the steam tray that came with the pot a little smaller with snips and it may serve as my heat diffuser.  If it sucks, I can use an old pie pan my wife already has.  I added the cooking grate that came with the Smokey Joe about 4 inches from the top of the pot and it just sits on 1/2" stainless steel machine screws.  I bought a new Weber 7431 cooking grate which sits perfectly on the lip where the steam insert should sit about 9 inches down.  This saved me from buying more stainless steel machine screws.  I wrapped the charcoal grate that came with the Smokey Joe in expanded steel and attached it with stainless steel wire to make a fire box.  Not sure if I got too heavy gauge of expanded steel (13 gauge), but that was quite the chore.  I created an ash shield with a small stainless steel dog bowl to keep ash from killing my air flow.  I finally added a small Tel Tru thermometer with a 2.5" stem and I think we are good to go.  I plan on seasoning it tomorrow.
 
Last edited:
That is the same brand of pot that's available here ($33 if I remember correctly). Nice job!!!!

Edit: there's also 32 qt King Kooker ($67.99 yikes!!!) and some 40 qt VMI ($29.99) pots here as well.
 
Last edited:
Very cool... I'm going have to strip my pot and repaint it. I didn't realize that you have to take the sticker off before the paint dries. Humm
 
Thanks guys.  I had quite the time finding a big enough steamer pot at first.  We don't have many oceans here in Kansas, so I guess that is the problem.  I ran to a bunch of stores such as Walmart, Target, Bed Bath and Beyond, etc., but the largest size any of them carried was 16 qt.  I went to Academy and they had a 30 qt for $80!  What the?!  I looked online for these Vasconia and IMUSA pots that everyone was posting they were using, but they were unavailable everywhere...even Amazon.  I just didn't want to blindly buy online from Ebay because I knew it was important that it fit right.  Finally I discovered the existence of tamale pots and realized I had been searching wrong all along.  Called several Mexican grocery stores and found that I had several options to choose from!  One large grocery store had the Vasconia for $35 but the Smokey Joe lid almost fit inside the pot.  The pot I ended up using came from the second grocery store I went to.
 
I definitely wouldn't recommend taking the sticker off before the paint dries!  This Rustoleom high heat grill paint I used dried very fast...like minutes fast.  The can even says I can heat it within 1 hour.  I was able to put on like 5-6 coats on over a couple of hours (as I watched football) and it was only about 45 degrees in my garage.  I just painted during commercials.  I even sanded off a run in the middle and added some new coats to that spot and it is undetectable.  Just make tape stickers with the wax paper.  Once you have your design, peel off the wax paper backing and stick it to the pot.  Once the paint dried (for me quickly), I just peeled the tape off the pot and voila.
 
We are seasoning!  I wiped the inside down with vegetable oil, opened the intake and outtake dampers wide open and started off with a basket full of old charcoal (minion method) to see what this thing is made of.  The guy I bought the Smokey Joe from ($10) threw in an old bag of Sam's Club insta-light charcoal briquettes, so I figured seasoning this thing would be a good way to use them up.  It is pretty breezy here so I pulled out my foil wrapped foam insulation box as a wind break and the temperatures flew up.  I mean way up.  I wasn't watching it and when I finally went out and checked it was at 450 degrees!  My Tel Tru temperature gauge only goes to 500.  Glad this paint is rated to 1200 degrees because I know some of those engine enamels people are using are only rated to 500 degrees.  I pulled the lid off and until we hit 300 and then closed off the intake damper almost all the way.  I have been steady at 300 ever since.  I had to add a lower hole for the mini in the door of the insulation box so I could tell the temperature of the smoker when the door was closed.  The top hole is for my Brinkmann two door vertical charcoal smoker.  Apologies for not taking a picture when this thing was still smoking (I had no leaks!) and for the pics being through dirty back door.  I was like a kid at Christmas when I was getting everything going.


I underestimated how hot the handles on the pot get!  I mean lava hot.  I may need to come up with a solution so that I can remove the pot to add more smoking chips.  The middle of my right middle finger may never be the same again... 

Forgot to mention in my first post.  I added a 1/4" brass electric reducer into the side in order to have a hole to run my meat thermometer into the smoker.  It is held on by a brass hex nut.  This way I do not have to run the meat probe wire through the lid.  Also, I cut out the middle of the pot lid that came with the tamale pot and bolted it onto the bottom.  It added a little clearance between the fire box and the bottom of the pot and also is a very nice snug fit, so no heat loss.  Figured I would mention those details.
 
Yep the mini can rock the heat. If you use 2"-3" chunks of wood 3, 4 of them you won't need to remove the pot to add wood. Even during a long smoke. On my mini ZA I melted the paint off it. The paint was rated at 1200 degrees!
 
Also meant to say if you get some rubber or silicone tubing you can make covers for the handles. Cut to length then slit down the length. Instant handle wraps.
 
I knew better, but just grabbed onto the handles like a moron.  For some reason only 1 finger is burned.  Sad part is...I have welding gloves.
 
WOW is all I can say with this mini WSM smoker!  I started the fire shortly after 11 am this morning and I am now in my 8th hour and it is still going on the same charcoal.  As mentioned in an earlier reply, the temperature spiked to 450 degrees in the first 30 minutes with both dampers fully open.  I opened the lid until it fell to 300 degrees and adjusted the dampers to 1/3 open.  It held at 300 degrees for almost 5 hours empty, which to is great because once I add a huge chunk of meat the temps should be just right.  At hour 5 I got a little curious and closed the dampers a little more and it adjusted nicely to 275 degrees after about 15 minutes.  Even more curious, I nearly fully closed the dampers and it fell to between 225 and 250 degrees and held steady.  Thinking I was running out of fuel at about hour 6.5 (225 degrees), I fully opened the dampers again thinking it would just eventually flare out.  Instead it jumped back to above 275 degrees and held steady!  I am nearing the 8.5 hour mark and I am still at 175 degrees without touching anything but the dampers all day. I meant to add more wood chips earlier, but after burning myself on the pot handles, I said screw it and just let the thing burn charcoal.  To say I am happy with these results is an understatement.  I cannot wait to add some meat to this thing!
 
I'll show you my method of lighting and burning the basket and it'll give you the best burn and steadiest temps throughout the cook...besides best smoke because you start with leftover partial burnt charcoal and wood chunks so you can put on food pretty much right away before it fully warms up. I'll find some pics

Dirt Sailor, cfarmer uses similar method too...it rocks
 
Last edited:
I'll show you my method of lighting and burning the basket and it'll give you the best burn and steadiest temps throughout the cook...besides best smoke because you start with leftover partial burnt charcoal and wood chunks so you can put on food pretty much right away before it fully warms up. I'll find some pics

Dirt Sailor, cfarmer uses similar method too...it rocks
Keith is referring to the side lite torch method. Which involves just that, lighting  the mini through one of the side vents. So for your silver you would need to add side vents, or pull the pot and light one side of the basket. This method is the best way to do it and it doesn't take long at all to get up to temps. A normal cook for me follows this procedure.

1. Empty ash from base unit.

2. Shake charcoal basket to remove ash, leave old charcoal in basket. If I am going to be doing a long smoke 12 hours + them I will start with all fresh.

3. Add new charcoal and wood chunks.

4.Replace pot, open all vents wide open.

5. Ignite torch and place in side vent to lite. Depending on the conditions and your targeted pit temp this may take 3-8 minutes. For low temp cooks I lite one side only. For higher temp cooks I will torch through  both side vents. Note that while torching the pit temps will be super high. The temp will drop once the torch is removed.

6. Allow the pit to settle in, use only the bottom damper and the side vents (if you have them) to adjust heat. Keep the lid vent fully open all the time.

7. After your smoke is done, close all vents and don't touch until your next smoke. Proceed back to step one.


This basket is after a 4 hour or so burn. This will be used again, with new charcoal added for the next smoke.


This photo shows the overloaded basket ready fora long smoke. Not shown were two more pieces of wood for a total of four. This particular load lit from one side kept the smoker going for 15 hours @ 265°.
 
Last edited:
SmokingMeatForums.com is reader supported and as an Amazon Associate, we may earn commissions from qualifying purchases.

Latest posts

Hot Threads

Clicky