Ok. Here we go again. Rf #2.

  • Some of the links on this forum allow SMF, at no cost to you, to earn a small commission when you click through and make a purchase. Let me know if you have any questions about this.
SMF is reader-supported. When you buy through links on our site, we may earn an affiliate commission.
I can see the pics so i guess they are working.

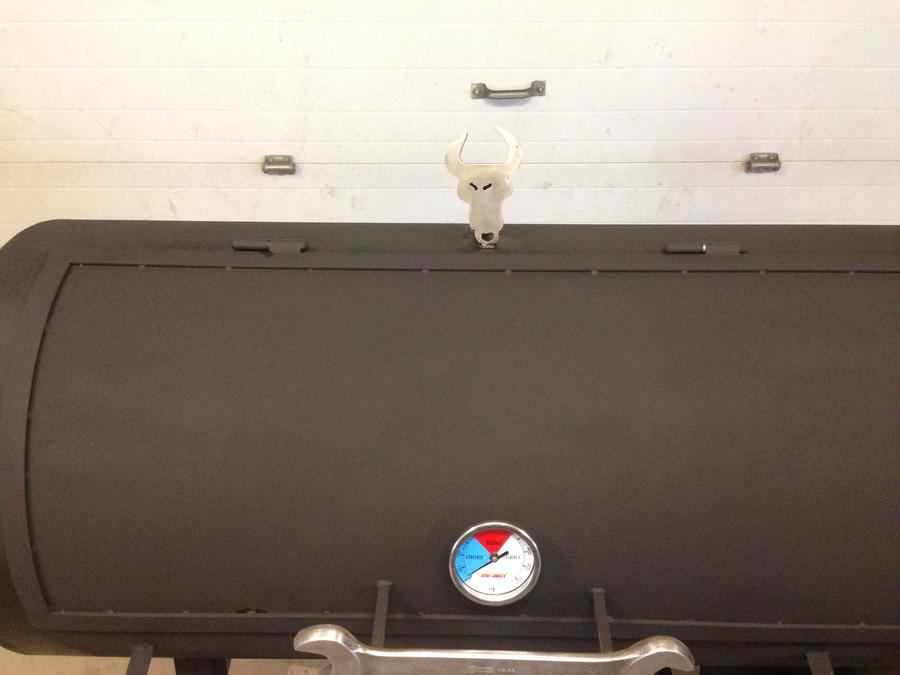
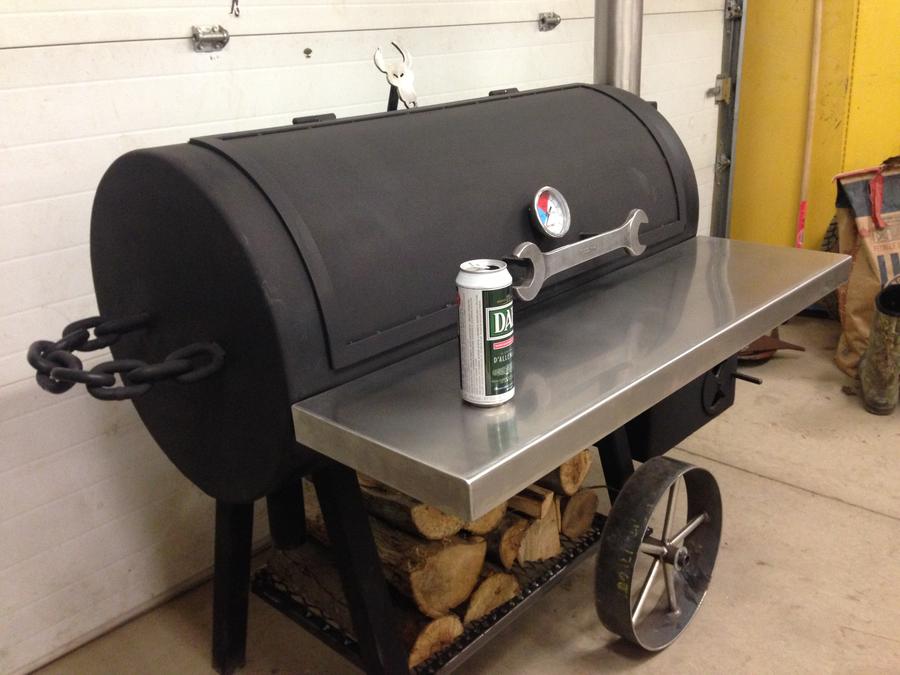
I dont no what to say your smoker is awesome. Love the handles you came up with.

Have you got bearings in your wheels? I havent figured out how to do my wheels on my build yet i was going to do 4 castors just because its easy and i couldnt figure out how to do 2 independent axels besides just using a bolt.
 
Blown away Isaac. Looks awesome!! Excited to see how she performs

**Edit** I just noticed you only posted your calcs 9 days ago. You built that crazy fast!
 
Last edited:
Yep. I'm a bit crazy when I get a idea in my head. I'm lucky we were slow at work and I "adopted" a company sponsor, I bust my nut at work and we were slow, so my boss put on the blinders and basically wouldn't come see me so he couldn't give me shit. He wants some ribs in return. Lol
Just got the first teer of cooking grates done. When I put my wheels on I was a bit off on level so now I'm correcting that. Paint tomorrow and a wood perp shelf next week.
I learned a lot here, about dining it on the fly and taking my time and working the numbers and utilizing the knowledge of some very experienced members ( Insert praise about Dave Ormaks dedication and patience with meat heads like me who "just want it done" )
Peoples skill sets differ from one to the next, but with guidance and patience anyone can build a quality smoker.
I've had a couple of beers, I'm moist with anticipation to use my new baby and I thank all the people for sharing and caring.
From the Ottawa valley, over and out.
Stay tuned.
 
Looks great love the Wrench    Points

Gary
 
I painted it with a automotive ceramic header paint . There were detailed painting instructions which were worth following, paint cured in a multi stage burn in.
Looks great after the burn, really neat texture and finish.
Smoker worked incredibly well and was very easy to move temps around.
Cooked a pork loin and the sound of the rf plate sizzling was great coming out the big chimny. And clear smoke, wow, used hardly any wood.
 
Heres a quick vid of the smoke, but you have to look hard to see it. my phone ran out of data so i couldn't show the temp gauge which was at 260f. It worked awesome, thanks for all the help lads.

 
Try now? I'm new to computers and tech, not to steel and welding. Lol
Ok. I fingered it out, it's public now
 
Last edited:
Yeah i watched it..... i want more hehe. I enjoyed following your build shame its over. Any plans for future builds
 
Not if my wife has anything to say.
I may make one or two a year to sell and help finance my beer habit.
I'm making up a ss front shelf today and a lower shelf for storage underneath currently.
I've been welding for over 20 years, which is why it was so quick. I have a full shop at home as well.
 
Well, this is it for this one. Shelves on today, bent up a prep shelf and fused the corners for a clean look, wanted to keep with the ss accents. Lower wood tack same as grates.
I'm kinda sad. I really got into this build.
Maybe I will have to start another sooner, I just have to deal with turkey season!!
I got a 18lb Tom on Monday so perhaps you will see some pics of him ( naked and tanned). Anyone in Ottawa Canada want a smoker built, let me know.
GALLERY]
 
Did you choose to have a upper and lower meat rack in your cc or do you just have the lower rack? I was going to have both on my build but iam thinking maybe the cc isnt big enough so i was just going to go with one
 
SmokingMeatForums.com is reader supported and as an Amazon Associate, we may earn commissions from qualifying purchases.

Latest posts

Hot Threads

Clicky