Newbie and new RF Build

  • Some of the links on this forum allow SMF, at no cost to you, to earn a small commission when you click through and make a purchase. Let me know if you have any questions about this.
SMF is reader-supported. When you buy through links on our site, we may earn an affiliate commission.
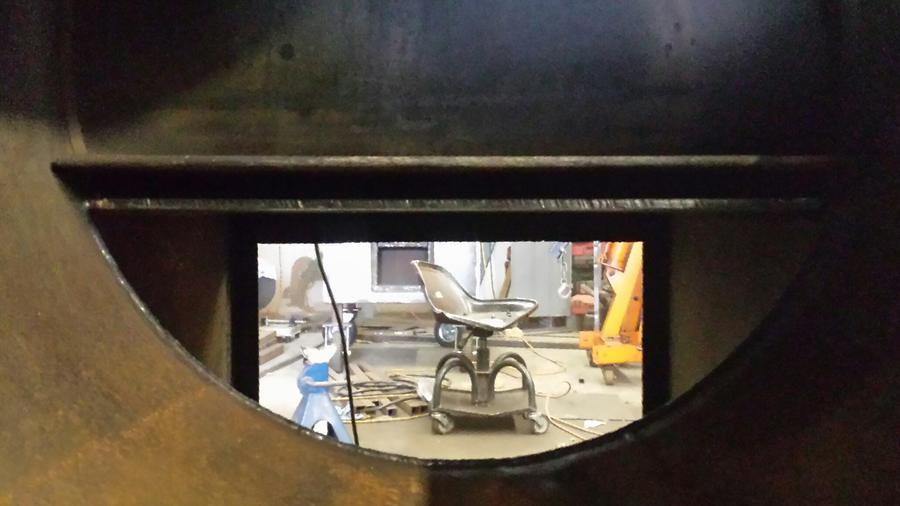
That's how I built mine, and it works wonders to help even things out.
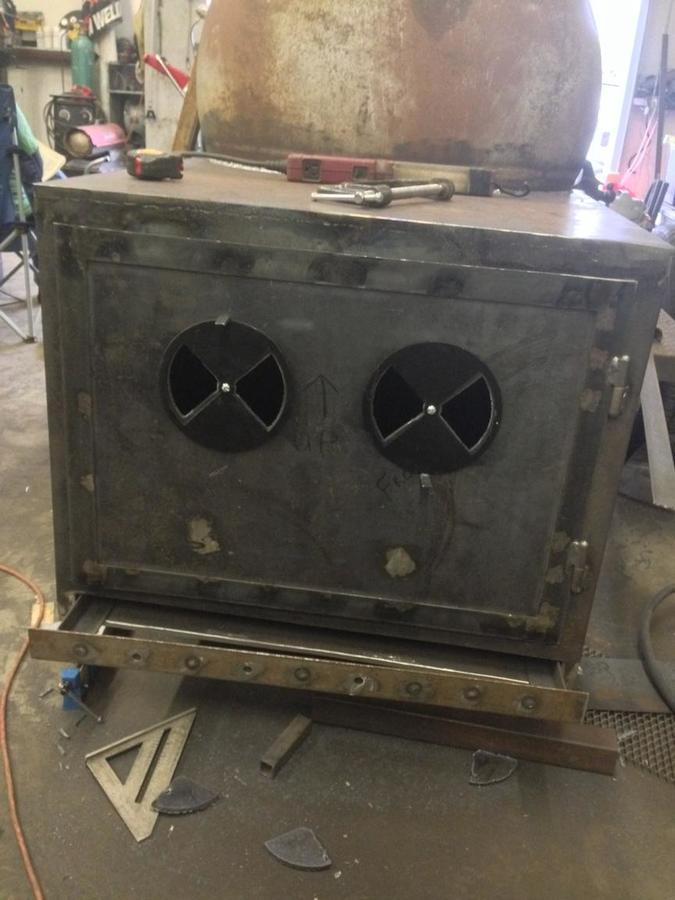
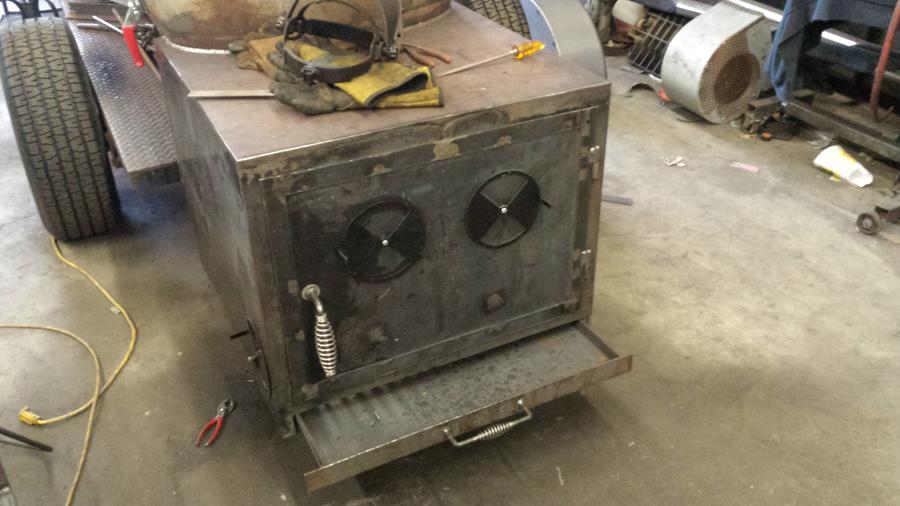
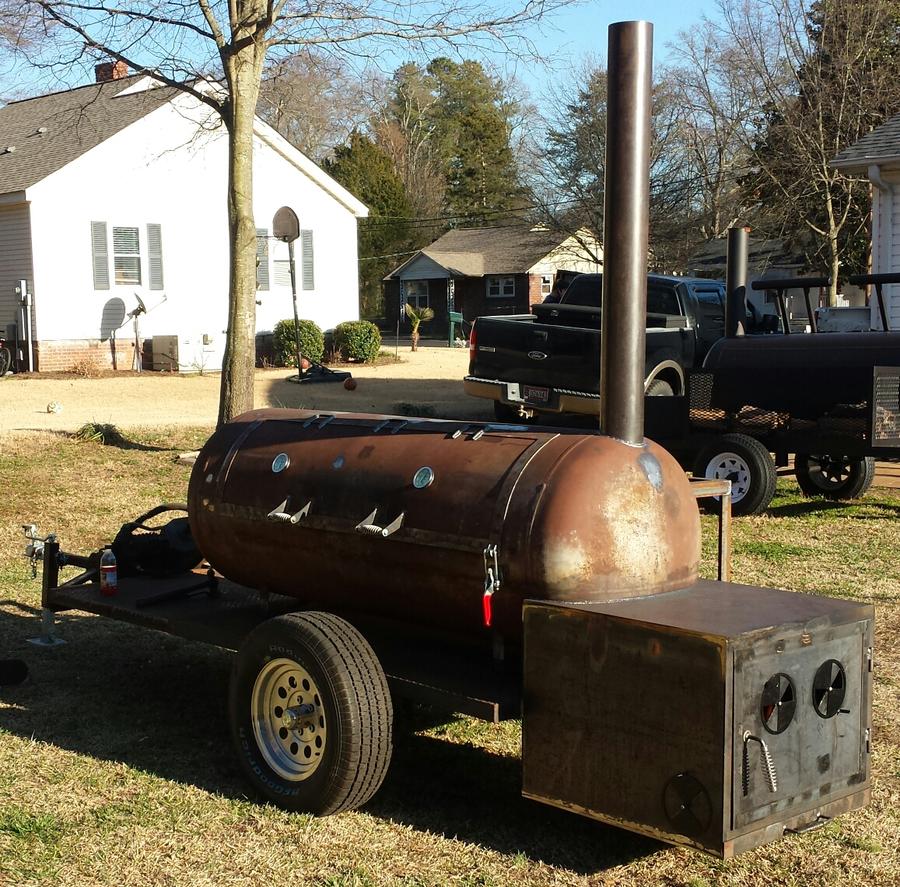
I see alot of people interpreting the air gap in different ways and if you plan it into the build then its clean and no one can tell its there.
I never took a picture of mine so I made it a special point to share this picture.
 
Got a little more done today,
Here's a picture of the air gap been the firebox and baffle plate, it's 1" above the top of the firebox.

We just lays the 2 pieces in, we figured on getting them welded this weekend.


Your going to be so happy you installed that air gap!

Sorry if I missed it being mentioned earlier, but what is the benefit of the air gap? And is this just simply having the r/f plate slightly above your firebox and not mated up against?
 
Last edited:
Sorry if I missed it being mentioned earlier, but what is the benefit of the air gap? And is this just simply having the r/f plate slightly above your firebox and not mated up against?

Once you read enough threads of finished builds you will find alot of folks trying to control a hot spot on the firebox end of the cooker.
Some people do the by suspending a piece of steel from the roof of the firebox and creating an air gap, In all 3 of my builds I designed them such that that air gap was built into the design and I wont loose any firebox volume.
With this little bit of forethought the cooker is usually only +/- 5°F difference on a 250 gal tank.
Hope this answer helps, let me know if you have any other questions and I will answer them as best I can.
 
Last edited:
And it helps keep the paint from burning off of the top of the firebox, along with less heat loss through the top of the firebox making the cooker more efficient.

Just a very easy feature to install that has many benefits,
 
Thanks guys! That's what I had thought but just wanted to make sure. I've been doing quite a bit of research lately and was surprised I hadn't heard of that. But then I only recently stumbled across this section of this forum so I have a bit of catching up to do ;)

Awesome looking build btw jwsimpleville! Looking forward to more updates!
 
Got a little more done yesterday, built the wood box on the backside of the smoker. Then we decide before we go much further we need to test fire the thing to make sure it drafts right and has even heat within reason.
So after the maiden fire and approx 3hrs of trying various settings between the intakes and fire size we determined with the 5" exhaust stack the cooker is getting a buildup of heat causing a 25° difference from end to end.
We're targeting the exhaust stack because its one of the few differences between mine and this one.
Someone feel free to correct me if I'm way off base but if the exhaust pipe is to small a diameter the cooker can have a build up of heat due to its not being able to let the excess heat and smoke exit fast enough.
All that to say, we're going to look for a 6" or 6-1/2" pipe to change out the 5" pipe

On a good note the glow in the dark thermometers work great

 
Last edited:
Yes, you are right on track, if the stack is too long, the air column has a chance to cool reducing the pressure differential and slowing down the draft. According to the calculator, a 6" pipe three feet long would be just right. It should be an easy fix with your fabrication skills!

Sorry you are having a setback, everything else looks so great!

Len
 
I would probably go with a 6" if it were mine.  A tank that large needs to be able exhaust a lot of heat and smoke freely.  There is a local guy who makes pits (real good pits) I won't say who but if you have watched Pitmaster's you have seen a couple of his pits on occasion any way his most popular smoker is the 250 gal. he has always uses 6" ID pip for his stacks, these things work great, flow great and hold temp like they should. Also I wrote Dr Blonder who is an expert in these things agrees that a larger dia stack works better on a smoker rather than a long small dia. Sometimes it's a little trial and error. Sounds like you are on the right track.

Gary
 
In my opinion I think your draft is laboring due to ur inlets not being below fire level. Im sure changing ur stack to 6" would also help a bit but for the most part I think its due to not having a lower inlet port. In my opinion.
 
JW, morning..... OK........ After your last smoker build went well............ Why did you build this smoker and NOT USE the calculated parts ??? That is a lot of work to change that stuff out...... The tall narrow stack has a lot of friction area for the amount of volume.... that friction loss will kill the air flow......

Dave
 
Hi Dave,

I initially brought this smoker project to James late last year. I had started this build on my own without any previous experience and sought James out through this forum to help me. I already had the materials for this build and we experimented with what I already had.
Bully, thanks for the input. It's kind of hard to see from the picture but we have a vent on each side of the firebox that sits below the grate level to help with oxygen flow from underneath. The two vents on the door are to help push the heat/smoke down through the chamber.
 
SmokingMeatForums.com is reader supported and as an Amazon Associate, we may earn commissions from qualifying purchases.
Clicky