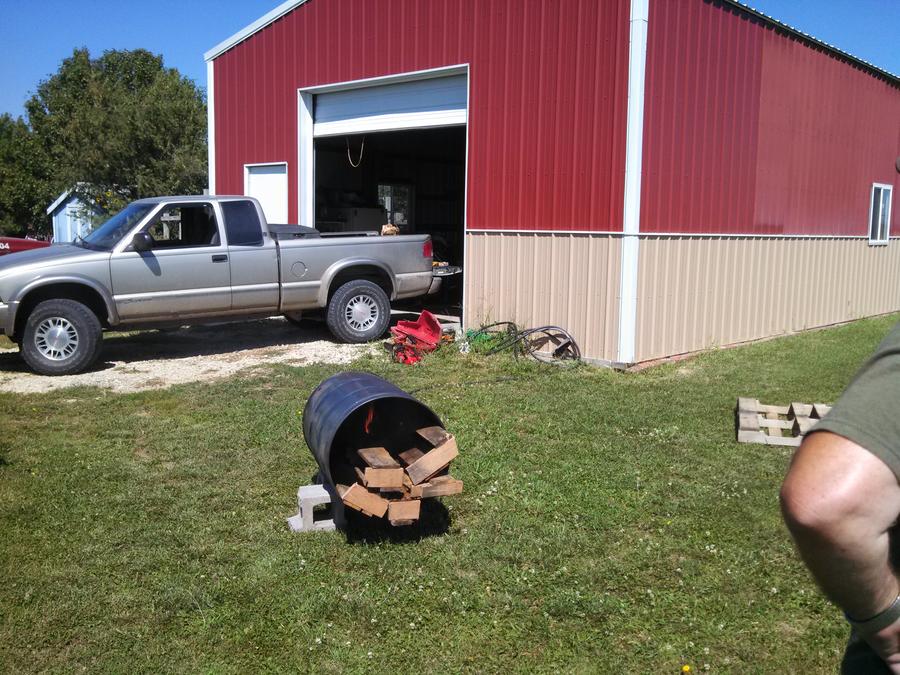
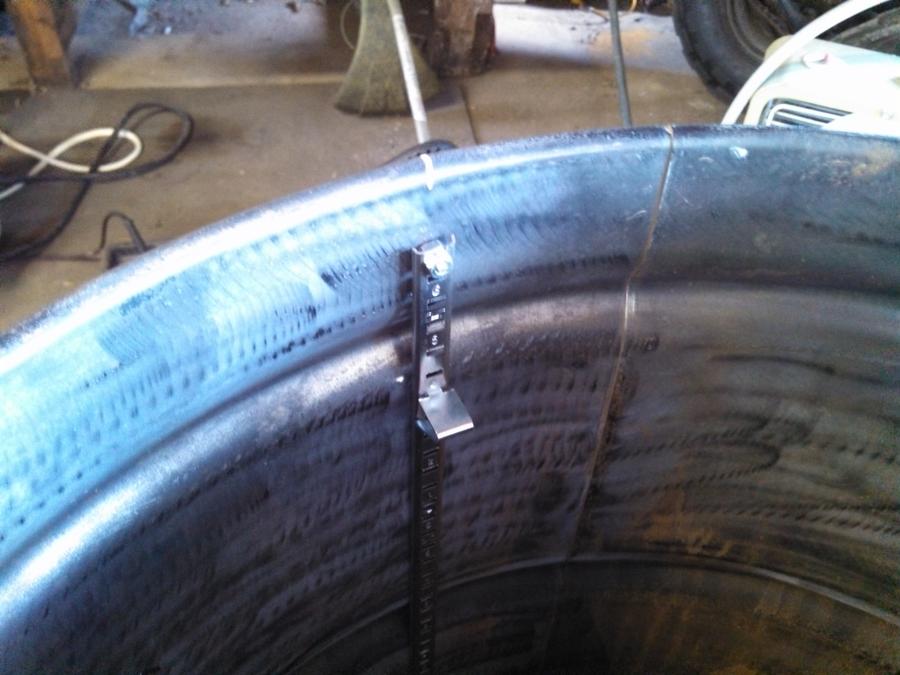
I like that Dirtsailor! my only concern is accdentially rotating the grate out of the slot and losing whatever may be on it into the bottom, believe me things like that have and WILL happen to me. Just last night I managed to smack my self in the face with a pallet while trying to disassemble it. Nice gash on my forehead knocked my glasses clean off and bruised my arm!
Sometimes I just have that black cloud over my head. HAHA.