First RF smoker- 115 gal propane tank

  • Some of the links on this forum allow SMF, at no cost to you, to earn a small commission when you click through and make a purchase. Let me know if you have any questions about this.
SMF is reader-supported. When you buy through links on our site, we may earn an affiliate commission.
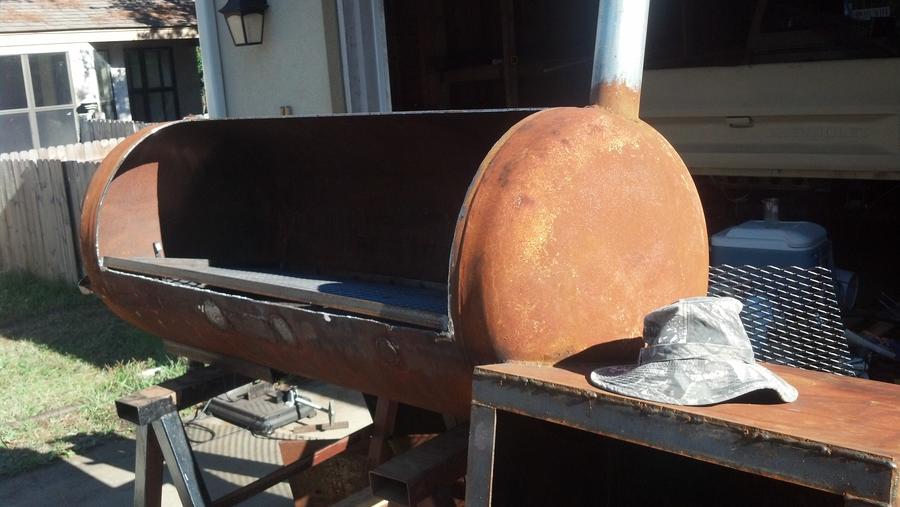
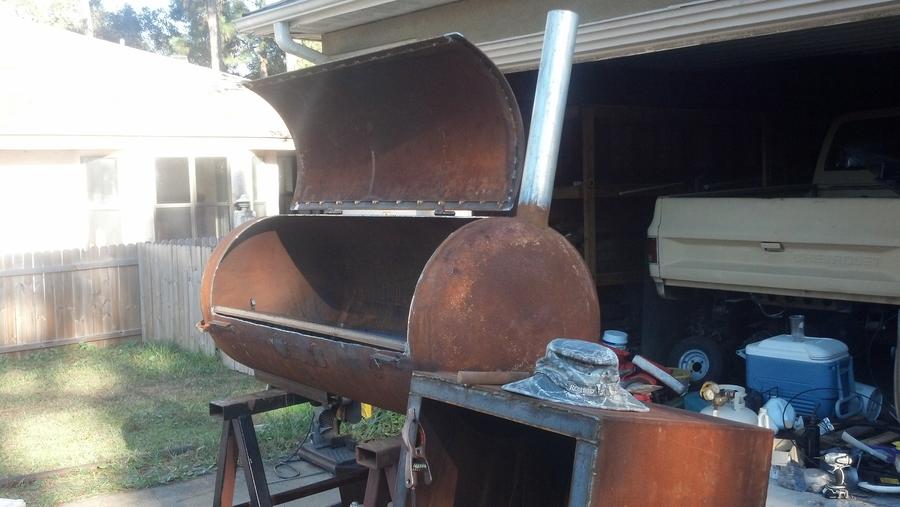
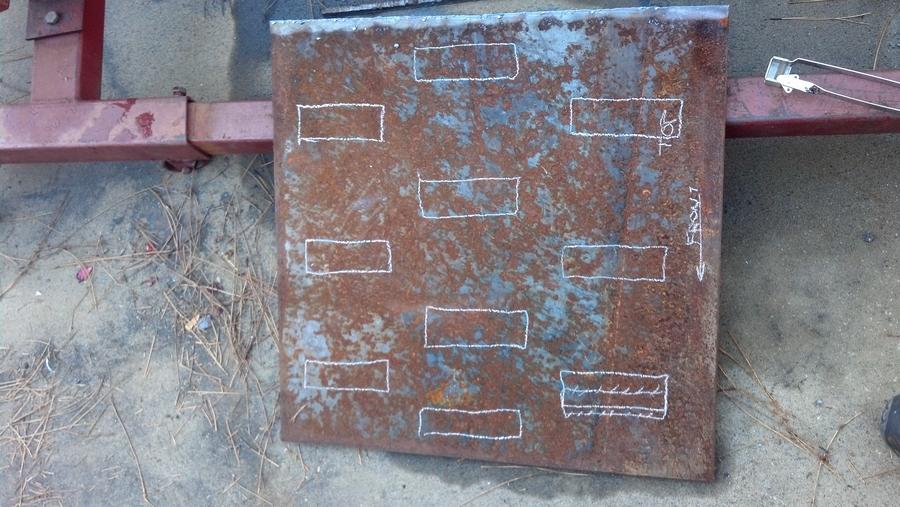
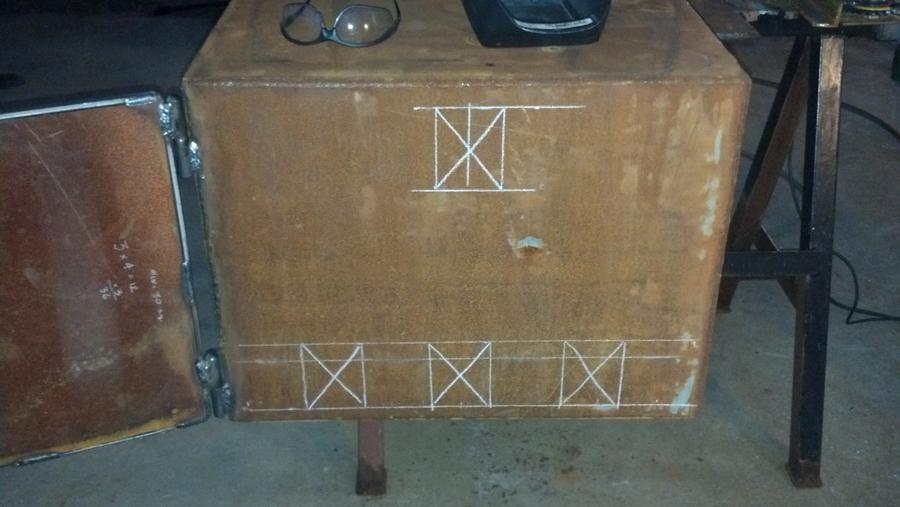
Well, I guess this shows my ignorance, sorry to SlowJEEP, but I never even thought about putting vents in the side.  I'm a newbie, so I'm still learning.  I've always seen the vents in the door, but if you make the door solid, and then put the vents in the side, it does the exact same thing.  OK, back to the shadows with me.
 
Have some progress to report.  I spent a lot of time on the RF plate and, sadly, I still have to weld it in.  Q day is quickly approaching so my updates should become more frequent.  Whole pig, 50-60 lbs, is on order from Winn Dixie.


It's hard to see in the picture but the plate has a bit of frown to it.


I decided to boat tail, for lack of a better term, the left side.  This would address the 'drain to the lowest point' desire as mentioned before.


I left 3 tabs along the length of the torch cuts so that I could heat and bend.  It worked on one but I got carried away on the other side and it snapped off.  


This is where I quit for the night. 


whydid you put the door to your firebox on the front of the box, and not the side, furthest from tank?
I'm putting the door on the front of the FB on mine as well. In my case, it was a decision made because I'll be using it on my patio, and I wanted to not need the extra 3-4 ft of space on the end to open the door and load it.
 
Wish I would have seen this earlier. On mine, I welded angle iron flush with the top of the FB opening, and tacked the RF plate to it. Then, with my sons help, and 2 24" prices of angle, we bent the plate to where I wanted it, and tacked the angle to the sides of the RF plate and the front of the smoker. Double checked out measurements after everything was tacked, and welded the snot out of it.
 
The RF plate is mostly welded in.  It's not pretty but she'll do.  In hindsight, truckerbob, your method would have made it a lot easier.  Next time...  

I'm looking to finish it by this Sunday so I can spend the week getting to know her before the big date.  Happy Thanksgiving Eve.
 
HAPPY THANKSGIVING

 from:

GARY in EAST TEXAS
 
Jeep,

For my shelves I am planning ( still looking for suggestions / opinions)  on using 1" angle to frame my food shelf /trays.  Here is a good thread on how to build them. 

http://www.smokingmeatforums.com/g/a/137988/quick-and-easy-food-grate-frames/  

For the rails I'll use 1 1/2"  to 2" angle.  I'll cut the vertical height down a bit.   I just want something long in the horizontal direction.  The width will allow me to mount them so they are wider than my door opening.  I'll then mount some blocks or spacers on the support angles to keep the 1" angle shelf /tray centered on the door opening.  I hope this verbiage makes sense.  Don't have  pictures, I haven't built it yet.   

I'm still thinking on how to do some sort of stop / bracket to keep the shelf from falling out when fully extended. 

Your build is looking good so far.  Wont' be long until you are cooking!  

RG
 
Midday update.

Thanks for the suggestions, links and pictures guys.  I decided, on the fly, to do the following:

Top with 1" angle as the frame.  I wanted to use some square tubing but didn't quite have enough.  The rack could be a little stiffer but I'm satisfied with how it came out.


Bottom side reinforced with some 1/2 x 1/4 flat bar.


Rack extended out to the stops and the hook.


Rack in.  you can see the little hook on the left side of the cooker that lets the rack rotate down 15 or so degrees.  Not sure if this is a good idea but it felt right.


Back to the driveway...
 
Evening Update:

CC door welded on.


I didn't think I was going to use these bullet hinges but I had a change of heart.


This is a piece of 3/8" that was left over from the RF plate.  I'm going to put it in the FB as a grate.  The soap stone squares are for air flow.  I'll weld a few of the drops on as legs to lift it off of the bottom.


Ran out of oxygen.  No gas ax till Monday.


A little instant gratification.  Burnt some straw in the FB to see smoke come from the chimney.


FB door in operation.  I used the same bullet hinges as the CC door.


Last shot of the night.


Without oxygen, I'm probably done for the weekend.  Not as far as I wanted to get but she's coming along.  
 
Only a few days to go...

Finished the grate.  It is spaced from the bottom with feet about 1.5".  Think I'll need a way to get to and clear the ashes on a long cook?


Vents laid out.


Cut.   I forgot to get a picture of the slide setup.  


Another test burn.  No gaskets or door latches and it leaks like a sieve.  

 
SJ, morning.... You might consider elevating that plate to about 4" from the bottom of the FB for easier ash removal during a long smoke... Drag the ash out through the FB door.... You could wait until you have a few smokes in the smoker to see how much ash builds up also...
The design looks good.... It should work very well for you.... Smoke some stuff and note any changes you "might" want to make to improve the smoker... May not need any.... I'd wait to paint it until you have all the changes made that tickle your fancy..... I can't think of anyone, off hand, that built the perfect smoker first go round.... I've built so many smokers I can't remember them all..... Each one is an improvement over the previous builds.... it never ends.....
Look at Ribwizzard and all his builds... they keep evolving... He's building a new one now... More new ideas going into it...... He's built some mighty fine smokers..... I'd be happy with any of them.....
I never met RW but I do know this..... He never sleeps.... he couldn't.... not enough time considering all the new ideas he comes up with for his smokers.....

Dave
 
SmokingMeatForums.com is reader supported and as an Amazon Associate, we may earn commissions from qualifying purchases.

Latest posts

Hot Threads

Clicky