First build. Westinghouse fridge

  • Some of the links on this forum allow SMF, at no cost to you, to earn a small commission when you click through and make a purchase. Let me know if you have any questions about this.
SMF is reader-supported. When you buy through links on our site, we may earn an affiliate commission.

fishy

Newbie
Original poster
Mar 27, 2011
17
10
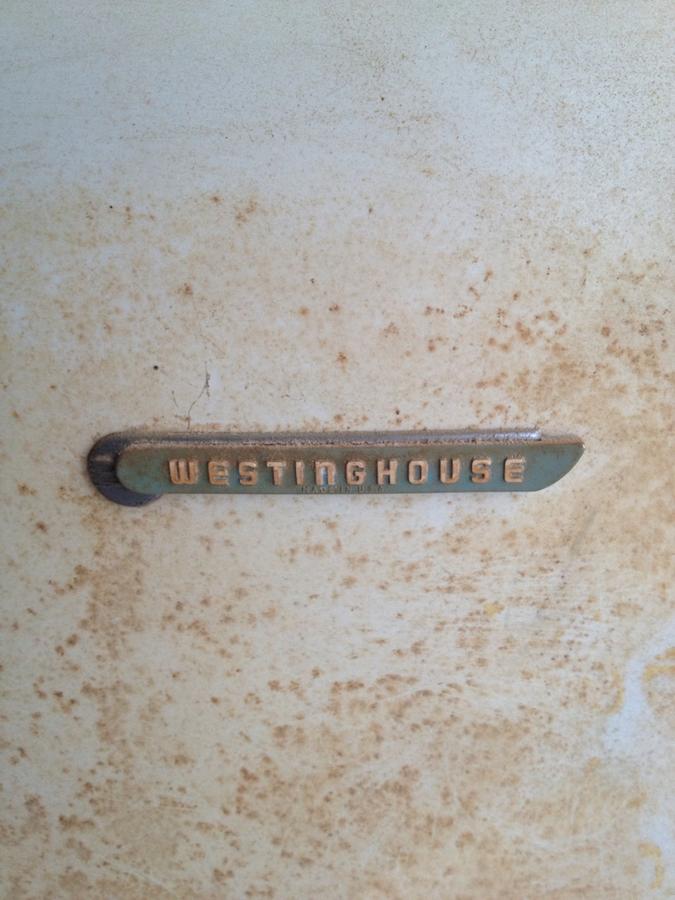
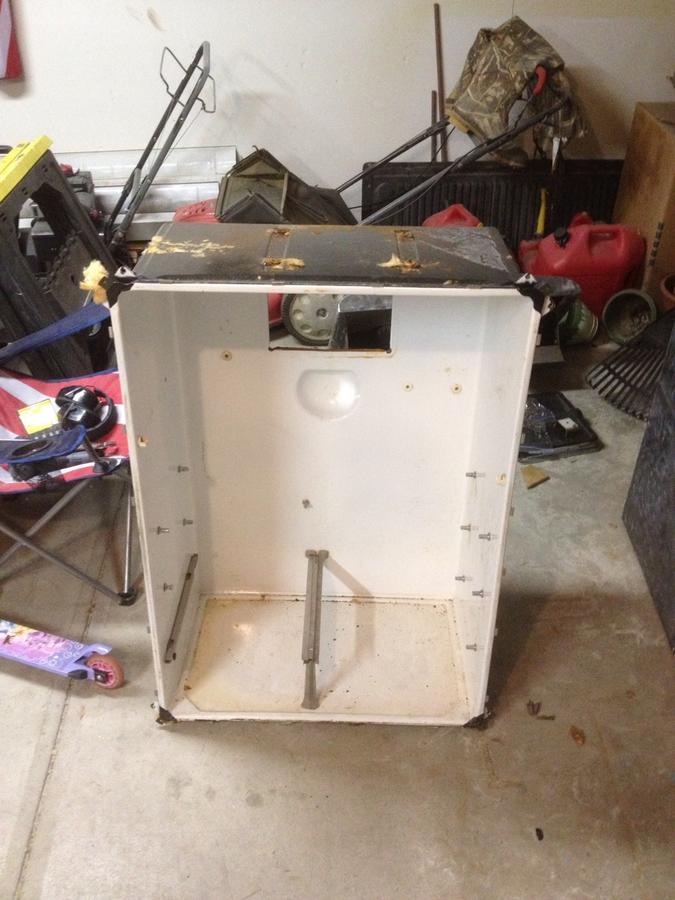
Been a while since I have visited this forum, but I suspect I will be visiting a little more frequently. I picked up a 1950-60ish Westinghouse fridge today that I found on Craigslist. I have off and on been wanting to build a fridge smoker for about the last 2-3 years and I committed myself today.

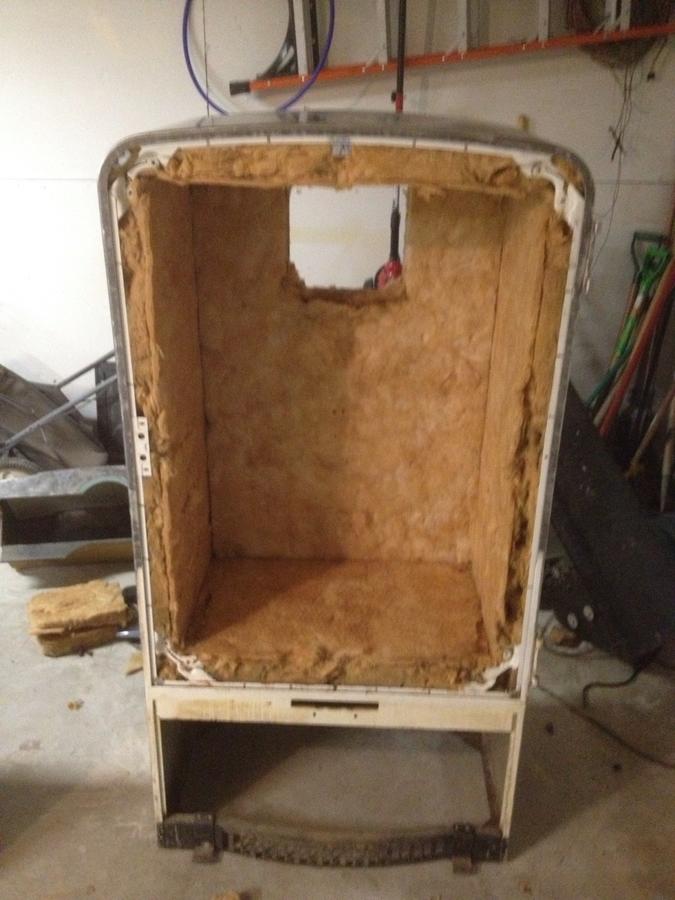
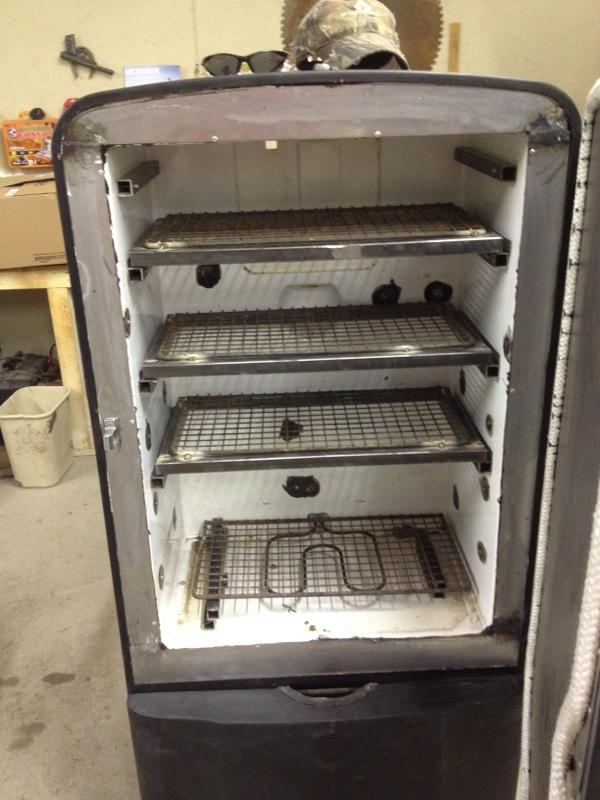
From what I can tell about this build so far and only having the fridge for about 2 hours is that there are some plastic pieces that need to be pulled out and holes filled. Also the inside of the door will need to be replaced with some sort of sheet metal and also the the trim on the box side where the seal will fit.

I have not decided how I am going to go with this as far as gas or electric. Some advice, as far as pro's and con's are needed with this. Nothing is set in stone yet so any advice will be greatly appreciated.

I will post some pics of the fridge as soon as I get some taken.
 
Welcome to the fridge brotherhood, fishy!

Look around this section and you will find a lot of good advice, (and some examples of mistakes to avoid).

I, personnally, went with electric only because it's easier to control over long smokes. But there are plenty of advocates here for gas, too. Even some who went the wood/charcoal route. Each has its pros and cons. What you want to do with your smoker affects your decision. So you have to decide how much attention you want to be paying to it for long smokes. Do you want it for cold smoking or sausage making, as well? Or only doing hot smoking?
 
Last edited:
Well I got started stripping paint on the door of the fridge this afternoon, and the first question I have is what is the easiest/ best way to strip the paint off? I figured I would just take my angle grinder with the wire brush on it and I would cruise through this step. I didn't figure it would take as long as it is. Any suggestions will be appreciated.

I will post some pics later this evening
 
You just have to scuff the old paint. Orbital sander works the best (in my opinion). I'd be careful not to gouge the metal with a grinder. Cool fridge dude, can't wait to see it
 
You just have to scuff the old paint. Orbital sander works the best (in my opinion). I'd be careful not to gouge the metal with a grinder. Cool fridge dude, can't wait to see complete. It took me about a month and half to build mine while working full time
 
got a little work done this week on the build.  First thing I did was get all the paint off the door, drawer, and the sides and back of the main box.  I also started to pull the parts off around the inside cabinet,but the wife and kids got in the way of that progress.
wife.gif
  I also made the decision this week to go electric with this build.  I have a buddy who works as a tech in the food service industry and can get me the element I would like and the thermostat to go with it.  Hopefully in the next week or so, between soccer games, a dance recital, and whatever else the wife might have up her sleeve for me to do after work, I can get a little more progress made and maybe a coat of paint on this thing
 
Since my boys soccer was cancelled due to weather tonight i got to play with my build for a bit.  I took the compressor out and all the lines that go with that. i also got all the old wiring for the light and also the Icebox out.  Then I pulled the inside cabinet out.  I also pulled the old seal and plastic off the inside of the door tonight.  I will say after pulling all this stuff apart that I truely think I got a gem of a fridge.  There isn't hardly a spot of rust on it anywhere, and what little there is, is just a little surface rust, so there will not be any patching.  Here is a few pics of my progress so far.  


Wow You were not kidding thats in beautiful shape even the insul. looks perfect unless its wet underneath I would leave it as is if your not planning to go with rockwool.

Great lookin build.
 
Hey Guys, I haven't made any progress lately on the build, but I have been thinking about it a little tonight.  I'm looking for a little advice here as I don't know what the best solution is to my problem. In the main cabinet, i have 21 screw size holes, along with the big hole in the back where the icebox set, 4 bolt holes in the top of it where the icebox was mounted, and also the hole in the back where the light come into the cabinet.My question is, do I just patch these holes with small pieces of sheet metal and seal with?  Do i just build a whole new box?  Mainly I am just looking for suggestions of what the best solution would be and what you guys have done in this situation.  Any advice is much appreciated.
 
Last edited:
On mine, for smaller screw holes, I sealed with high-temp, food-grade silicone. For larger holes, I used molly bolts and washers.

For the big, square hole, unless you plan to incorporate that as part of your exhast system, I'm thinking you'll need a piece of heavy sheet metal.
 
I used the high temp silicon for small holes on mine. I taped the back side of the holes, then silicone the inside. Let that set over night then I removed the tape then put the silicon on the back side. For the bigger holes like for where the light was I used pieces from the cut outs of enameled metal that I removed for my burners. I put a bead of silicon around the patches I made and stuck it to the outside of the cabinet facing in. Then put another thin bead on the inside of the cabinet 
 
I just got back to this build after nearly 9 months of not doing anything on it. Since I last posted I have gotten it repainted, all the small holes inside the cabinet sealed up, sheet metal put back on the inside of the door and the door reinstalled. I still have to get the big square hole and the light socket hole patched. I ordered a brinkmann 1500 watt replacement element today and also an auberins pid controller. I will hopefully receive the parts I ordered later this week and be able to install next weekend. If I have some extra time this week I will reinstall the cabinet inside the main box before the other parts show up. I will post some pics of my progress later this week.
 
i still have to intstall the smokestack (any ideas on this would be helpful) and also get the light socket and back where the old icebox lines came through sealed up and riveted.  It is getting close enough now that I can see the light at the end of the tunnel.  The only other thing that I can think of that I am going to do in the future is a custom paint job and possible a smoke generator for sold smoking.
 
I have not got it in yet. I had a busy weekend that no work got done with it. I am hoping to find some time this week to finish those couple things up so I can get a first burn in next weekend. The idea I have is using a stainless exhaust tip that I have from an old pickup of mine. My problem is I am not quite sure how to attach it.
 
Last edited:
SmokingMeatForums.com is reader supported and as an Amazon Associate, we may earn commissions from qualifying purchases.
Clicky