
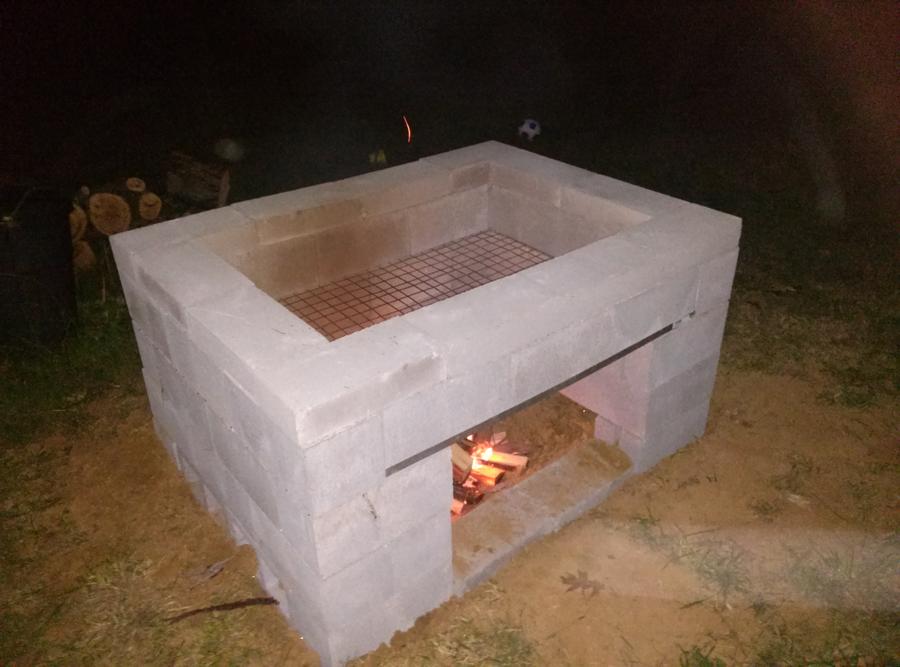
I wanted to share my Smoker build my Brother Cookie and I actually ended up building twice. I have wanted to build a smoker but I had two problems. One was my budget. It is as close to zero as you can get without actually being zero. And my second problem was there is not as much Step by Step information out there about Cinderblock building and cooking as building Reverse Flow and Offset Smokers. I have learned a ton from this site about building smokers and Smoking in general and I want to give back to the community and share the knowledge my Brother and I gained from the project. So without further adeu (I think I spelled that right).
Here is the first build that we put together. We did make some changes to the original design, which I will discuss in further detail later.
Okay here we go first things first. Please make sure you call 811 and have them mark all Gas and Utility lines. Even though I did this they still missed one. But we know about it now and everybody is safe so I can't really ask for more than that.
Step One:
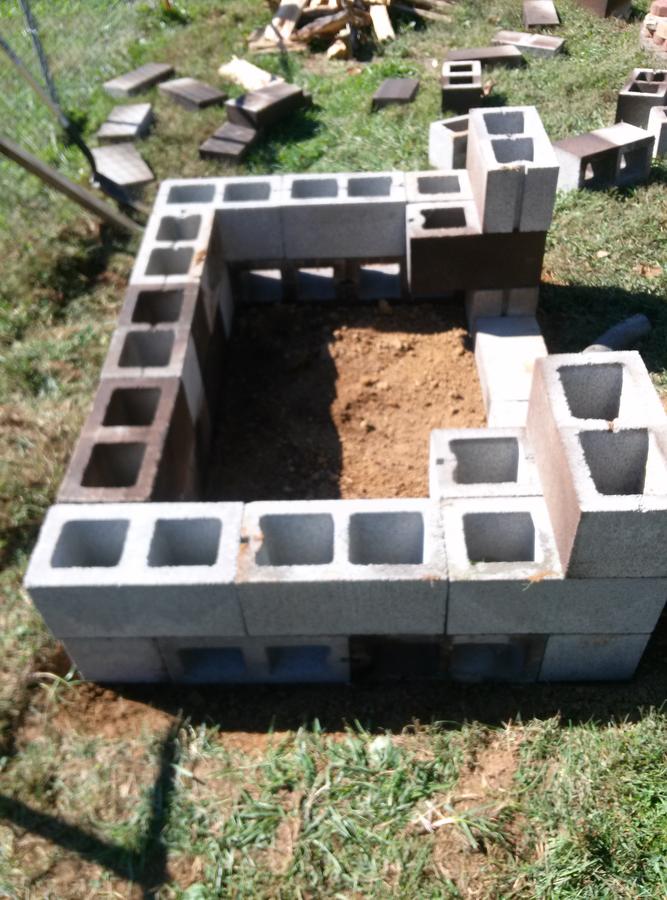
Find a spot in the yard at least 10 ft from the house and remove the grass. You want to get everything as close to level as you can. On the first build we put dirt in the blocks for the first two layers and dug the bottom out about 8 inches. We were worried about the meat being too close to the fire. We didn't do it on this build and I find it easier to control the heat without the blocks being insulated. We also made the floor level and it really evened out the heat. On each side we put the blocks on their sides to allow for an even airflow across the Pit. The Pit now has the rear facing the prevailing winds, and it has really helped prevent temperature spikes when the wind is blowing. I haven't had to cover the holes since the orientation of the Pit was changed. Here is a pic of the first level.
Step Two:
Add blocks for the second layer. Try to keep as square as you can. I couldn't find any half blocks so we turned the block sideways for the front.
Step Three:
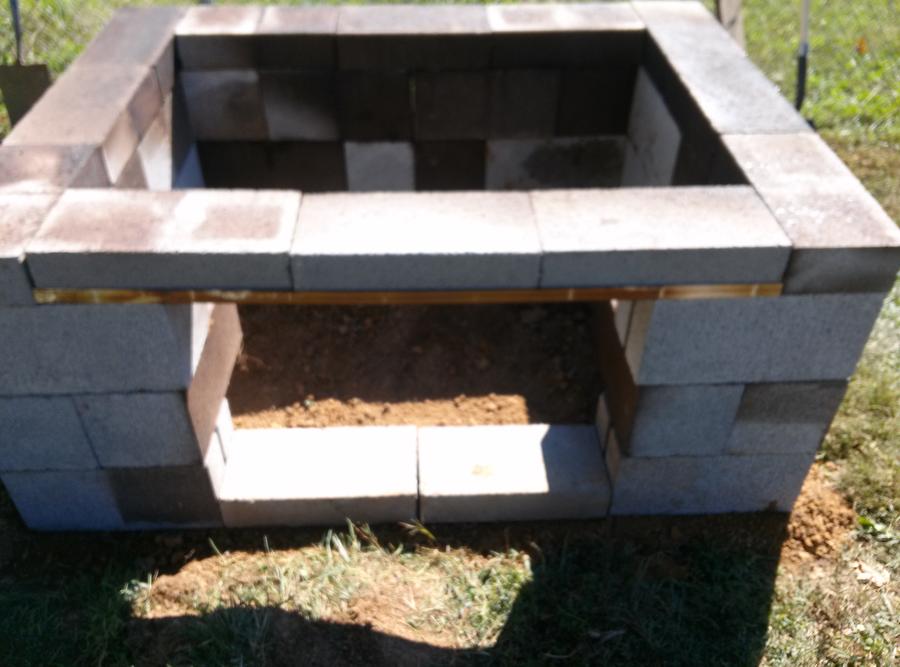
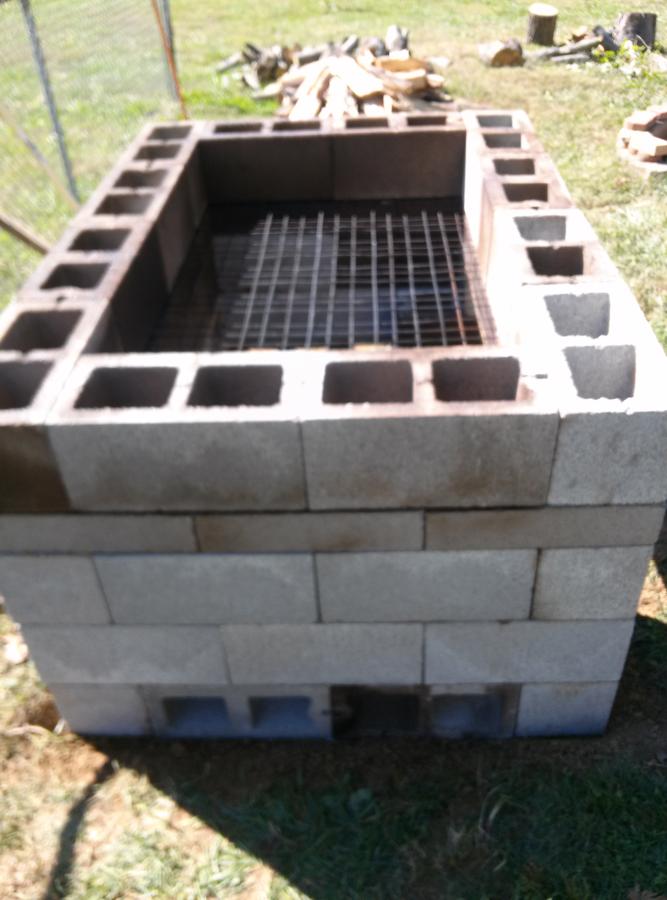
Add the third and fourth layers. This is where we made a change, instead of using the solid blocks on top we used them on the fourth layer so that it puts the meat about 32 inches above the coals. We used some Aluminum angle to bridge the front. We used Aluminum angle because it was cheaper I would recommend using Steel angle instead because it sags a little right now.
Step Four:
Add the last layer. I will at some point build a lid from dimensional lumber to make it more convenient to mop the meat while cooking.
Here is the first build that we put together. We did make some changes to the original design, which I will discuss in further detail later.
Okay here we go first things first. Please make sure you call 811 and have them mark all Gas and Utility lines. Even though I did this they still missed one. But we know about it now and everybody is safe so I can't really ask for more than that.
Step One:
Find a spot in the yard at least 10 ft from the house and remove the grass. You want to get everything as close to level as you can. On the first build we put dirt in the blocks for the first two layers and dug the bottom out about 8 inches. We were worried about the meat being too close to the fire. We didn't do it on this build and I find it easier to control the heat without the blocks being insulated. We also made the floor level and it really evened out the heat. On each side we put the blocks on their sides to allow for an even airflow across the Pit. The Pit now has the rear facing the prevailing winds, and it has really helped prevent temperature spikes when the wind is blowing. I haven't had to cover the holes since the orientation of the Pit was changed. Here is a pic of the first level.


Step Two:
Add blocks for the second layer. Try to keep as square as you can. I couldn't find any half blocks so we turned the block sideways for the front.

Step Three:
Add the third and fourth layers. This is where we made a change, instead of using the solid blocks on top we used them on the fourth layer so that it puts the meat about 32 inches above the coals. We used some Aluminum angle to bridge the front. We used Aluminum angle because it was cheaper I would recommend using Steel angle instead because it sags a little right now.

Step Four:
Add the last layer. I will at some point build a lid from dimensional lumber to make it more convenient to mop the meat while cooking.

Last edited:
