This is from an older post I made on "Building a Mini in Texas". I thought it might be handy to post it here. There was a lot of good conversation in the thread while I was building my unit. But it might be better if I could edit it out so all of the steps are on one post.
I hope it helps If you have questions or get stuck then please feel free to send me a personal message.
One note. There are a number of ways to build your Mini WSM. This is the method I used. You may try different things to make your mini your own. These are great little cookers. Well worth the time of the project. b
From December 26, 2013
I've started my build this evening while waiting on a brisket to cook on my MES. I thought I'd post QViews of what I have done so far. I'll be sure to show the completion of my unit. Special thanks goes out to all the folks on this site for the assistance and motivation to start this little project.
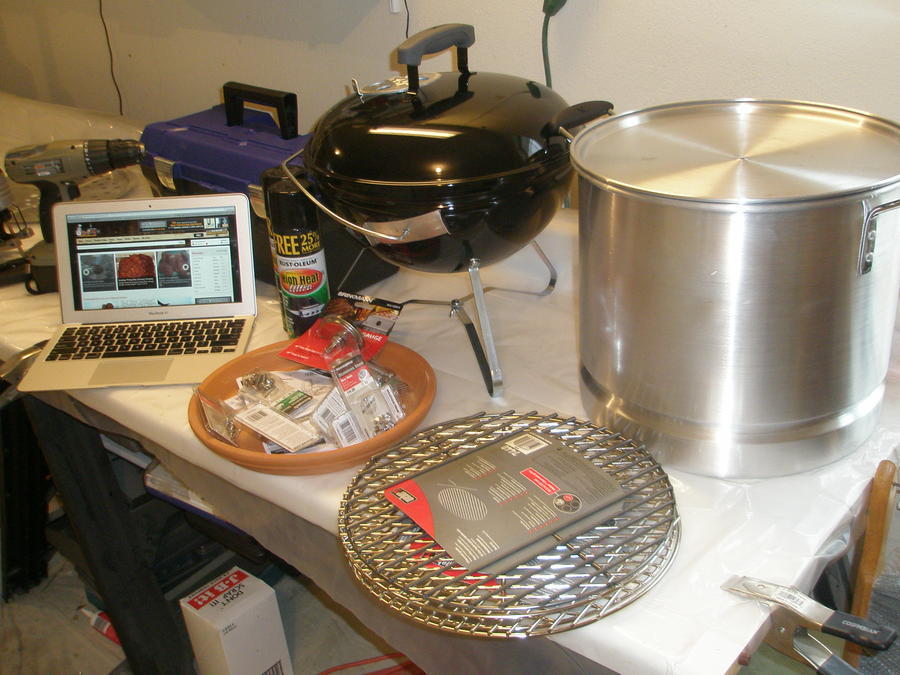
With the advise of others I chose the Smokey Joe Gold unit and the Vasconia steamer pot. Stainless hardware, thermometer and expanded steel sheet was all bought at the local big box home improvement store. I'll be more specific about the hardware as I go though my build process.
The first thing was to build the charcoal hopper. This is done by using expanded wire and cutting it to the 3" height. Wrap the Exp wire around the charcoal grate supplied with the Smoke Joe. I used rebar twist wire to hold it in place. ….Which would have been fine and held well. But my brother in-law has a welder close by so I asked him to spot weld the wire in place.
Some folks are attaching the lid of the Vasconia pot to the base. It fits perfectly on the lower half of the Smokey Joe. Doing this raises the pot about and inch higher and that will allow 2 things.
1 gives you a bit more room for charcoal in the lower half of Smokey Joe
2 gives you more area inside the pot to add another grate level if you would like.
Some folks drill holes in the bottom of the pot and other simply cut the bottom out leaving about a 2" lip all the way around. I'm going to cut mine out.
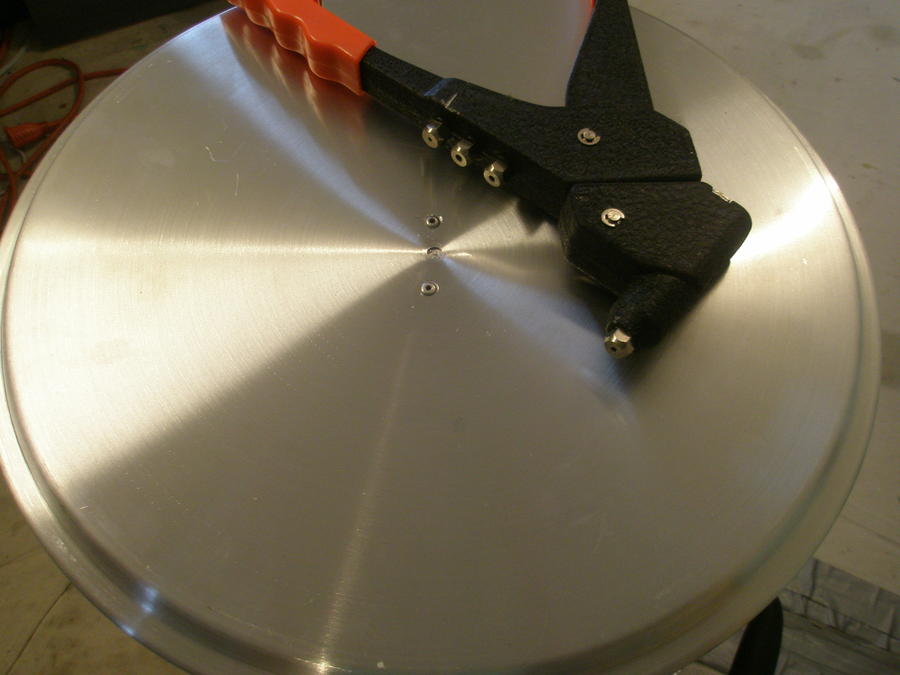
To only cut once I temporally pop riveted the lid to the bottom of the pot and drew my cutting circle.
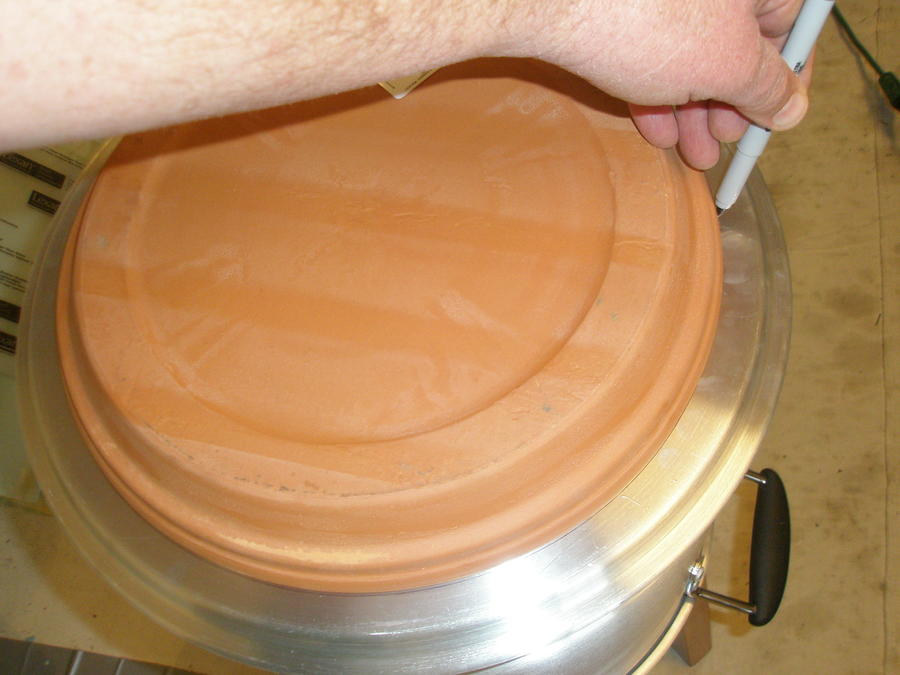
Turn the 12" terra-cotta saucer upside down and us it as the template for your hole. Draw you cutting line with a pencil or sharpie.
After the bottom and lid are cut out I pop riveted the lid to the pots bottom lip.
i've read that sometimes the terra-cotta saucers ( used as a heat defuser) might crack if the base is not supported evenly. Because I want more room in my smoker I wanted to lower the terra-cotta defuser as much a I could. I didn't like the idea of bolts holding up the defuser. I wanted something a bit more solid.
I bought a charcoal grate for a weber 18" kettle part #7440 (About $8) and cut the ends off so it would pass through the pots steamer plate ridge. You will want to cut the grate at the second cross bar as below. This creates a super strong and sturdy base for the smoker chamber.
The grate sits inside on the bottom lip of the pots bottom. A lot easier than drilling holes. Fast and simple.
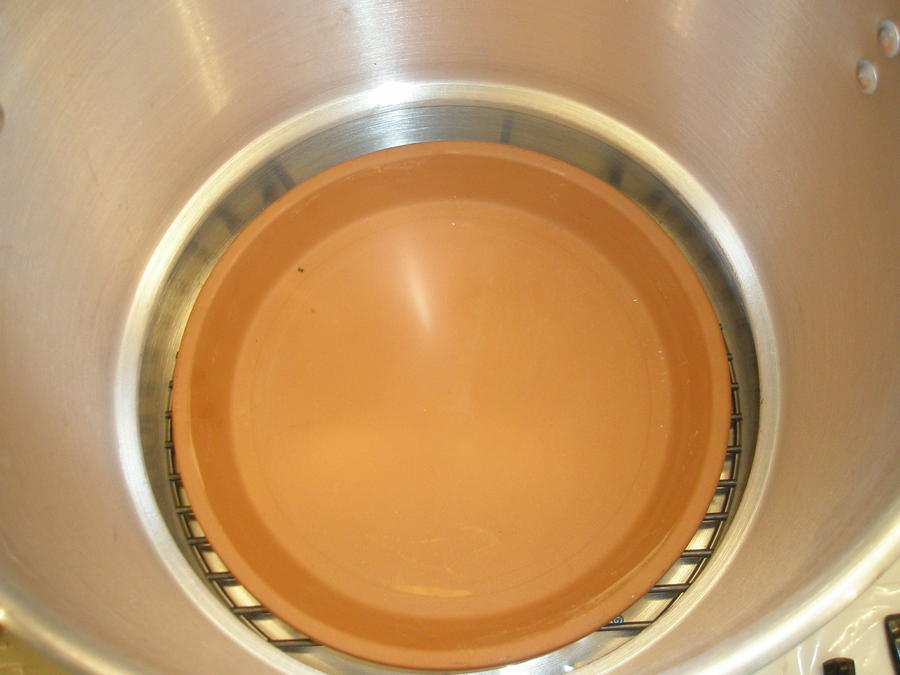
Bottom grate in place with terra-cotta defuser in place.
With the grate in place and the terra-cotta defuser in this lower position there is now plenty of clearance in the pot for multiple levels of grates or grate adjustment.
As you can see with the terra-cotta defuser all the way to the base of the pot the steamer plate ridge inside the pot will have good clearance for the lowest grate level.
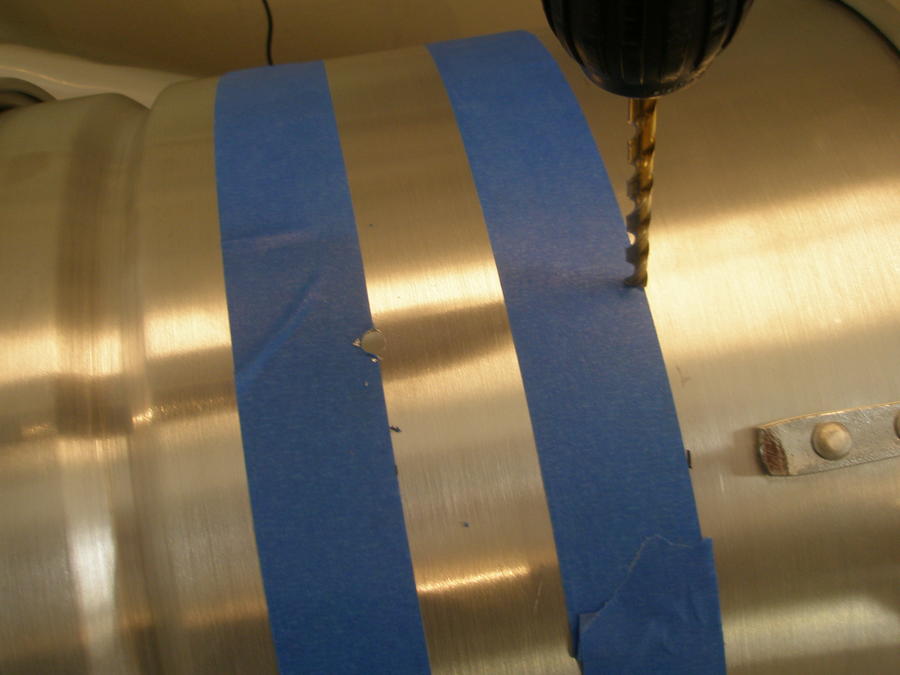
The first grate level is measured 4" from the top lip. The second grate level is half way between the top grate position and the steamer plate ridge. I'm installing 3 grate bolts per level. So I'm using a string 14.5 inches long to space the holes.
Drilling 1/4 inch holes for the grate hold bolts.
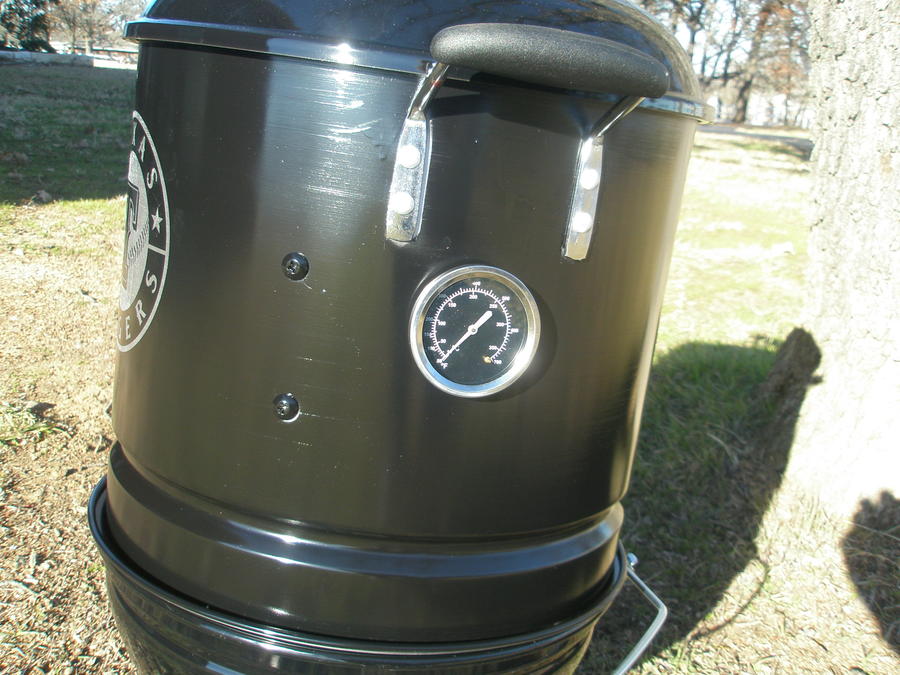
One inch below the top great bolt holes I drill a hole on the side for my dial thermometer. Its probe will be just below the top grate.
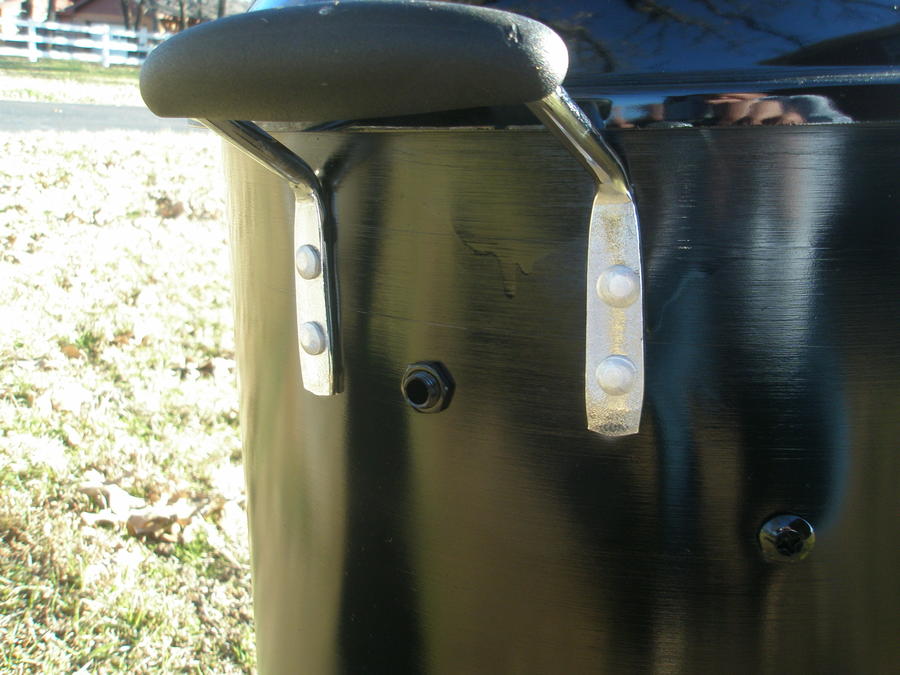
One the opposite side I drill a second hole for the electronic thermostat probes. This hole is ABOVE the top grate bolts.
I then install the bushing and nuts for my electronic thermostat probes. ( You can find these bushings in the lamp repair area of your local home improvement store.)
Back to the other side I test fit the dial thermometer and then remove it before painting.
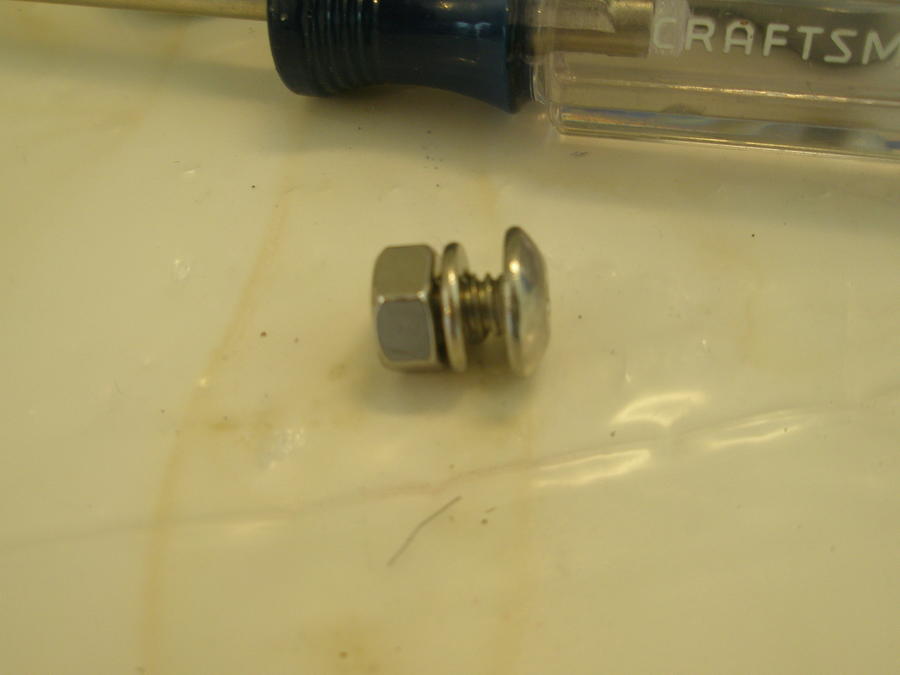
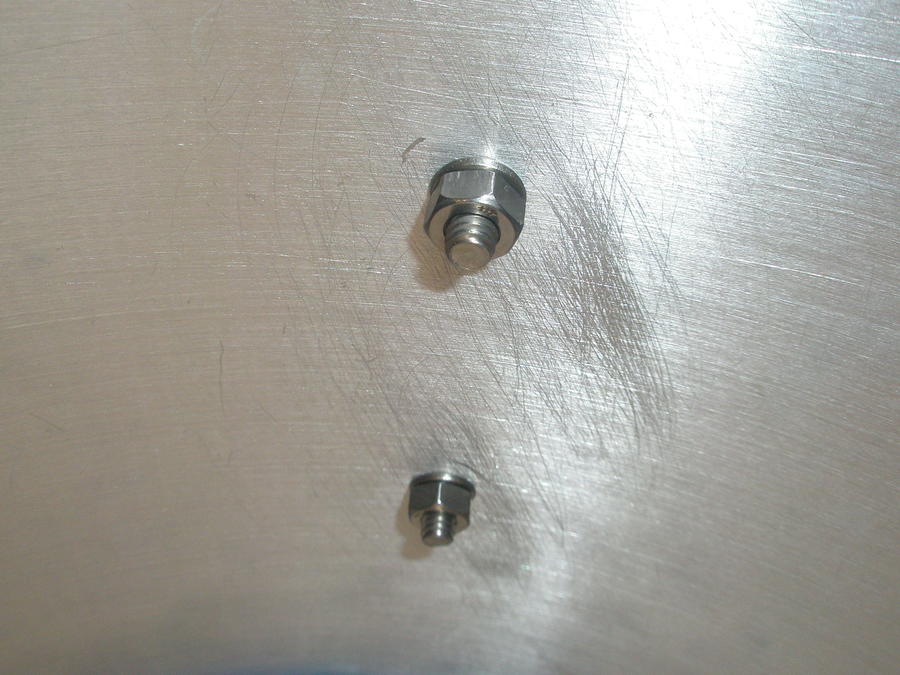
Okay, Time to install the grate hold bolts. These are 1/4 by 1/2 inch phillips head screws with lock washers and nuts. ALL HARDWARE IS STAINLESS STEEL.
3 at each level for a total of 6 bolts, lock washers and nuts. Inside of the pot view.
I tape the handles and rim and paint with Gloss Black high heat barbecue paint by rustoleum.
I've also put a cutaway decal on the front that I'm using as a stencel. Since this will be my tailgater, the logo I chose is of our local baseball team.
As projects go this one was a real delight. I had plenty of support from our members, everything went together well, it was fun, inexpensive, and best of all I can cook on it! I'll season it tomorrow on New Years Day with a resolution that good things do indeed come in small packages! Scar Belly wings will be the first smoke on Saturday.
I hope it helps If you have questions or get stuck then please feel free to send me a personal message.
One note. There are a number of ways to build your Mini WSM. This is the method I used. You may try different things to make your mini your own. These are great little cookers. Well worth the time of the project. b
From December 26, 2013
I've started my build this evening while waiting on a brisket to cook on my MES. I thought I'd post QViews of what I have done so far. I'll be sure to show the completion of my unit. Special thanks goes out to all the folks on this site for the assistance and motivation to start this little project.
With the advise of others I chose the Smokey Joe Gold unit and the Vasconia steamer pot. Stainless hardware, thermometer and expanded steel sheet was all bought at the local big box home improvement store. I'll be more specific about the hardware as I go though my build process.
The first thing was to build the charcoal hopper. This is done by using expanded wire and cutting it to the 3" height. Wrap the Exp wire around the charcoal grate supplied with the Smoke Joe. I used rebar twist wire to hold it in place. ….Which would have been fine and held well. But my brother in-law has a welder close by so I asked him to spot weld the wire in place.

Some folks are attaching the lid of the Vasconia pot to the base. It fits perfectly on the lower half of the Smokey Joe. Doing this raises the pot about and inch higher and that will allow 2 things.
1 gives you a bit more room for charcoal in the lower half of Smokey Joe
2 gives you more area inside the pot to add another grate level if you would like.
Some folks drill holes in the bottom of the pot and other simply cut the bottom out leaving about a 2" lip all the way around. I'm going to cut mine out.
To only cut once I temporally pop riveted the lid to the bottom of the pot and drew my cutting circle.
Turn the 12" terra-cotta saucer upside down and us it as the template for your hole. Draw you cutting line with a pencil or sharpie.

After the bottom and lid are cut out I pop riveted the lid to the pots bottom lip.


i've read that sometimes the terra-cotta saucers ( used as a heat defuser) might crack if the base is not supported evenly. Because I want more room in my smoker I wanted to lower the terra-cotta defuser as much a I could. I didn't like the idea of bolts holding up the defuser. I wanted something a bit more solid.
I bought a charcoal grate for a weber 18" kettle part #7440 (About $8) and cut the ends off so it would pass through the pots steamer plate ridge. You will want to cut the grate at the second cross bar as below. This creates a super strong and sturdy base for the smoker chamber.


The grate sits inside on the bottom lip of the pots bottom. A lot easier than drilling holes. Fast and simple.
Bottom grate in place with terra-cotta defuser in place.
With the grate in place and the terra-cotta defuser in this lower position there is now plenty of clearance in the pot for multiple levels of grates or grate adjustment.
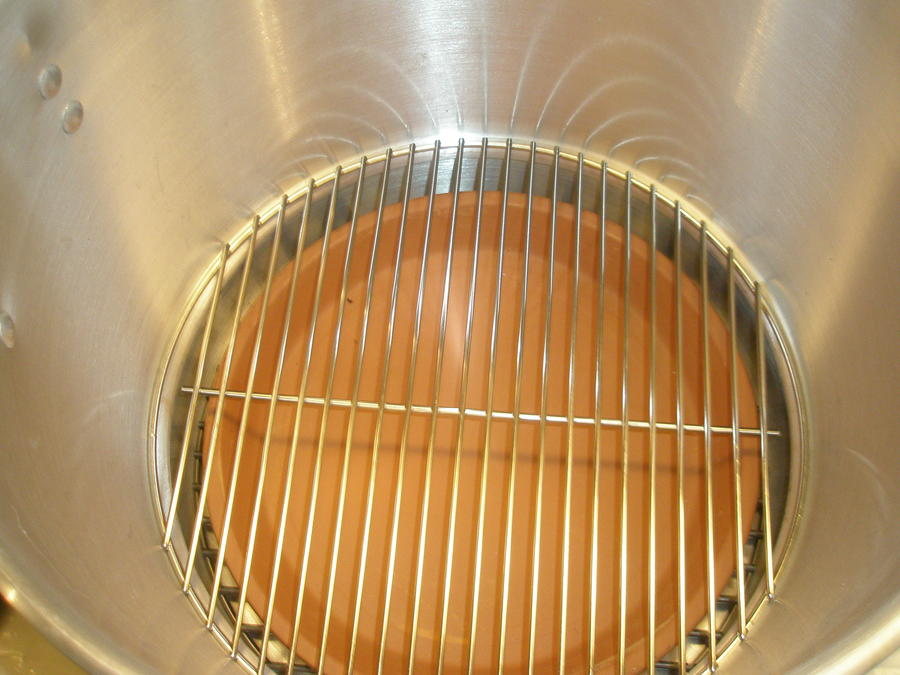
As you can see with the terra-cotta defuser all the way to the base of the pot the steamer plate ridge inside the pot will have good clearance for the lowest grate level.
The first grate level is measured 4" from the top lip. The second grate level is half way between the top grate position and the steamer plate ridge. I'm installing 3 grate bolts per level. So I'm using a string 14.5 inches long to space the holes.

Drilling 1/4 inch holes for the grate hold bolts.
One inch below the top great bolt holes I drill a hole on the side for my dial thermometer. Its probe will be just below the top grate.

One the opposite side I drill a second hole for the electronic thermostat probes. This hole is ABOVE the top grate bolts.

I then install the bushing and nuts for my electronic thermostat probes. ( You can find these bushings in the lamp repair area of your local home improvement store.)

Back to the other side I test fit the dial thermometer and then remove it before painting.

Okay, Time to install the grate hold bolts. These are 1/4 by 1/2 inch phillips head screws with lock washers and nuts. ALL HARDWARE IS STAINLESS STEEL.
3 at each level for a total of 6 bolts, lock washers and nuts. Inside of the pot view.
I tape the handles and rim and paint with Gloss Black high heat barbecue paint by rustoleum.

I've also put a cutaway decal on the front that I'm using as a stencel. Since this will be my tailgater, the logo I chose is of our local baseball team.
As projects go this one was a real delight. I had plenty of support from our members, everything went together well, it was fun, inexpensive, and best of all I can cook on it! I'll season it tomorrow on New Years Day with a resolution that good things do indeed come in small packages! Scar Belly wings will be the first smoke on Saturday.