Some of the links on this forum allow SMF, at no cost to you, to earn a small commission when you click through and make a purchase. Let me know if you have any questions about this.
Another question I drew some lines where that vent would be placed. The top 2 lines are where that vent would be, and the bottom line is the level of the fire grate. So my question will the vent be so close to my fire that it adds heat to the fire rather than just pushing heat to the CC? I could just not drill the lower holes for the vent and only use the top holes. But that kinda defeats the purpose of buying a pre-made vent. Sorry for all the questions I just want to make sure I get it right the first time.
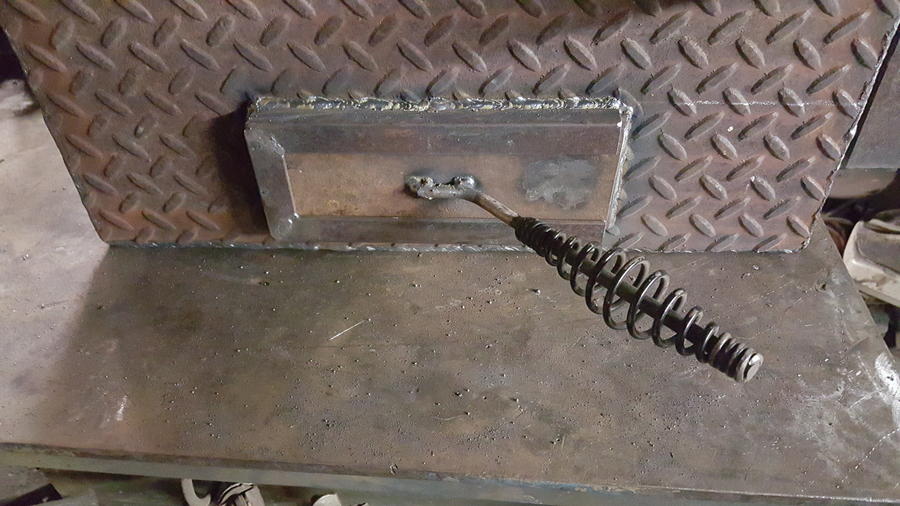
I did finish welding the lower vents and the door and made one chipping hammer handle. I need a couple more chipping hammers to do the other vent and door latch.
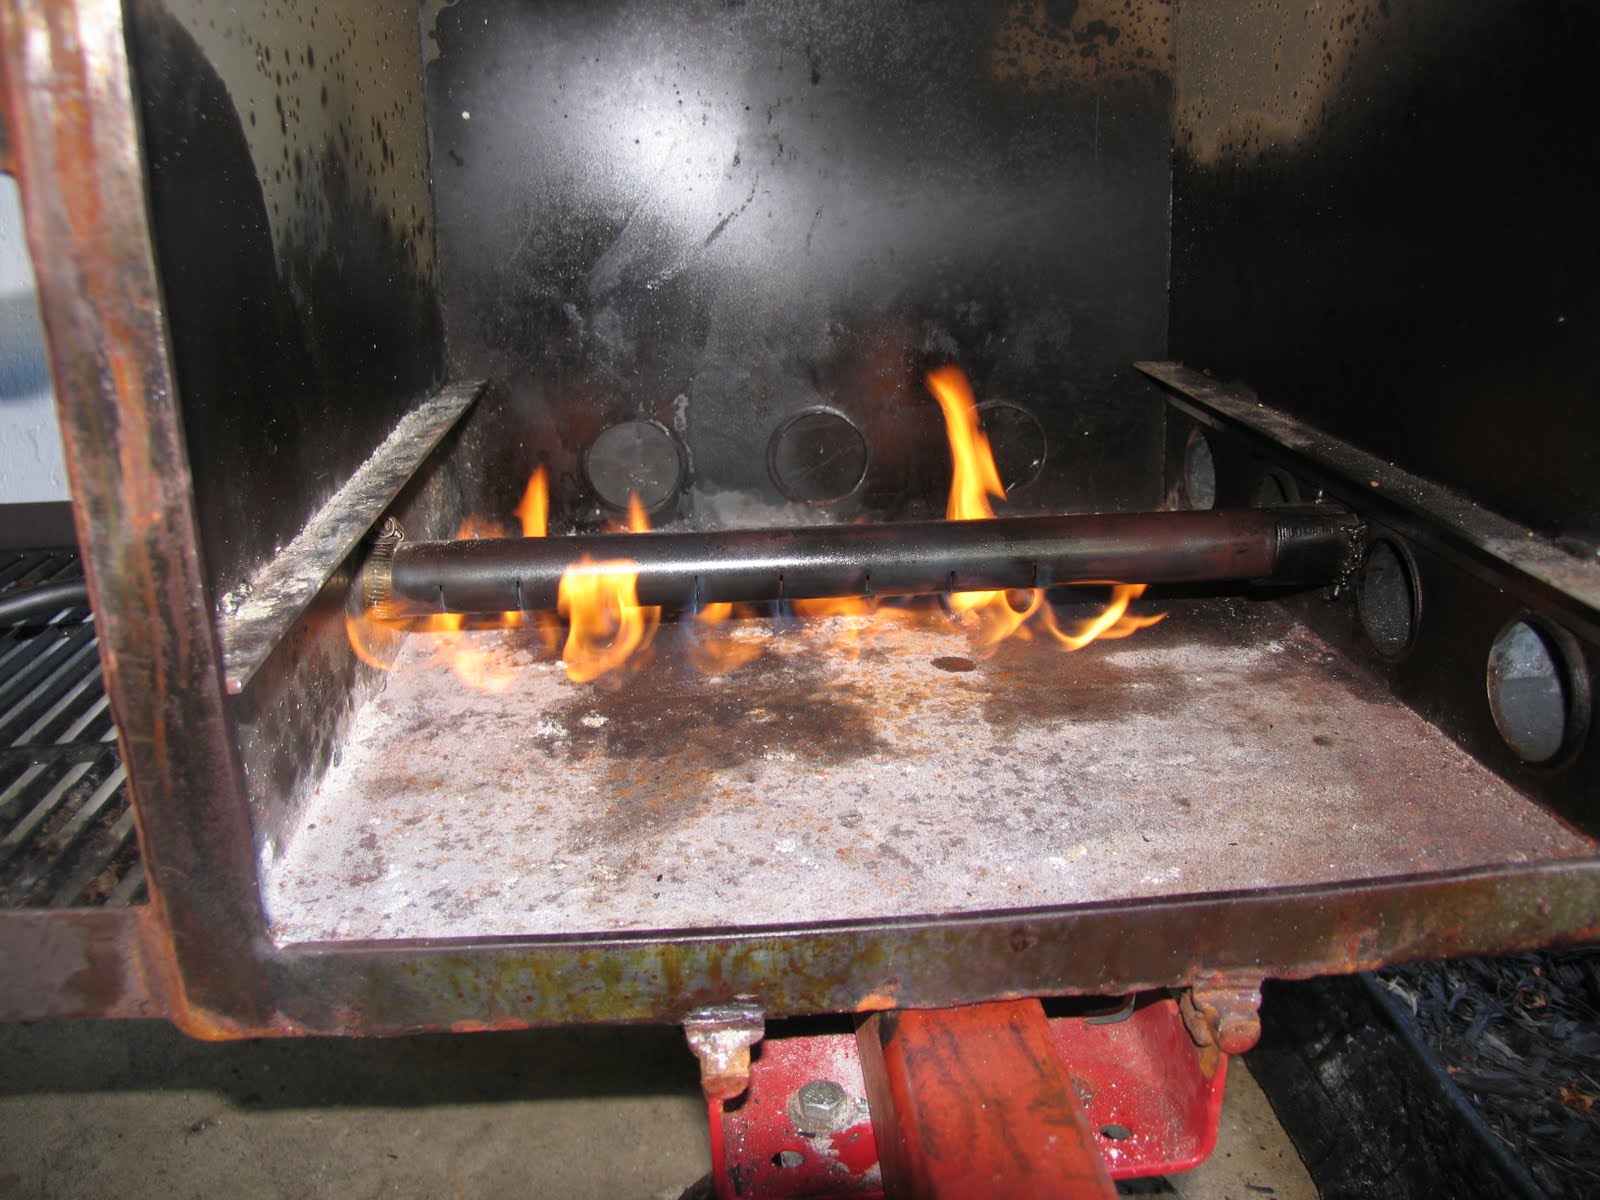
Some folks do vents directly under the fire grate (like me) and some do an additional one above the fire. I would always go bigger than the recommended, because you can always choke it back. Using that vent may be OK above the fire to assist in heat control, but I'm not sold on this theory because I feel intakes below the fire are enough for proper drafting so I'll let folks that have done this chime in.
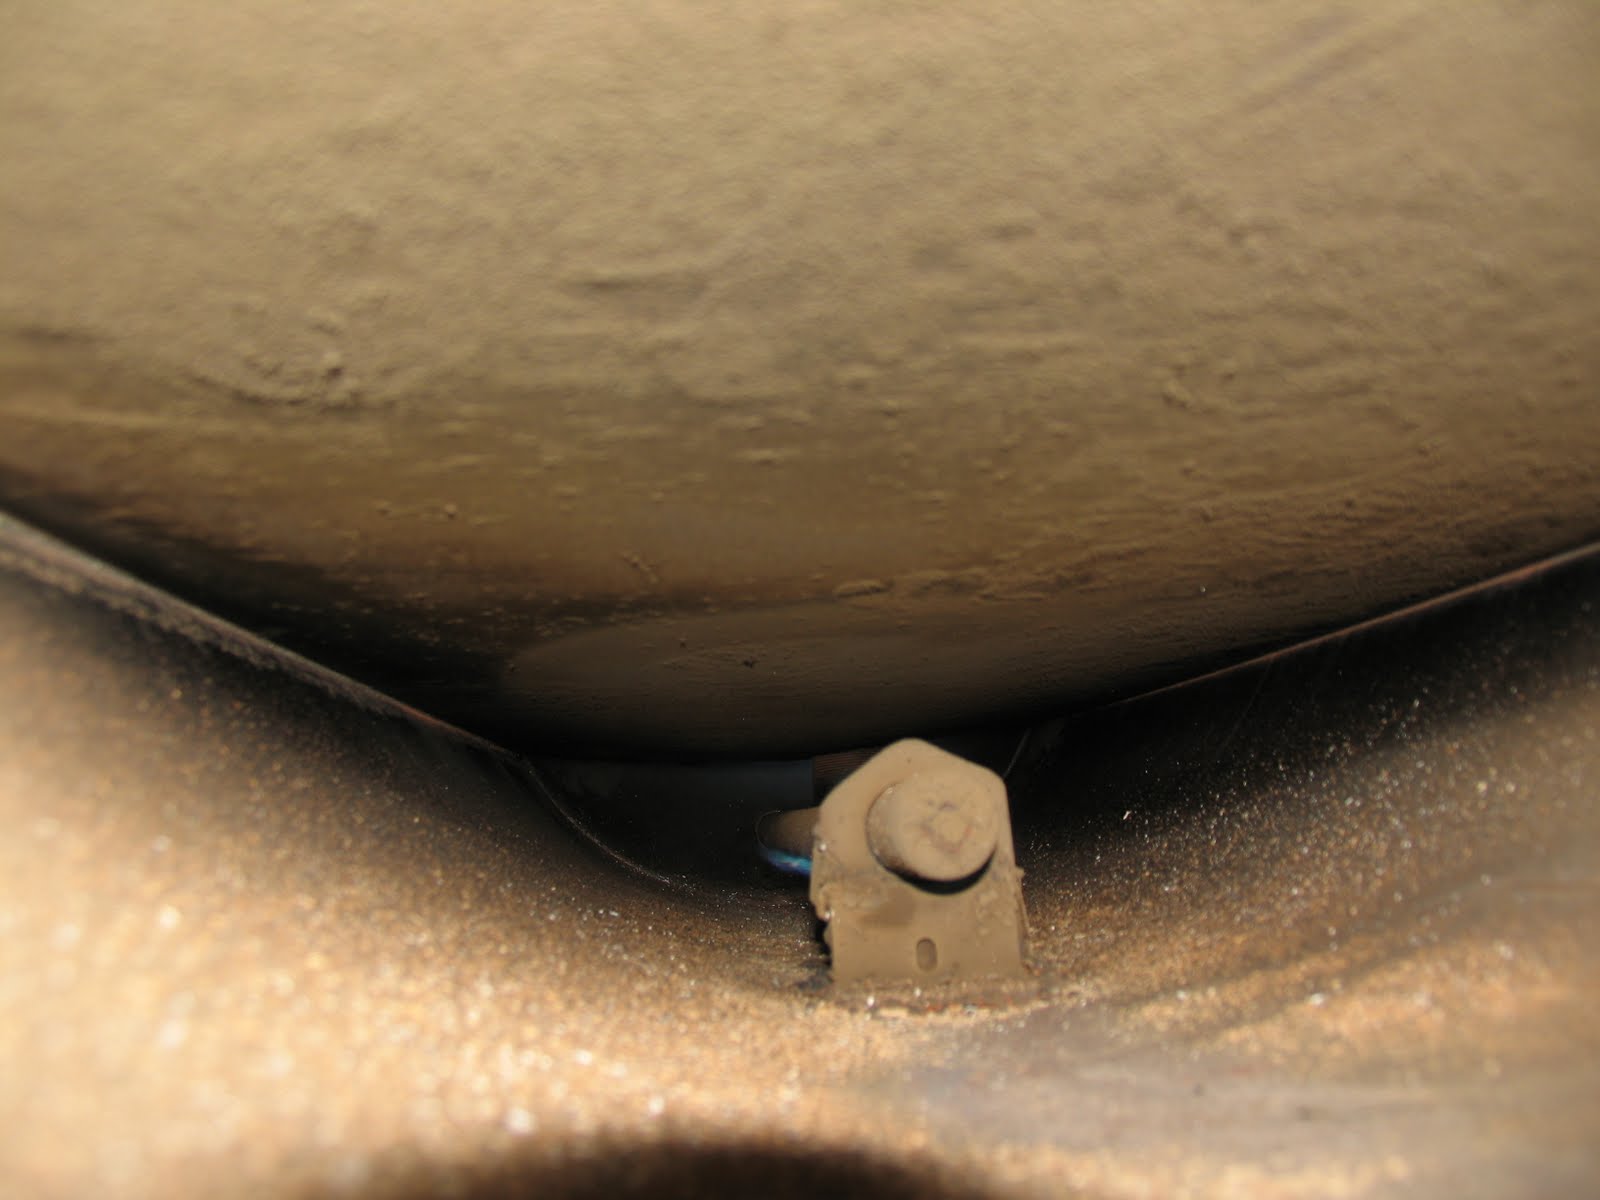
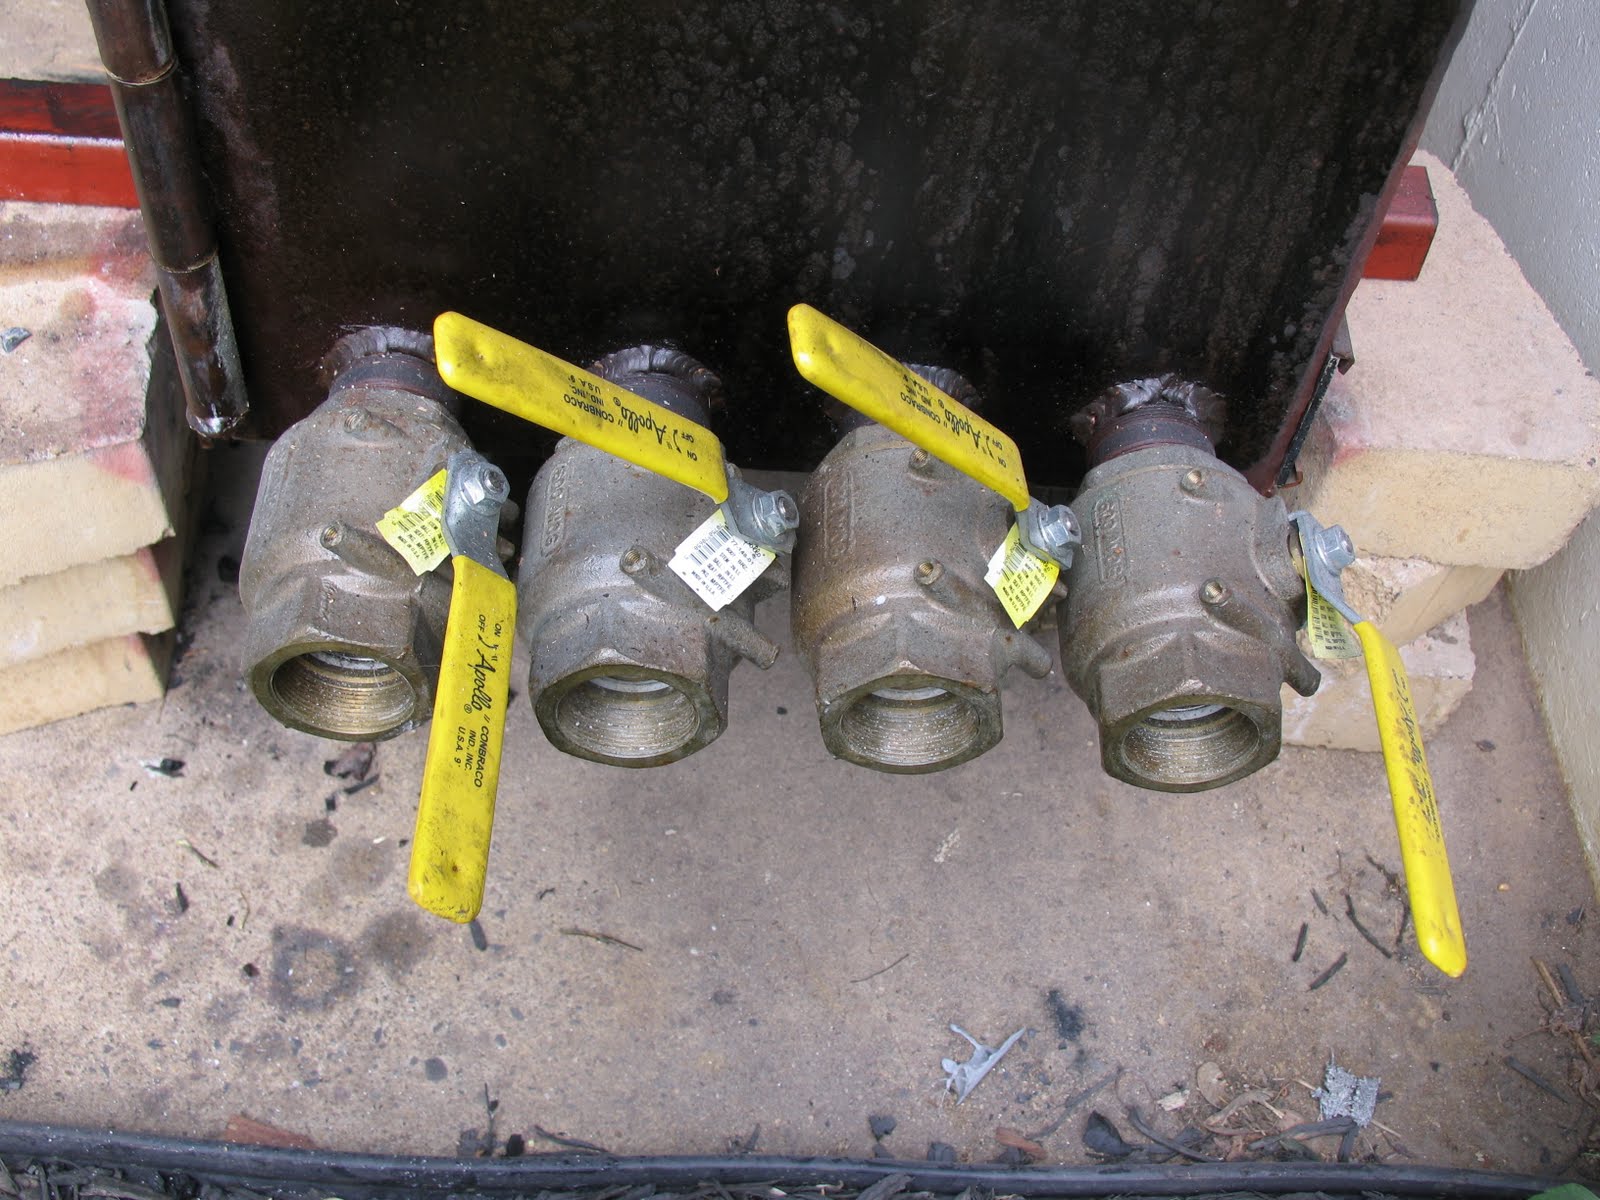
I have 8 intakes in mine, the back ones are always open but can be choked with a sliding plate the ones on the side are on valves.
I also notice a lot of folks worry about making the firebox pretty tight, I don't worry about tight doors using FG Rope and stuff, half the time I crack the door a bit during the cook. It's nice because if I see smoke coming from the drafty door on the firebox, I know its not drafting properly in relation to the fire so I open a valve.
Keeping the smoke chamber tight is more important.
Well I am sold on the upper vent and if I don't like it I'll leave it closed. I have some experience with air tight wood burning stoves, and your best burning fire will come from and air tight system. Your vents should be the only area supplying air to the fire. That's how you get a clean burn.
The fire doesn't care where the oxygen is coming from. You get a clean burn from having enough oxygen, a non-air tight firebox isn't going to make your fire burn dirty. A firebox door is going to be opened quite often to feed it and is quite a different beast than a woodburning stove.
I agree with an airtight woodburning stove as I use a 4 Dog when winter camping and will choke it down at night for longer burns throughout the night, but for my pit, having a slightly drafty door makes no difference than a tightly sealed door.
My point was to be more concerned about a tight smoke chamber, where it counts, and don't sweat a slightly drafty fire box door if you notice it's not quite as tight as you would like it..
I built my door just like an air tight stove. So it shouldn't leak. I don't have any experience with a stick burning smoker. Only upright charcoal and cheap offset smokers. So my opinion is more based off of a wood stove. I'm gonna just make my own vent for it, so I can keep it as far above the fire as possible. But I'm getting bored with the FB so I'm moving onto the CC I'll do that vent later on.
It didnt blow up LOL. I cut my FB to CC opening and got the CC and FB permanently joined. Its looking like a smoker now. And somehow when I build stuff my best looking weld is always where no one will see it. But the weld on top of the firebox came out great. Next I'm going to cut the CC door and start on the food grate.
Got the CC door cut out with some flat bar for guides. Door didn't seem to spring at all. Once it was open I cut the CC to FB opening in the FB. I've got to cut out the pipe that's inside then I can start on the RF plate and drain.
Got the CC door cut out with some flat bar for guides. Door didn't seem to spring at all. Once it was open I cut the CC to FB opening in the FB. I've got to cut out the pipe that's inside then I can start on the RF plate and drain.
Got the CC door cut out with some flat bar for guides. Door didn't seem to spring at all. Once it was open I cut the CC to FB opening in the FB. I've got to cut out the pipe that's inside then I can start on the RF plate and drain.
Not sure why that posted 3 time's. It said failed to connect each time. If a moderator could delete the extras I'd appreciate it. I'm not finding where to delete it.
I've got a strange question. Has anyone ever cut their door then realized they want it bigger and welded one seam back together? I have an obvious concern about it warping to hell. My other 2 ideas would be to make a second smaller door that opens down, or just ditch the pull out rack and put the rack a couple inches down below the door. What's everyone think?
The door is wide enough its just to short I should have cut the bottom at the 3 o'clock mark but I cut above that . The top of the door is at 12 o'clock. I could weld the bottom seam and lengthen the sides then recut the bottom, I just think it's going to warp it really bad if I do that.
Is your RF plate welded in yet? If not, how hard would it be to cut the tank off the FB, rotate it and weld back on? Maybe patch it in with the notch you already cut out? You can get by easily having your top cut lower than 12:00. Just a thought
Part of the RF plate is tacked in and it's solid welded to the FB. I think I'm going to attempt to weld the one seam and recut it lower. Thanks for the ideas anyone else care to chime in.
Part of the RF plate is tacked in and it's solid welded to the FB. I think I'm going to attempt to weld the one seam and recut it lower. Thanks for the ideas anyone else care to chime in.
what if you used Ribwizzard's brace and hinge design. Then you might possibly place a brace over your old cut and tack it from the underside of the door and weld a little at a time to minimize warpage
I just went for it. I tacked the door back in welded the bottom seam up and layed out my guide to recut it. Tonight I'll cut the new opening and tacks and see if it sprung. It was making some creaking noises but none of the tacks broke.
I thought about using plate like that but I don't have enough plate to cut those out. I stitch welded it an inch at a time. We will see how it turns out, I have a feeling I'll be using some RTV to seal it up when it's done. It's only 1/8 wall and I left a gap so it welded fast without to much heat input.