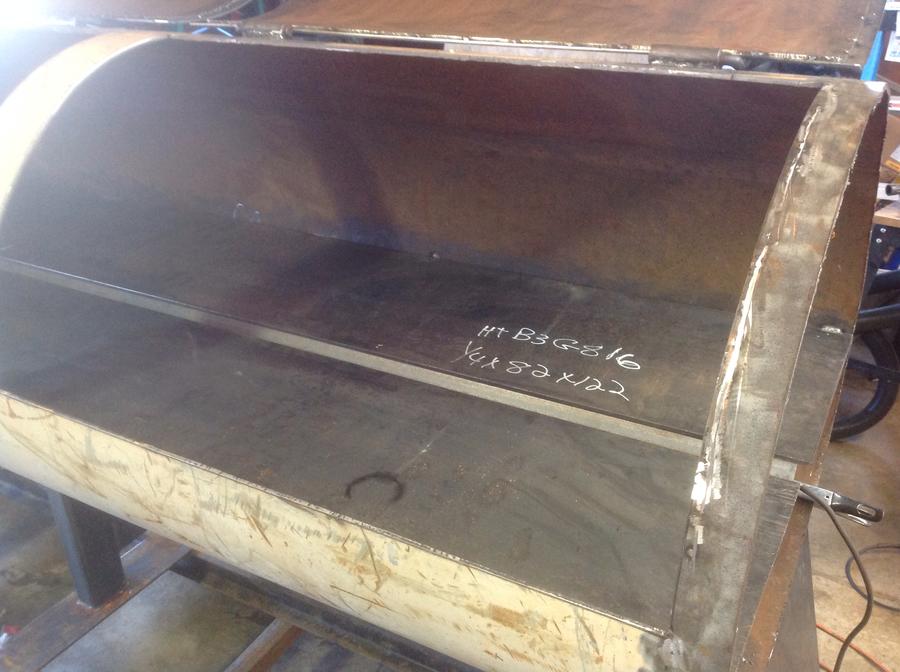
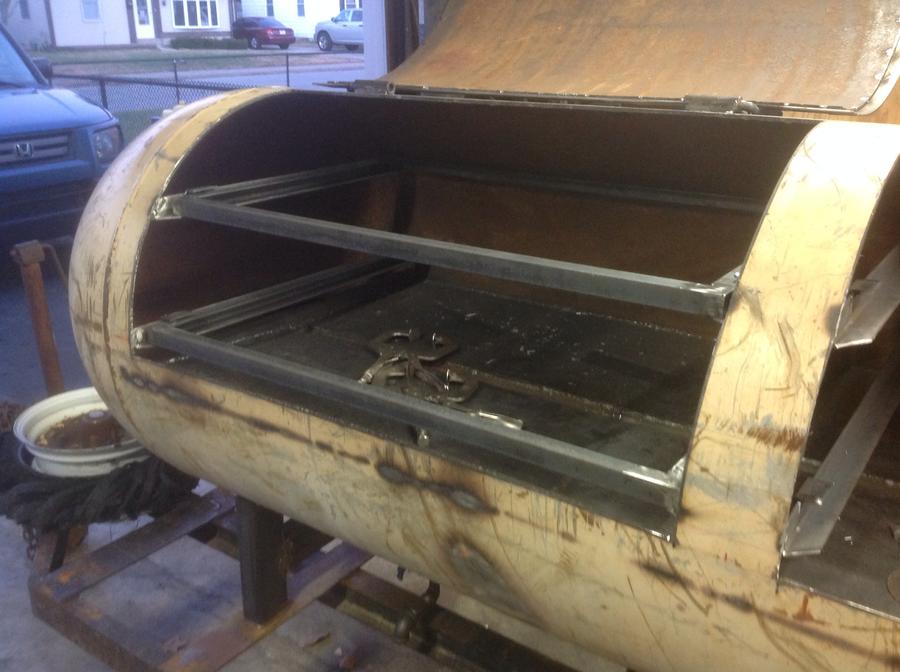
Thanks for the reply. The only reason I used a gate valve was because "big blue" had them on sale this past weekend for $3.99 as opposed to $12.99 for the 1/2" ball valves. I was also forced to incorporate a elbow into the drain because the main cross memeber of my trailer runs directly below the drain hole and would make a mess if I didnt offset it to one side or the other. If the gate valve does not work out it is easily replaced with something else. I also installed another valve at the rear of the CC that will drain the area between the bottom of the CC & the RF plate.
Hello Nightrod.
Is that a gate valve? IMHO I wouldn't use a globe valve as it's too convoluted. I see you used an elbow. Sometimes I have to run a rod down mine to clean it out.
If you seal welded the RF plate it can be used for water. I have put water in mine and it works.
If it's removable you can still weld lips all around for water.
Either way you will be able to try it out and see if you like it.
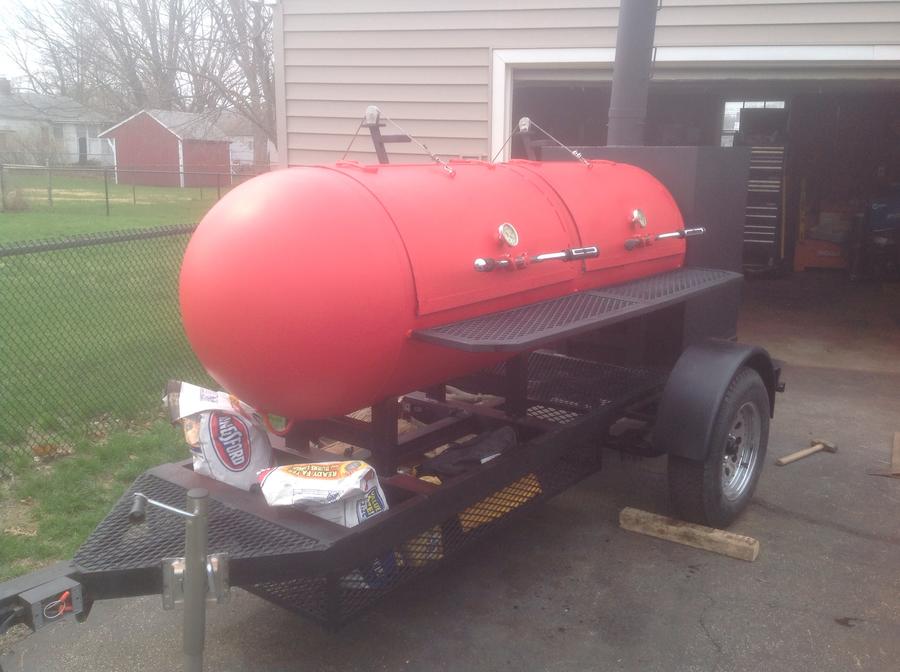
As far as the tank I would paint it with high heat resist paint and let it go. You'll probably have to repaint at intervals anyway.
Dave
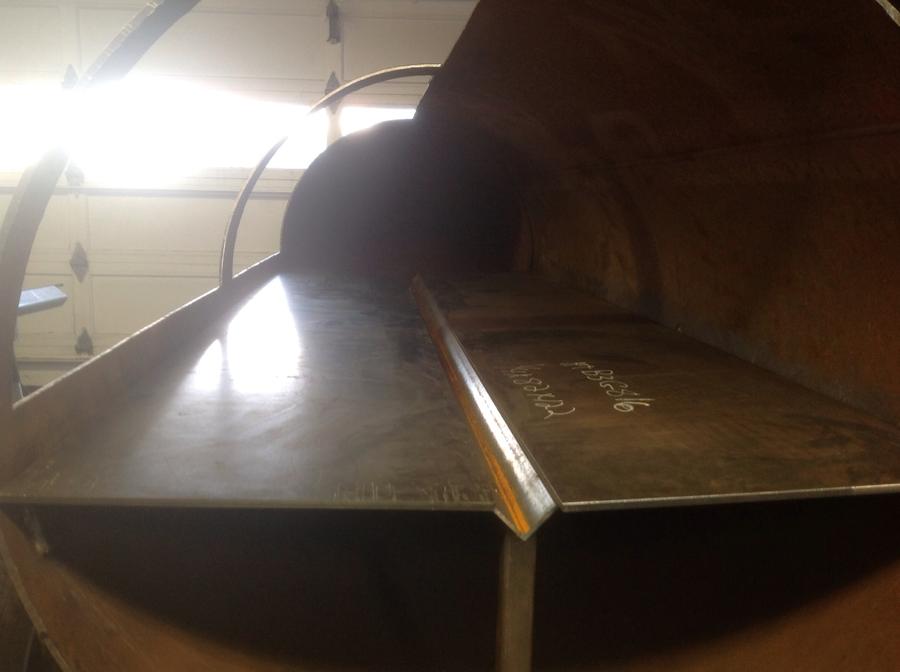
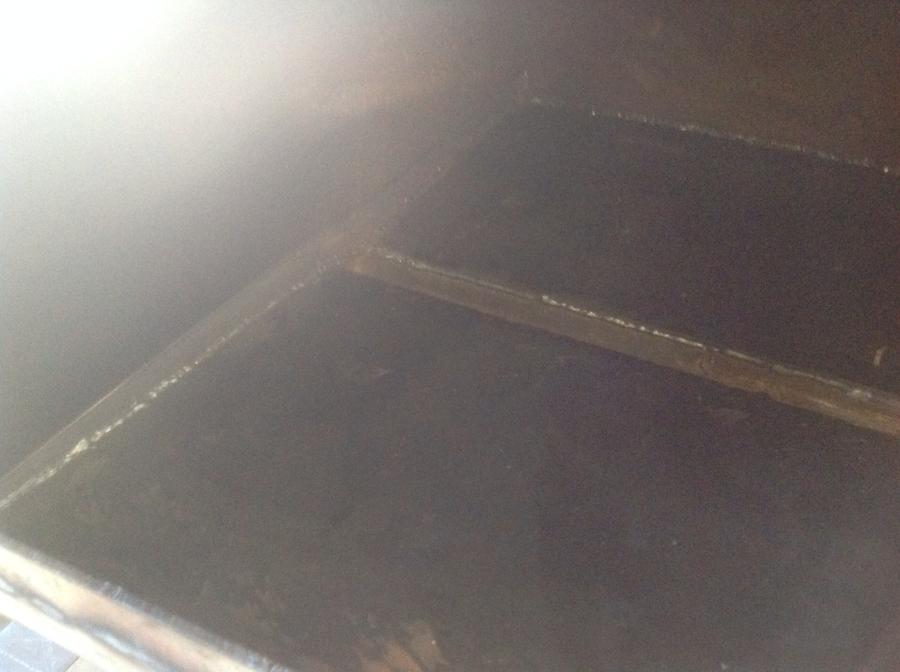
As far as welding or not welding the RF plate in, I think I will be forced to do one or the other. The way I have my RF plate & drain set up using the piece of 1.5" angle, I will be forced to seal up where the RF plate meets the angle. I like your idea of welding lips around to hold water, I just dont think it would work for my application.
Still thinking about the paint/finish, but I have a long way before I need to make that decision. Thanks for the feedback!