1956 GE Fridge Build With....Q-VIEW

  • Some of the links on this forum allow SMF, at no cost to you, to earn a small commission when you click through and make a purchase. Let me know if you have any questions about this.
SMF is reader-supported. When you buy through links on our site, we may earn an affiliate commission.

chezey

Fire Starter
Original poster
Oct 7, 2011
39
10
Missouri
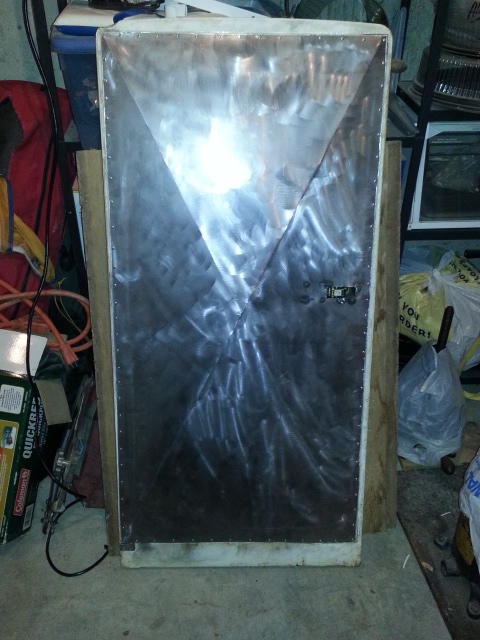
I started this Build last December when I found the fridge on Craigslist. It was in pretty good shape except for the surface rust on the door. When I got it apart it all looked good on the inside. The bottom had some rust holes in it but there was still plenty to work with so I just covered it with aluminum instead of cutting it out and trying to replace it. 

I have to give  special thanks to ..

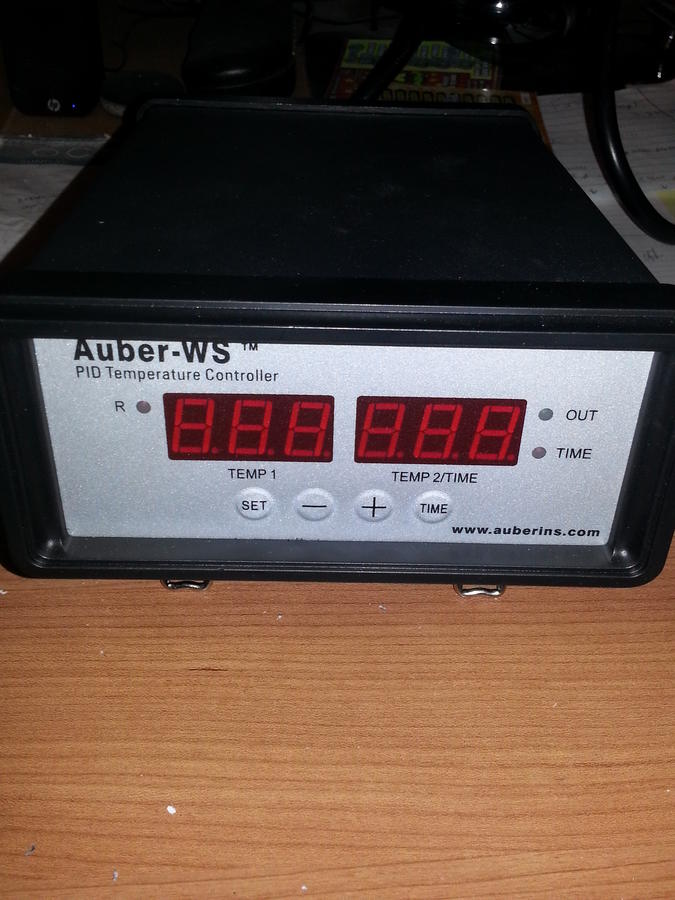
Goliath for a lot of help on what to use as a smoke generator. He gave me detailed info on what worked and didn't work for him along with other advice.

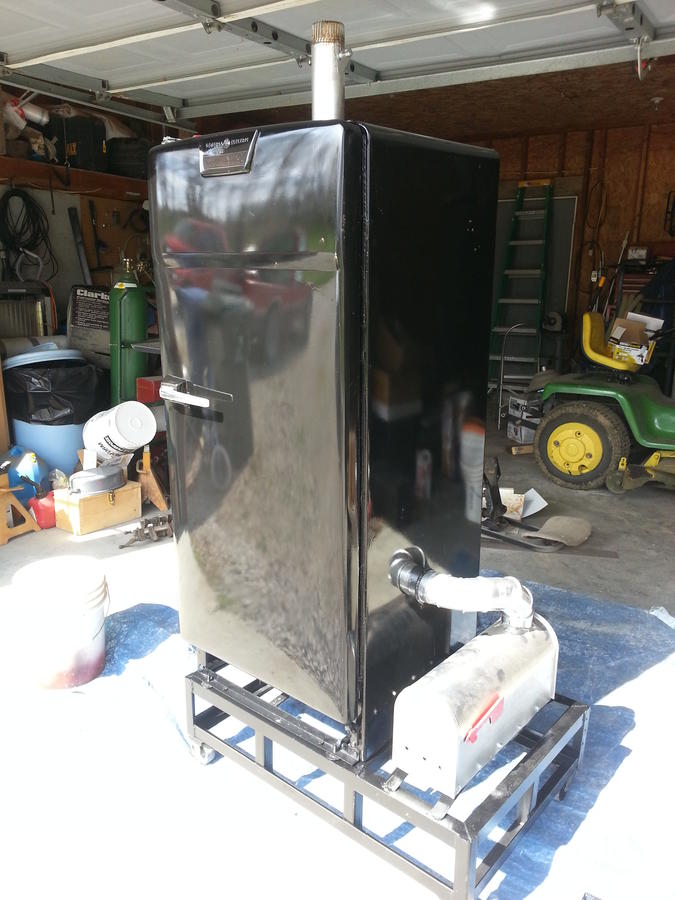
DaveOmak for the simple yet very effective "Mailbox Mod" which I used and must say is an excellent idea.

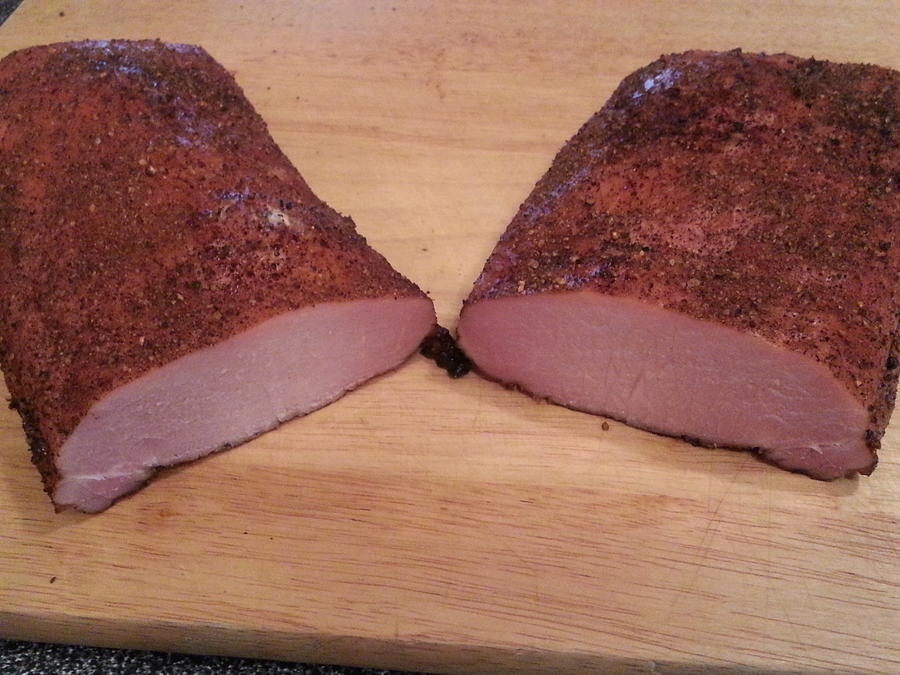
Pops6927 for his brine cure recipe that I used for some cured Pork Loin/Canadian Bacon that I have made several times that turned out amazing. Also for other advice and information he provided.

 Thanks for all the help guys.

.
In pretty good shape,no serious rust.


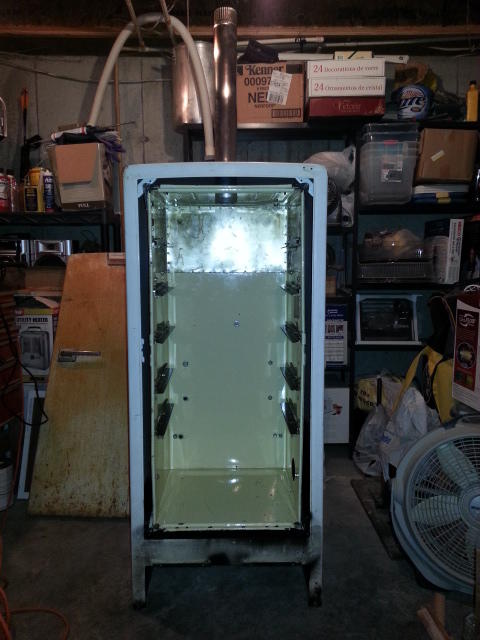
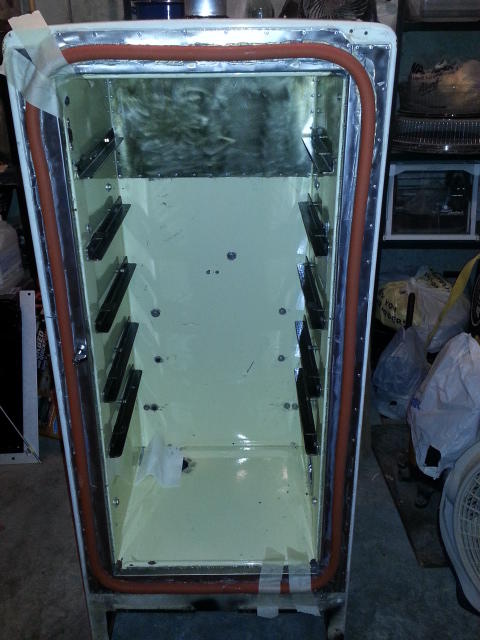
Inside looked but bad but was actually in great shape. Just a few small chips in the porcelain.


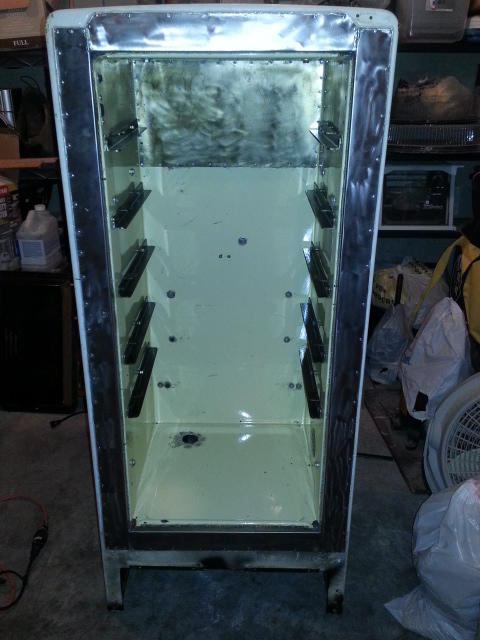
 Bottom had a few small holes but in good shape overall.

Will add more when I have time. Thanks for looking.
 
Time for a few more pictures.


Shelf supports made from 1" angle iron then coated with vegetable oil and baked on at 350 degrees before installing.


This is the insulation I used. Pretty good stuff and reasonably priced.


Insulated and ready for the tub to be installed

.

Tub installed and test fitted for air intake and exhaust. Air intake hole is on the lower right side. Done this before I insulated it. This picture is not in order. All holes sealed.


Used 20 Gauge sheet metal for the flashing and door skin


Foam rubber door seal held in place with high temp food grade silicone. Got the door seal from Mcmaster-Carr. They sell it by the foot  or in precut lengths.


Mailbox Mod attached. First test run to Season it and see if I could get the temps I wanted out of it and the TBS I was looking for.


It was a cold and breezy day but everything worked great.
 
AWESOME JOB MY FRIEND ....... 
beercheer.gif


now i look forward to more Q-VIEWS of all the goodness that comes out of it. kinda funny as i look at your pics and look back on my build.

the brilliant white interior and so shiny. after a lot of sausage, butts, chicken, ribs, beans, nuts, cheese, salmon, mac and cheese and even smoked scalloped potatoes my smoker finally has that "smoker smell" and is pitch black inside as yours will also in the near future.

HAPPY SMOKIN  and stay in touch

'GOLIATH
 
Thank you GOLIATH. It's starting to get that beautiful smoke color and smell. I think you will like the Q-Views. Have a few more build pics first. Can't wait to get to them myself.
 
Finally got it painted and installed in the garage.


Vented outside so I cam smoke anytime. Don't have to worry about weather anymore.

Powered by a Brinkman 1500Watt Heater and a Auber WS-1503CPH. Smoke generated by a AMAZN in the mailbox.


Next post will be the Q-Views...........
 
What can I say.......Great minds think alike...My wife calls all that stuff in the shop.....I call it treasures. More pics soon.
 
Now for some Q-VIEW

First thing I cooked in it was some deer summer sausage.


Stuffed and ready to go..


Smoked with Hickory pellets. Love the color it gave them not to mention the taste.


In the water bath.                                                                                                          


Let bloom for a couple of hours


Great texture and none of the fat melted
 
Here a few more if anyone is interested. A couple of 10 LB pork loins cut in half. Soaked in Pops6927's brine and injected. I let them cure for about 6 days. Top two are just coated in black pepper and the other two in Cajun seasoning.


After about 4 hours cooking at 240F they reached 160 IT so out they came.


 Turned out very juicy and had excellent flavor....


They sure didn't last long after they were sliced.. That's all for now. More later. Thanks for looking.
 
Basically it is Canadian Bacon I just cooked it at that temp to get it done quicker and it was very juicy. I froze some of it for a couple of weeks after I sliced them to see how it would effect it and I think it tasted better and was just as moist or a little more after I thawed it out..I got them on sale for $1.99 per pound the are usually about $3.00 per pound or more.Now for some more pics. More loin and three slabs of ribs. I got busy and forgot to take pics when they were finished but they turned out great.


Did a few pork steaks and tasted as good as they look


This post is exactly what I needed to get an idea of how I want to do my fridge! Thanks so much Chezey for the great post. I have the same fridge, I was thinking about replacing the interior box with one made out of stainless...I was given a sheet, so it was no money out of pocket. Although, the ease of just putting the existing box in is tempting.

My question is, if you don't mind, what did you make your racks out of? They look nice and sturdy. Thanks!
 
I used 3/8 mild steer rod for the frames and 3/4 flattened expanded metal for the shelves. For the shelf supports I used 1/8 x 1inch angle.
It works really good but if you can it would be better to use stainless steel for all of it so you dont have to deal with rust.
If the tub is porcelain it would be easier to just reuse it instead of rebuilding it but stainless sure would be nice to use if you have the tools and equipment to work with it.
 
SmokingMeatForums.com is reader supported and as an Amazon Associate, we may earn commissions from qualifying purchases.

Hot Threads

Clicky