1950's Crosley Shelvador build

  • Some of the links on this forum allow SMF, at no cost to you, to earn a small commission when you click through and make a purchase. Let me know if you have any questions about this.
SMF is reader-supported. When you buy through links on our site, we may earn an affiliate commission.

mschwartz26

Smoke Blower
Original poster
Dec 9, 2009
87
15
I want to first thank everyone on this forum for all the questions/answers/posts/etc.  Without this forum I would not be into smoking (food that is!) and the courage to try some of the stuff I have tried.  I always know if I have a questions all I need to do is post a thread and within minutes/hours there are multiple responses.  I also want to that tkish5685 for this post - http://www.smokingmeatforums.com/t/136427/crosley-shelvador.  Luckily this fridge was very close to the one i am working on.  Again, thanks to all!

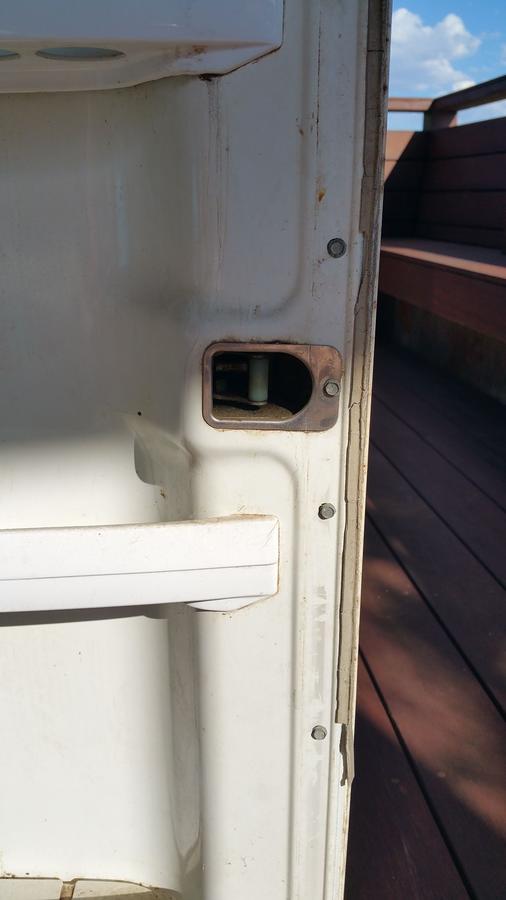
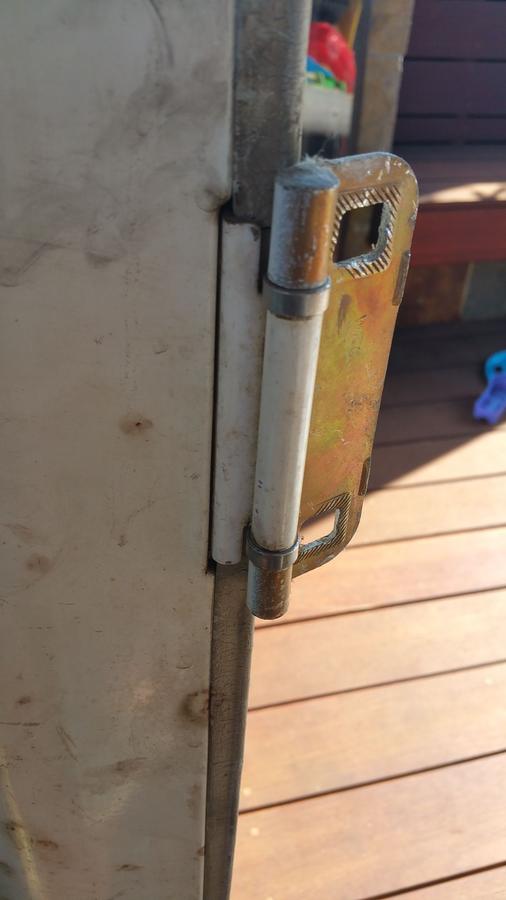
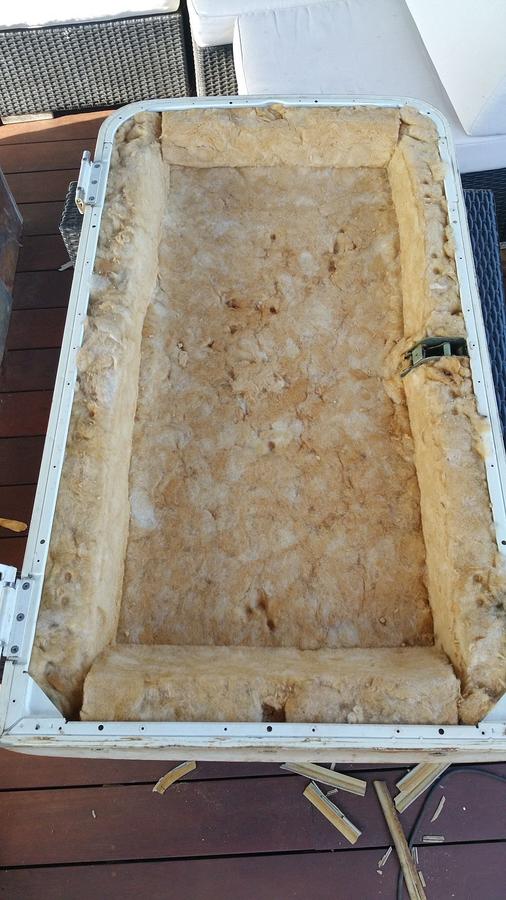
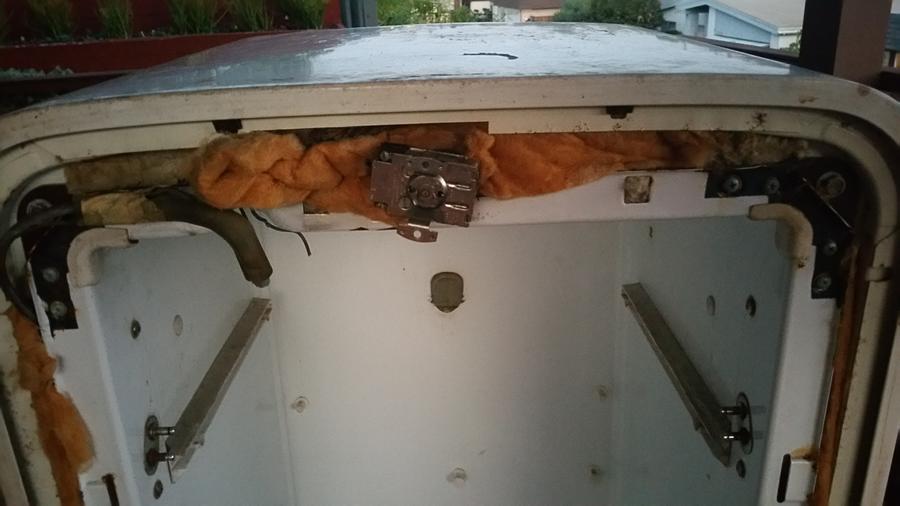
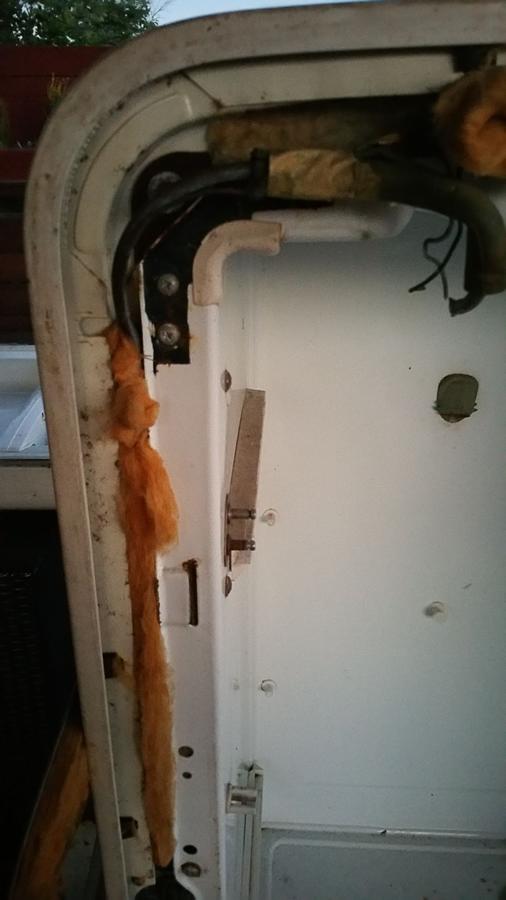
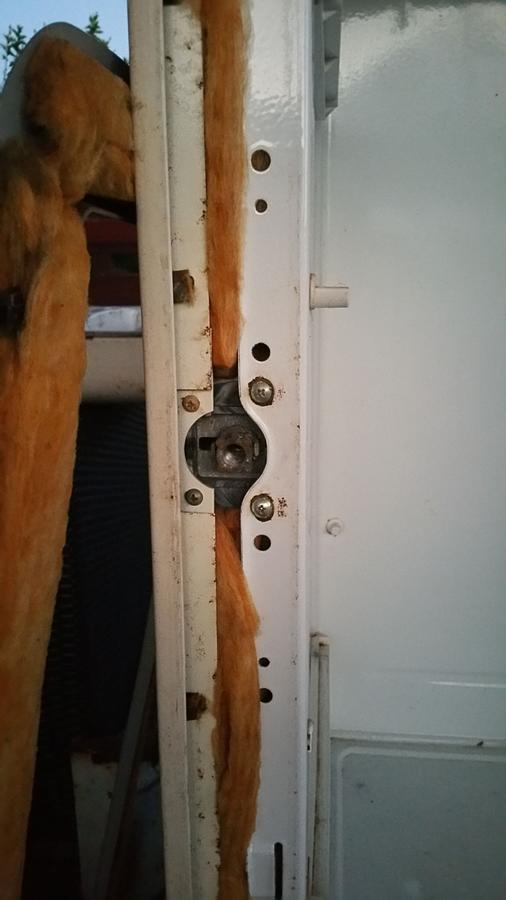
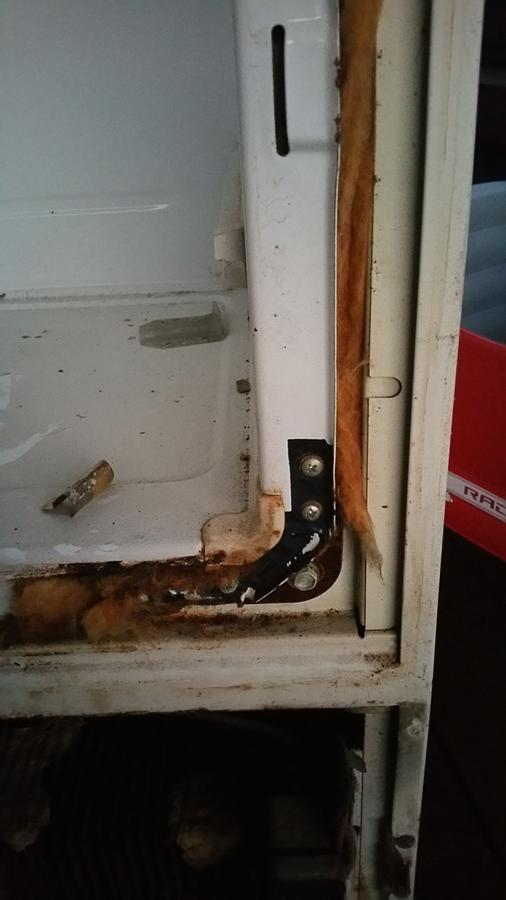
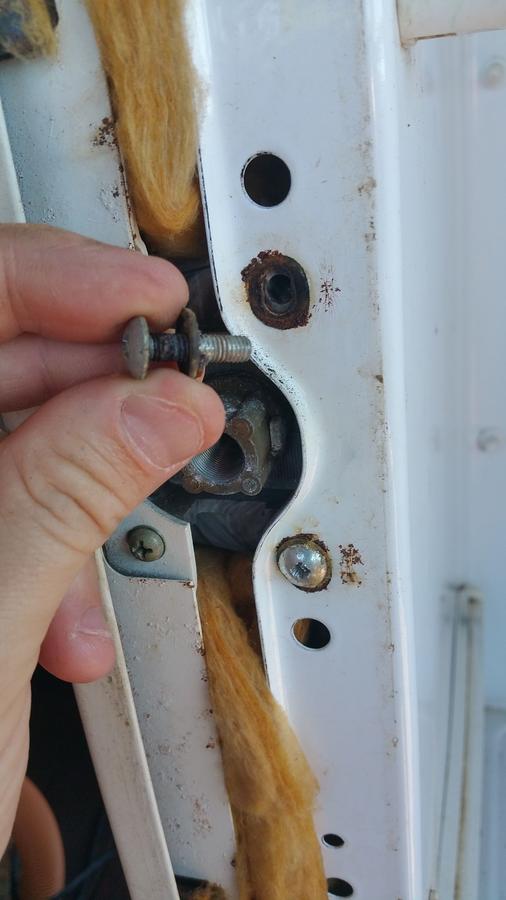
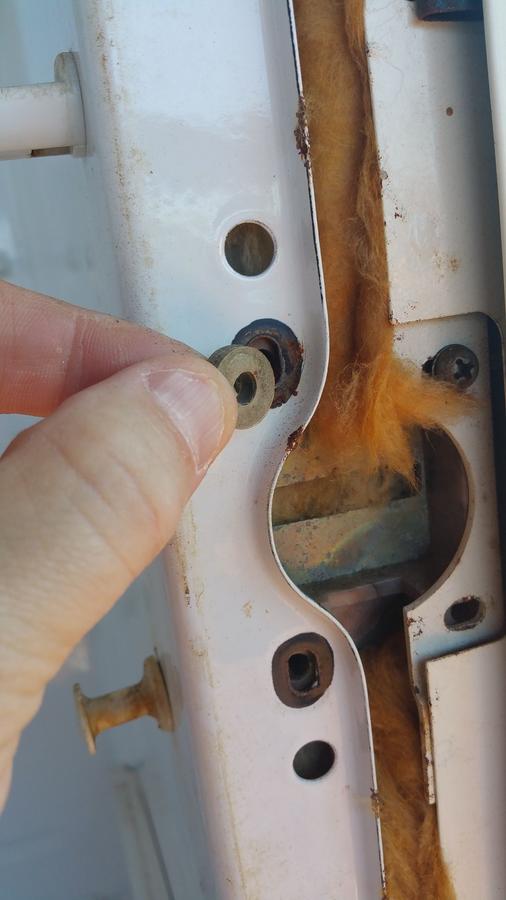
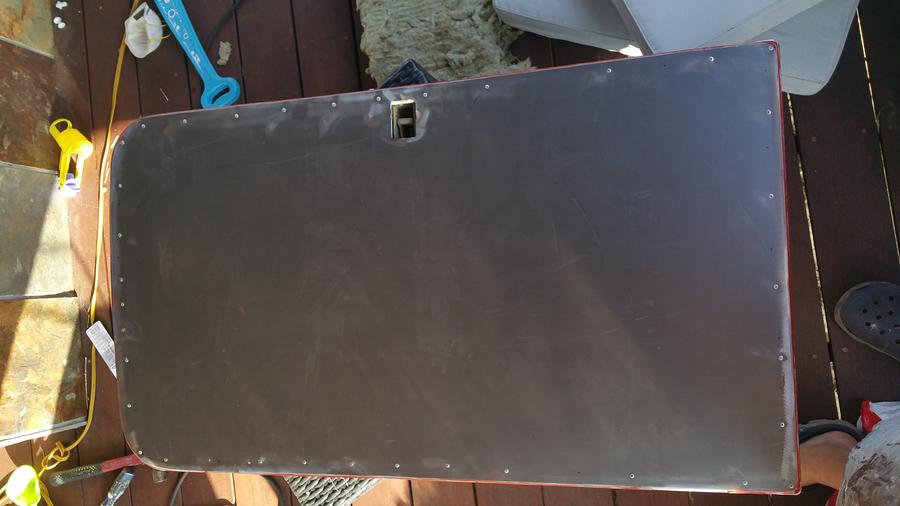
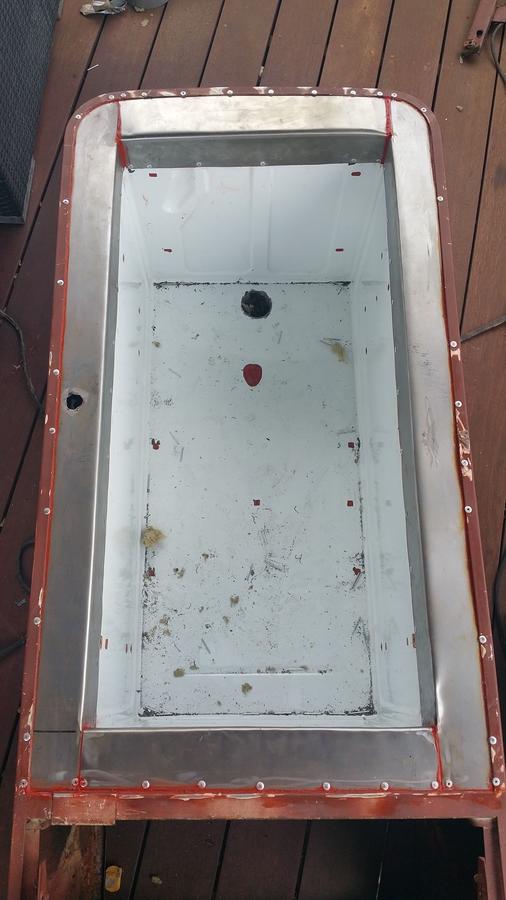
I will post all of my pictures.  I admit that I took a lot.  This was an attempt to make sure I could be humpty  back together again!

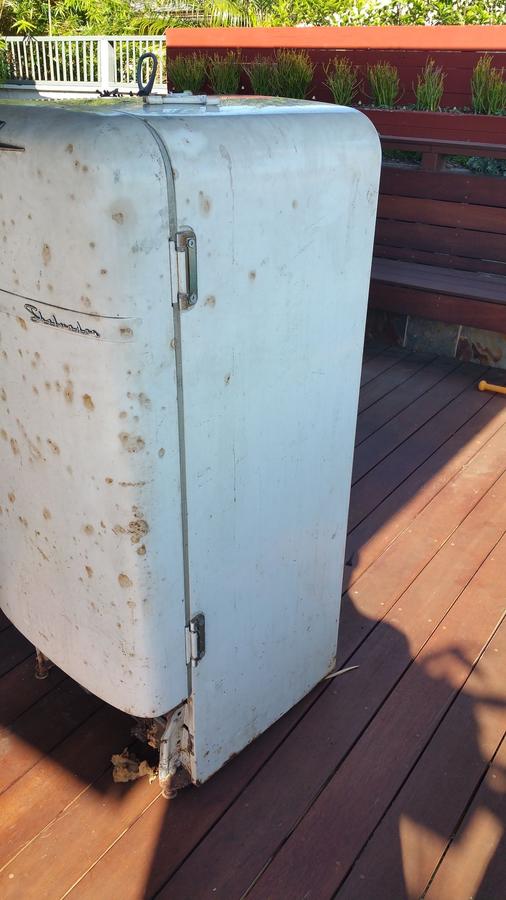
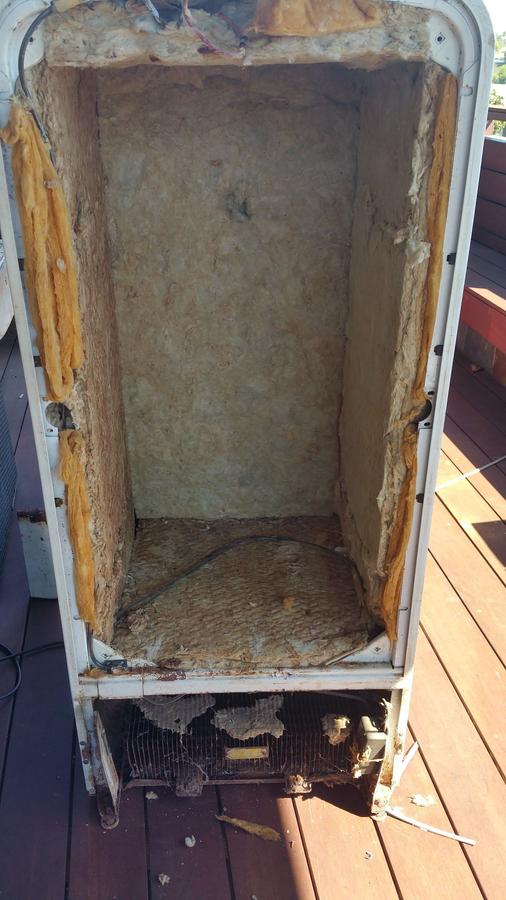
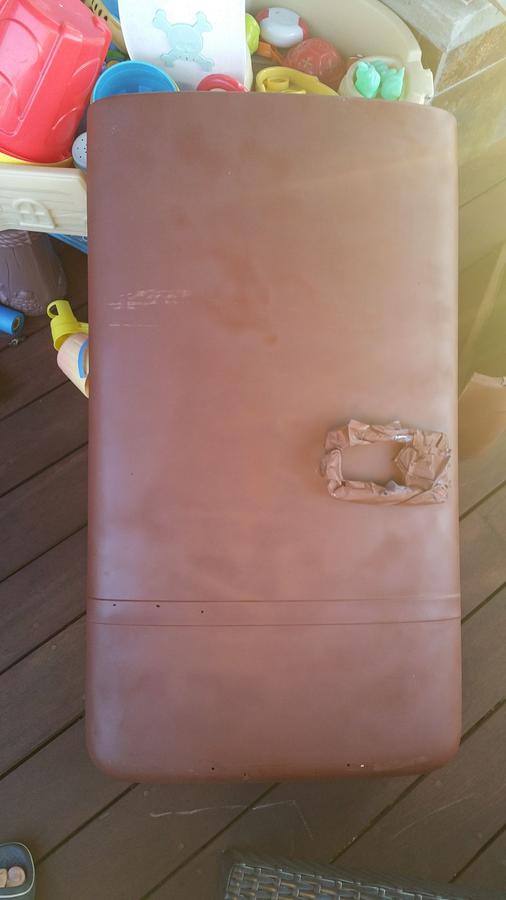
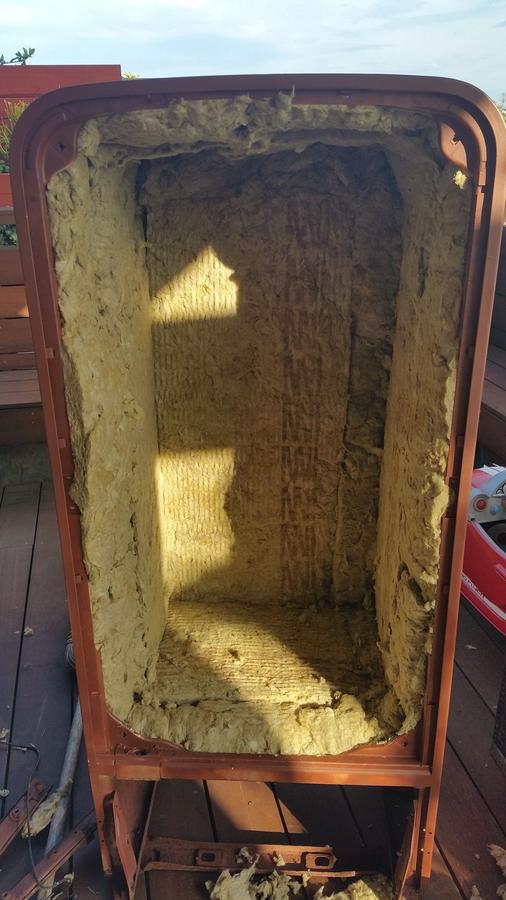
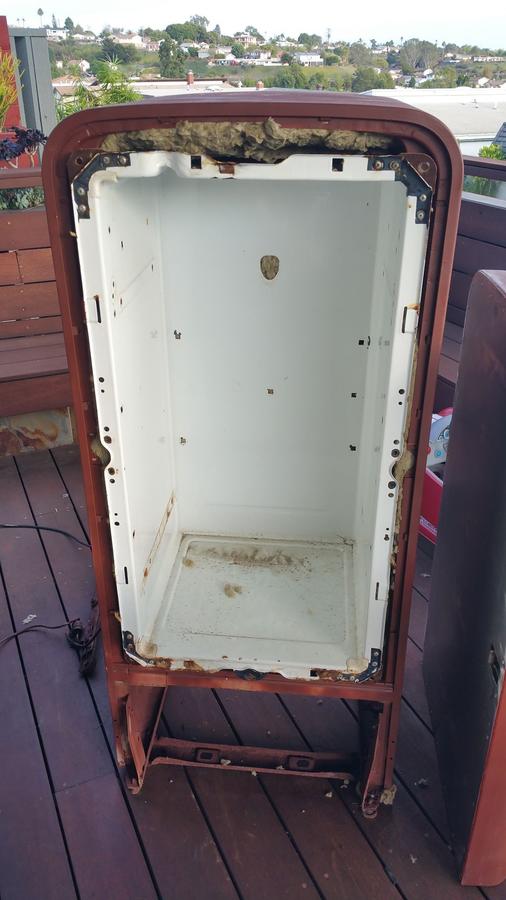
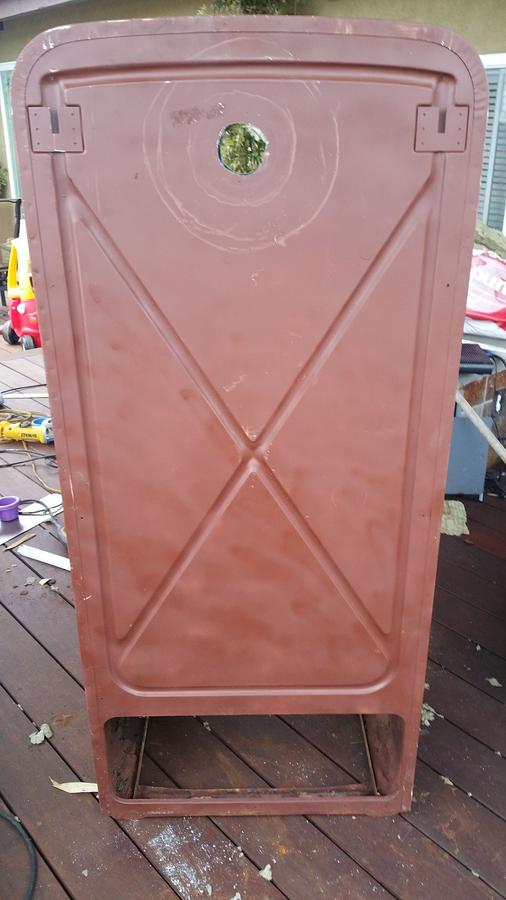
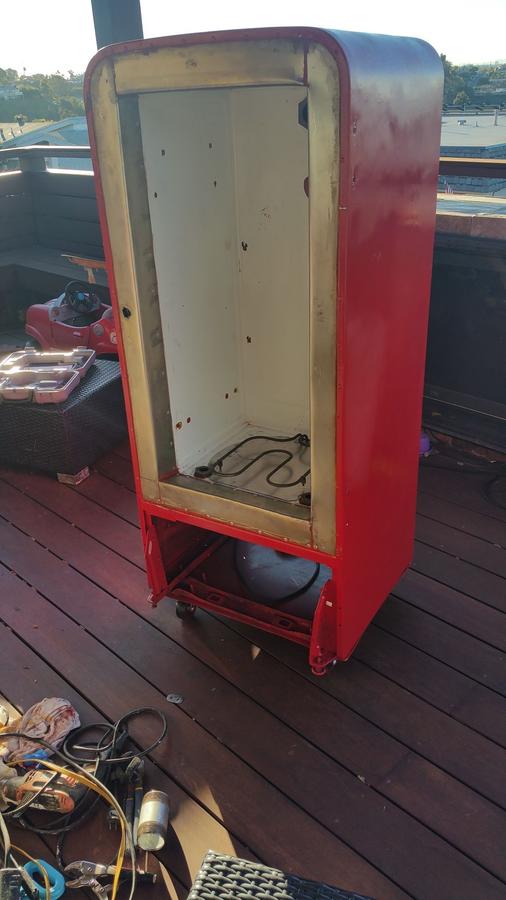
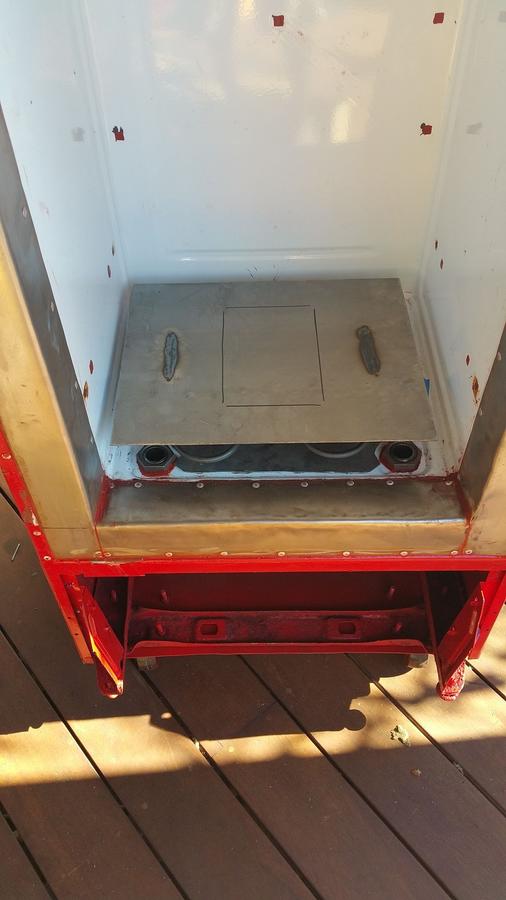
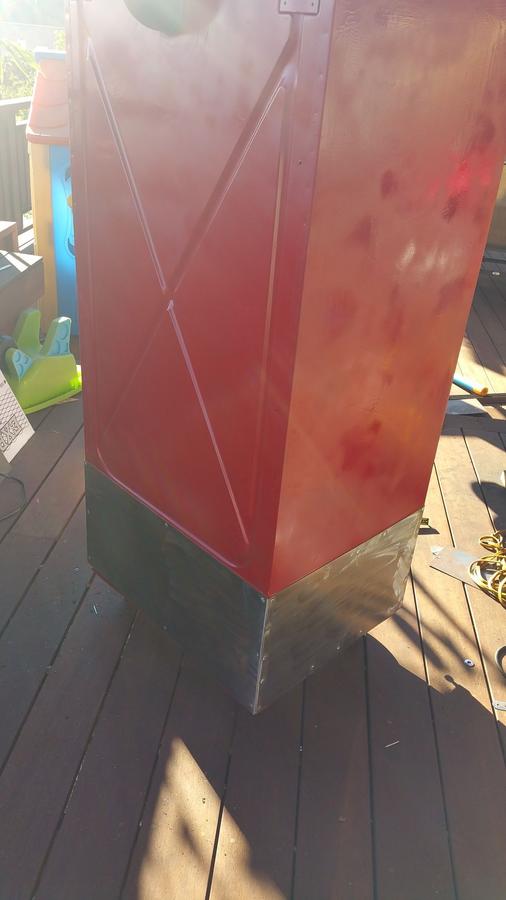
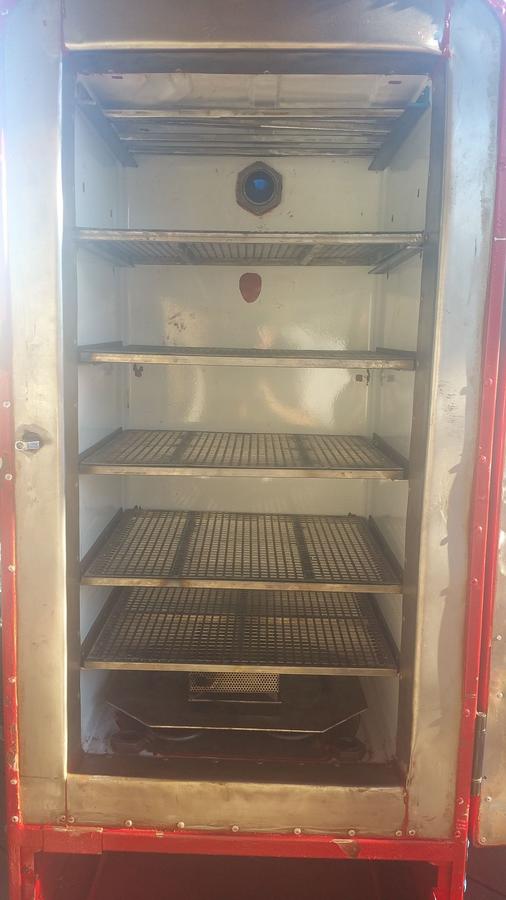
Here is what I started with...$35 on craigslist.  Overall the fridge is in good condition.  There is some rust around the very bottom of it but something no one will ever see.


  • Like
Reactions: redheelerdog
Inner shell removed with old insulation...


Door and fridge painted with anti rust primer


Door and fridge with new installation.  Had to go with the Roxul Safe n Sound b/c my local stores didn't carry the Comfortbatt in individual packages (only pallets).  This should do for my needs.

I am pretty happy with the say that the door sheet metal turned out.  This is the first time I have cut sheet metal for something like this and the first time I have used a rivet gun.  I am very handy and love to build things just a bunch of different firsts for during this build!


Here is a test paint of the color I am going to use.  I had wanted to use epoxy spray paint that is made for fridges/ovens, etc. but they only had black, beige, white, and silver.  I had my heart set on Red so I went with normal enamel red paint.  This is 3-4 coats and I will probably go with about 5-6 total.  I really like it and it is exactly what I was looking for.


Cutting holes for the exhaust and air intake.  After a thread with several providing input, I decided to go with a 2" exhaust and 2 1" intakes.  I am going with this 2" exhaust - http://www.bbqsmokersupply.com/index.php?main_page=product_info&cPath=6&products_id=100 and will use some 2" pipe/bends to get from the smoker to the exhaust.  For the air intake, I will use 2 1" pipes going out of the bottom of the smoker.  I decided to go through the bottom to eliminate things sticking out of the side of the smoker.  I still need to cut a hole for the heating element.  Had I thought about this, I would've put 1 of the 2 holes in the middle back (where the hole for the heating element plug needs to go).  I could still use 1 of the two holes for this but my design has for the heating element plug going through the back middle.  1 of many lessons learned on this build (and my first ever!).


Here is where things start to get challenging.  I am very happy with the left and right inner trim pieces.  The top and bottom pieces (and where the 4 meet each other) are not perfect...but as this is my very first time doing something like this...it will have to do!

I am using high temp food grade silicone for the seams.  I have read so many different posts if the high temp permatex (red) is food safe (and if I even need to worry about it being food safe) so I decided to go with food grade silicone.  I am still using the permatex on seals that would not be in the 'inner' cooking area.  Again, not perfect...but will definitely do!


This is all I have for now.  I hope to get the bottom steel plate on and then the 3" casters today.  I also plan on putting on a couple of coats of paint.  I will then be traveling for work all next week so don't expect anymore pictures for a week (after today).  

Always looking for any comments/suggestions.
 
I plan on using a Brinkmann 1500w heating element.  For smoke, I have an AMZN smoker.  I aslo have an Auber PID controller.  I am building this solely for smoking bacon and sausage.  I already have a 48" Lang Patioe, a Large Green Egg, and a Traeger Texas.  My wife says I have a too many smokers...but is there such a thing?  

My plan is to put the heating element about 4 inches off the bottom.  I will put the AMZN smoker under it.  I will then build a heat deflector or just put a drip pan above the heating element.
 
sounds likes solid plan. I'll follow the build. I've wanted to do a fridge build for awhile but the wife also says I have to many smokers!! I am one less though cause I give my gasser to a friend to make room in the garage.
 
I just started my fridge project. Thank you for the play by play. I'll be following your thread. Very informative.


Sent from my iPhone using Tapatalk
 
Sorry for the delay...

I believe I used 18 gauge for the door and metal trim.  For the piece I screwed the casters into and then onto the fridge was 12 I believe.  

I will be posting some more pictures this weekend.  The smoker is painted, wheels on, and in the process of installing the exhaust and air vents.  Definitely some lessons learned for the exhaust and air vents but will talk to that in my next post.
 
Thanks Dave.  I will take you up on that if my door doesn't fit flush.  I hope to do that this week or this next weekend.  It is the last major thing I need to do.

Progress from the last couple of weeks...

Heating element dry fit, fridge painted, air intake holes finished.

I had a bit of a learning curve on the air intake holes.  I wasn't thinking and ordered normal nuts for the 1" pipe I used.  I realized I needed to order pipe nuts (after I received the normal ones and they wouldn't fit!).  I am using 1" pipe / 1" pipe nuts for the 2 air intakes.  For the exhaust, I am using 1 2" pipe nut on the inside, a 2" pipe to the outside, and that connects to a 2" 90 degree elbow.  The elbow will then connect to another 2" pipe up to the exhaust.  Looks really good I think.  It's not perfect but happy with the results from my first try.


I cut a piece of 11 gauge steel to use for a heat deflector.  I then welded (I am trying to teach myself to weld.  They will hold but not pretty!) some feet for it and drilled holes to all for additional airflow.  I also make a very small stand for my AMZN smoker to sit on.  Right above the AMZN smoker will be a shelf that will hold a drip pan.  


I installed a kick plate on 3 sides.  I was going to not paint it but then realized it would rust (not stainless) so I painted it a flat/gun metal color.  I then decided to paint the front trim piece, handle, nameplates, etc. so they match.

The last thing I did before running out of gas on Sunday was to install the supports for the shelves.  I plan on using this mainly for bacon and sausage but wanted to shelves in there just in case.

The flat metal color is metallic so I have some red metallic paint on order.  I should receive that in a couple of days.  I will give it a couple of coats of that and then work on installing the gasket/door.  That is my last hurdle to getting this close to being completed.  I hope that turns out good bc I am very eager to fire this up and see how it operates.


looks great, you will want to put a ball valve to use as a damper on the exhaust, and I would consider turning the exhaust to face downward, not a huge deal but with it facing up all the moisture and tar that condenses will either remain in the exhaust pipe or run back into the smoker and down the back wall. To each their own though.

Still looks great.
 
Thanks for the update. Looks good. I'm interested in how you put that heating element together. I was just gonna use a hot plate to see if I could get it up to the right temps and add one of those smoke Daddy gadgets.
 
Double S - I decide not to make things easy on me in the future if I wanted to change out the element.  I cut a hole for the cord and then secured it to the bottom of the fridge with high temp food grade silicone (the red stuff you see in other places).  I wanted to leave the heat deflector on it to 'point' the heat in the right direction.

Some more pictures below...
 
SmokingMeatForums.com is reader supported and as an Amazon Associate, we may earn commissions from qualifying purchases.

Latest posts

Hot Threads

Clicky