UPDATE:
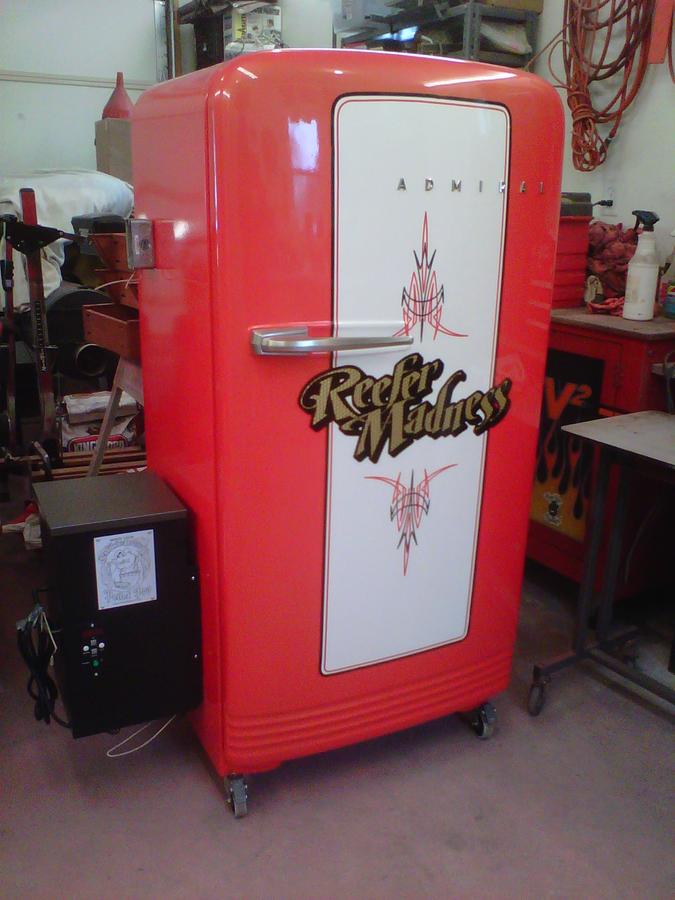
Door gasket is installed. Turned out really nice. Take note, guys, this worked excellent and was easy. It's just flanged fiberglass rope (tadpole gasket), a metal strip and zip screws. I ended up pre-drilling the holes in the face of the fridge flashing to make inserting the zip screws easier. Stainless is a little tough to drill through, though, but it was worth the effort. Prior to driving the screw home through the gasket, I spun the screw backwards to sort of cut through the gasket flange and prevent it balling up on the zip screw. With this type of installation, there is no glue to worry about and it is easily replaceable if necessary. AND it was cheap! 35 bucks with shipping from McMaster-Carr. I am tickled! Here are some detailed pictures:
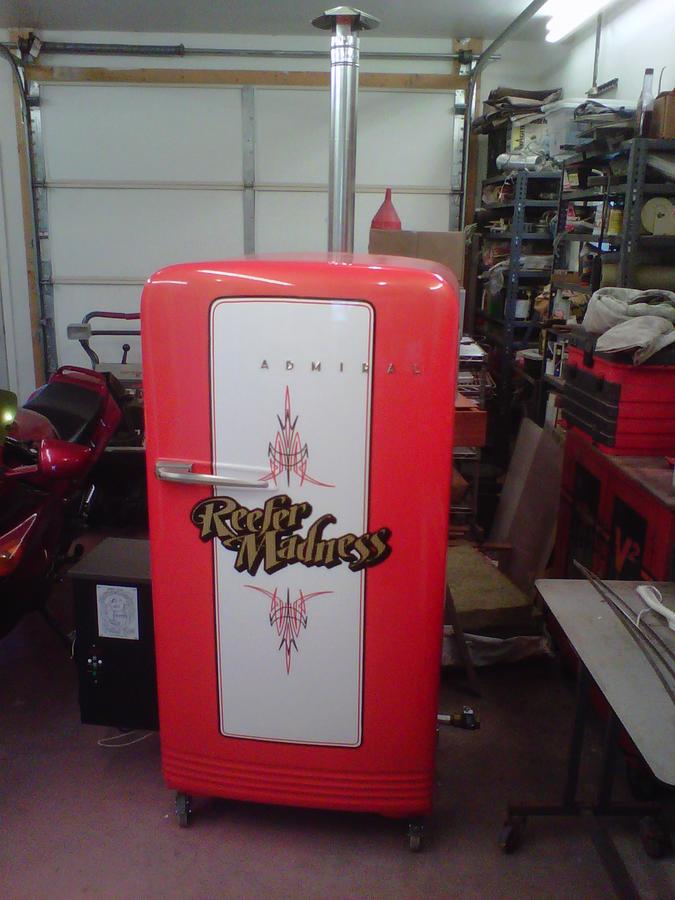
Stack installed:
All that is left is to hook up the temperature probe and I should be able to test fire tonight. One thing I do worry about, though, is the temperature control. I am worried that I will not be able to keep the temperatures low enough because it
is so well insulated..........we'll see I guess. If that is a problem, I will have to work on a solution to keep temps down, either reducing air flow, restricting pellet insertion or increasing stack diameter. That might be a new thread to discuss, we'll see.
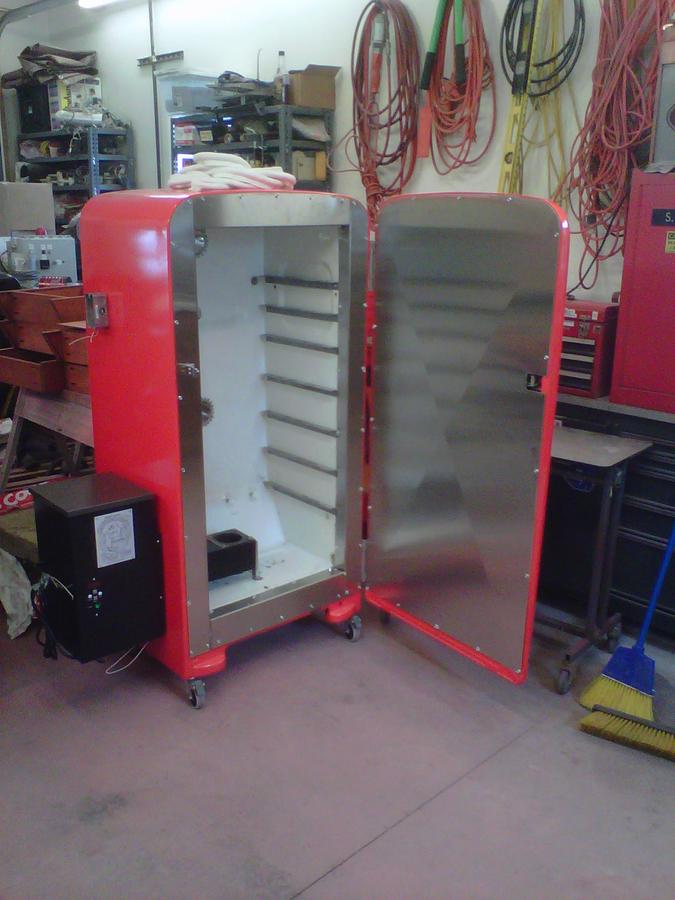
There were a few holes in the tub that need patching as well. These holes were left over from where the original shelves attached to the inner tub. I sealed them with a little hi-temp rtv and some pennies. I figure that should work..........and it only cost me 14 cents!