- Mar 16, 2015
- 252
- 81
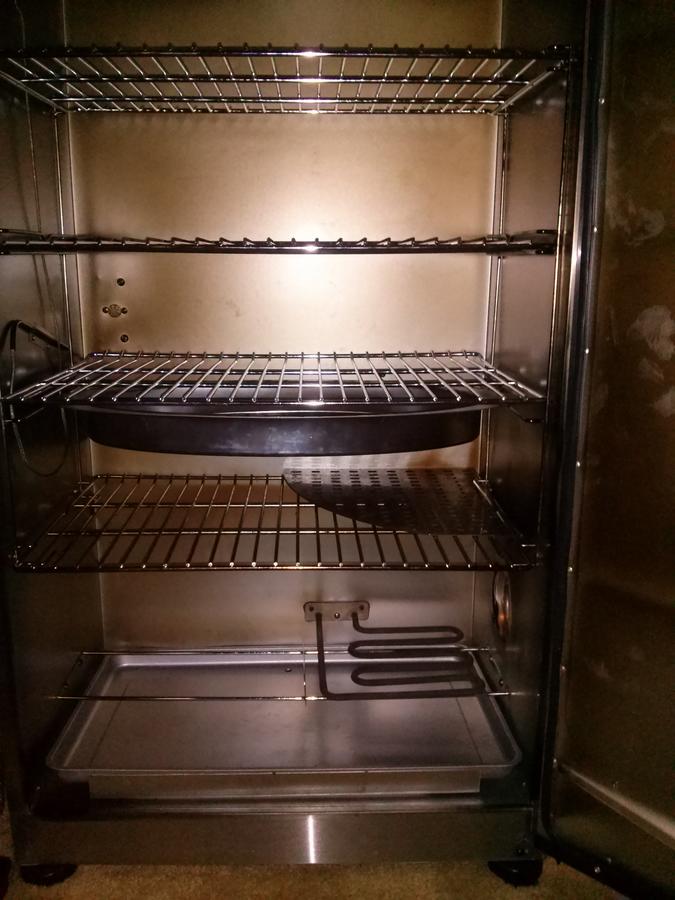
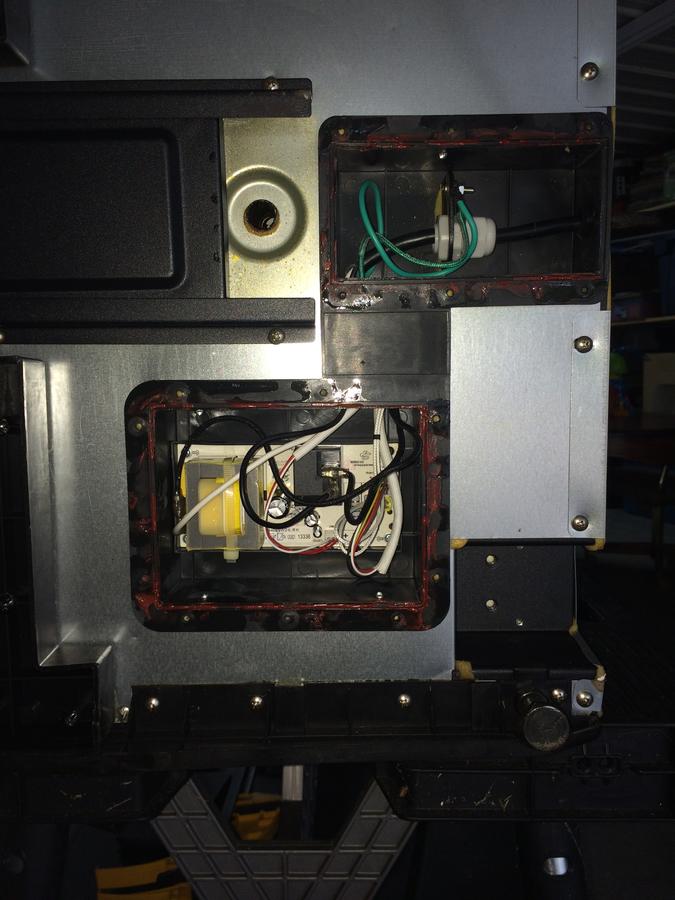
I have a 2nd generation 40" 1200W Masterbuilt smoker that I would like to connect to a Auber PID controller since I'm not happy with the wide temp swings I'm getting. I know that the PID needs to be connected per Auber instructions as shown here ()
My two questions are:
When rewiring the Masterbuilt do I keep the Masterbuilt temperature limit cutoff switch in or do I eliminate that also?
I use my Masterbuilt for low temp smoking for making smoked sausage, snack sticks, jerky and bacon. I am not concerned with the Masterbuilt chip loader producing smoke as I use a AMNPS. The PID controllers I have been looking at for the Masterbuilt are:
WS-1510ELPM (multi purpose)
WS-1510DPMS (K type thermocouple)
WS-1211GP (single sensor)
WSD-1200GPH (dual probe).
Is one better then the other for the application that I mentioned in the top of the paragraph?
Thanks in advance for any help in the matter.
Last edited: