MES40 Re-wire Project

  • Some of the links on this forum allow SMF, at no cost to you, to earn a small commission when you click through and make a purchase. Let me know if you have any questions about this.
SMF is reader-supported. When you buy through links on our site, we may earn an affiliate commission.

smoking4fun

Meat Mopper
Original poster
Nov 6, 2014
164
42
Solon, Ohio
Well, here I go on a complete re-wiring project for an MES40 that the leads to the heating element burned up.  Thanks to TromaRon (who graciously parted with the used smoker for free).  I'm hoping to include a bunch of step-by-step pics to help anyone else looking to do the same thing for theirs.  I'm also going to provide pics (and links, if they're allowed) to the various parts that I used so you can get a full shopping list before starting.  I've done lots of research on this, and I'm doing this with a buddy who's an electrical engineer (I'm a mechanical engineer, so the electricity part is all magic to me) who's going to help me with the actual wiring to make sure it's hooked up correctly.  Any suggestions on what I'm doing wrong are of course appreciated...so that I don't electrocute myself in the process.  Without further ado:

Here is a pic of all my parts (except the solid state relay (SSR) and heat sink, which hadn't arrived when I took these pics):


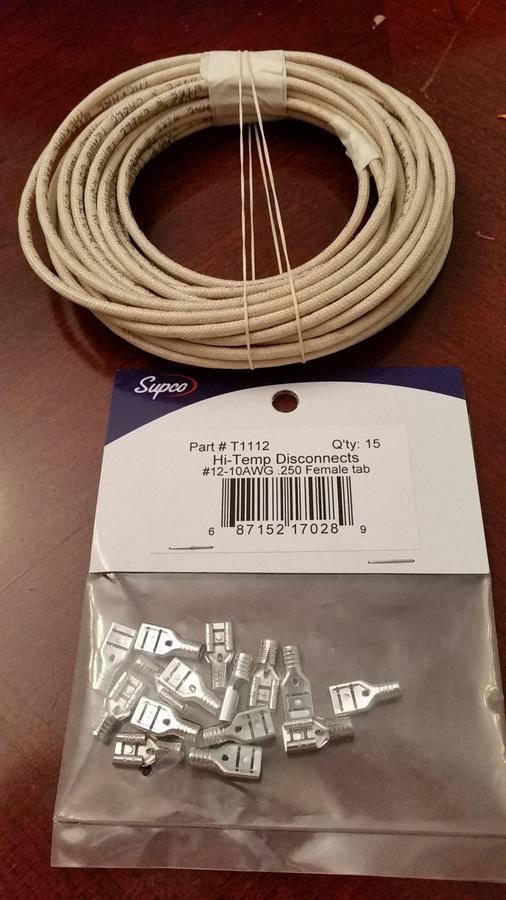
I ordered 25' of 12-gauge high-temperature wire ($24): 


High temperature female tabs to attach wires to heating element ($11):


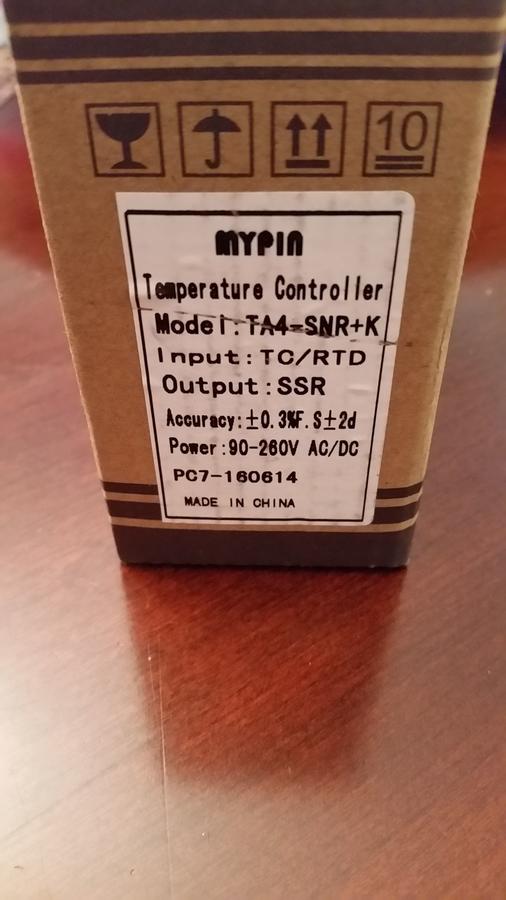
I also added a PID controller that came with a thermocouple/thermometer ($23):


I'm going to be using an on/off switch ($2):


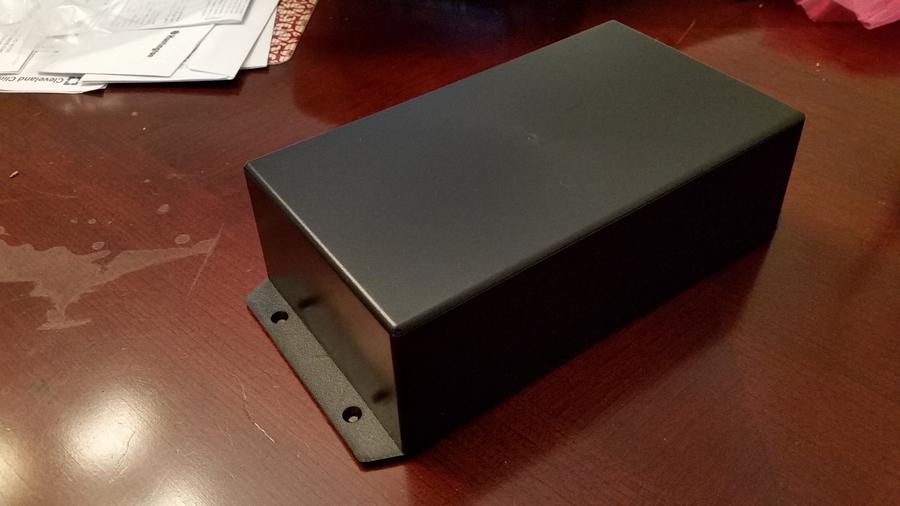
I'm going to put these components into a project box that has flanges so that I can secure it onto the top of the smoker where the original controller was located - and feed the wires through the original hole.  Project box ($8):

http://www.ebay.com/itm/381641777669?_trksid=p2060353.m2749.l2649&ssPageName=STRK:MEBIDX:IT


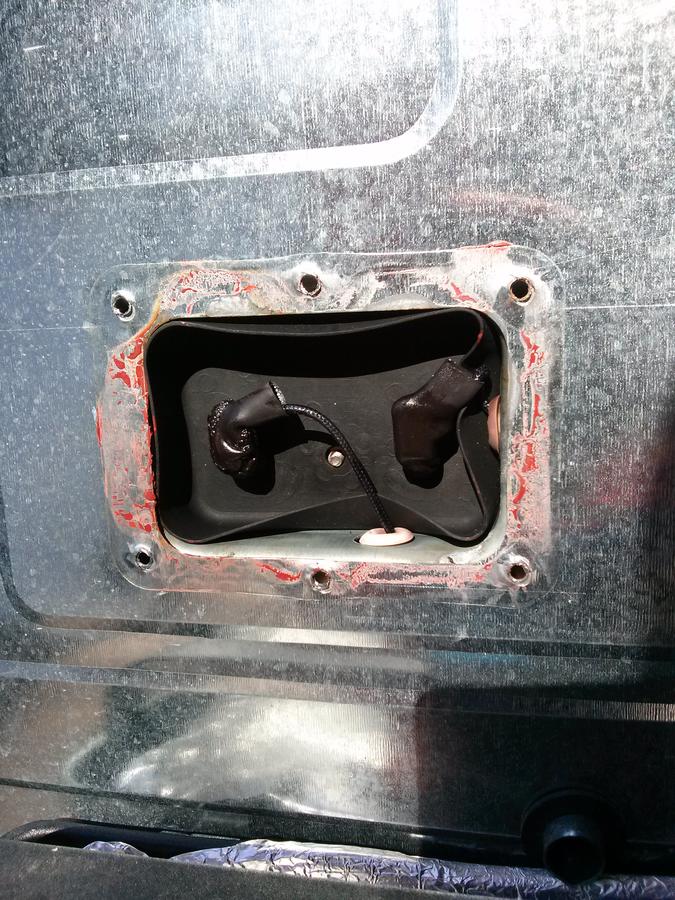
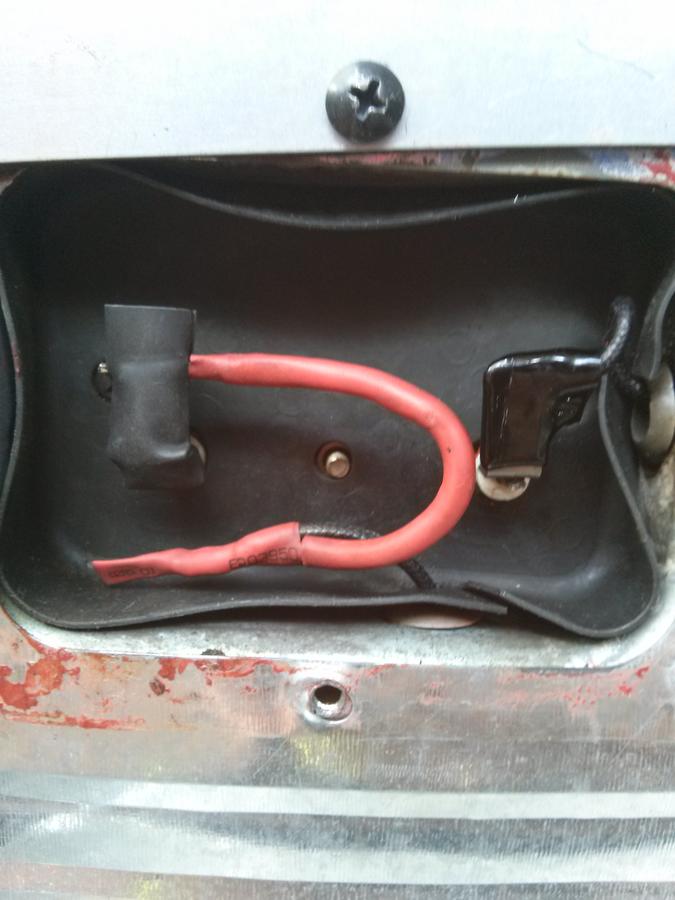
First step is to open up the back of the smoker to get access to all the components there.  To be continued shortly...
 
Last edited:
I got the Supco T1113 16-14 gauge quick disconnect female flag connectors. They were 90 degree barrels instead of inline. I used 14 gauge wire and double shrink tubed it to make extensions. MB gave me no lead to work with in that built in junction box in the back of the smoker. The pic online looked like yours but came in as 90 degree connectors which made soldering easy. After tinning the wire it went through the barrel out the other end an eighth of an inch I could hang on the inside of my 100 watt solder gun tip as more solder melted from the other side, flowing to the heat, filling the barrel. After cooling I just cut the excess off what stuck out the barrel.
-Kurt


I peeled the rubber insulation sheet off the metal back plate and just stretched the holes in the rubber over the screw heads so I can quickly periodically check the connections when it's unplugged before smokes. Half the screw holes came stripped so I don't want to keep removing the screws.
-Kurt
 
For your unit to be safe please.

1 Be sure the metal cabinet of the smoker and your control unit are both grounded. (Its job is to prevent electrical shocks! A good ground will safely carry away stray voltage should any component or your wiring fail in an unsafe way)

2 Open up the back of the smoker and connect the factory safety thermostat in series with the heater.    (Its job is to prevent fires!  This thermostat will turn off the heater at 300° If your PID ever fails to turn off the heater.)

3 Be sure the only thing connected to the black wire from the cord is a 10 amp fuse. ( Its job is to prevent fires! should any component or your wiring fail in a way that would draw enough current to melt the wires and start a fire.)

Good luck

I do like my MES with PID controller.

Walta
You wouldn't happen to have a photo of which one is the factory safety thermostat, do ya?  Or a description on what I'm looking for? TIA
 
You wouldn't happen to have a photo of which one is the factory safety thermostat, do ya?  Or a description on what I'm looking for? TIA
It's the flatter dime size button sensor up on the left back wall (over heat shut off sensor.) Mine says 150*C on the face you may need to view with a magnifiying glass, which is 302*F. The toggle switch looking sensor down on the right back wall is the controller sensor. If the over heat sensor trips I don't know if it resets or needs to be replaced after the smoker cools down. Its something I'd like to know. If someone knows, hopefully they will chime in of they had there's trip.
-Kurt
 
Mine is also a Gen1 unit which had a dead controller, so I modified mine to a PID system by simply disconnecting the original wires from the element and connected a new power cord directly to the element (drilled a hole in the element access cover for the new power cord).  Reconnected the access cover, plugged the new power cord to a Auber  WSD-1500GPH.  Routed the PID's temp sensor thru the upper vent.   Way too easy to run.  Way too awesome.  Very hands off.

The Auber is so great, I got a couple extra to run my Big Chief smokers which have 1100 watt elements.
 
Last edited:
Is a 10 amp fuse sufficient? If he has a 1,200 watt element, you are right at the rated limit before any temp derating.  I would go with a 15 amp fuse since he is using 12 ga wire.  Otherwise he may be constantly replacing fuses.
 
 
Is a 10 amp fuse sufficient? If he has a 1,200 watt element, you are right at the rated limit before any temp derating.  I would go with a 15 amp fuse since he is using 12 ga wire.  Otherwise he may be constantly replacing fuses.
The MES 30 Gen 1 has an 800 watt element, so 10 amps should be OK.

****DISREGARD****  he has a 40, I have no idea what element he has. Being larger I would imagine he has a 1200 so 10 would be pushing it.
 
Last edited:
I ended up putting a 15 amp fuse between the power cord and the PID. I've got step-by-step pictures coming soon...got help from my brother-in-law today, and it's up and running (finally).
 
SmokingMeatForums.com is reader supported and as an Amazon Associate, we may earn commissions from qualifying purchases.
Clicky