First Rib Smoke Question

  • Some of the links on this forum allow SMF, at no cost to you, to earn a small commission when you click through and make a purchase. Let me know if you have any questions about this.
SMF is reader-supported. When you buy through links on our site, we may earn an affiliate commission.

iceman6409

Smoke Blower
Original poster
Apr 11, 2016
86
11
Rochester, NY
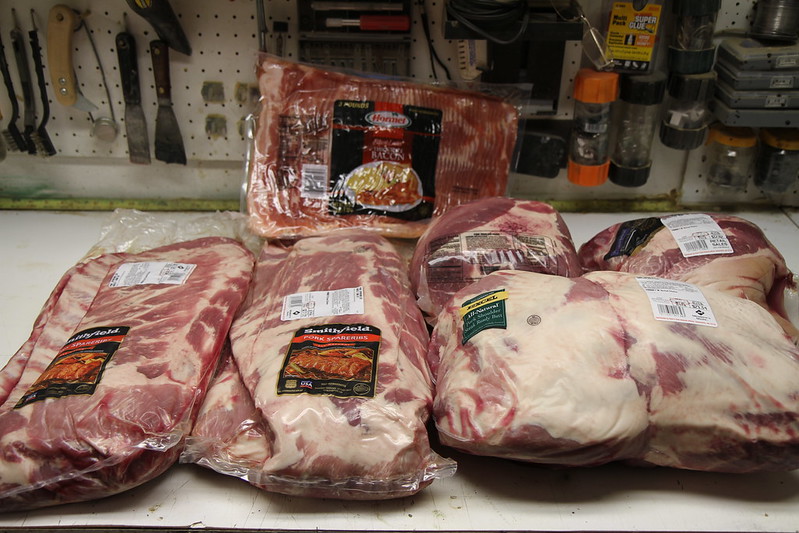
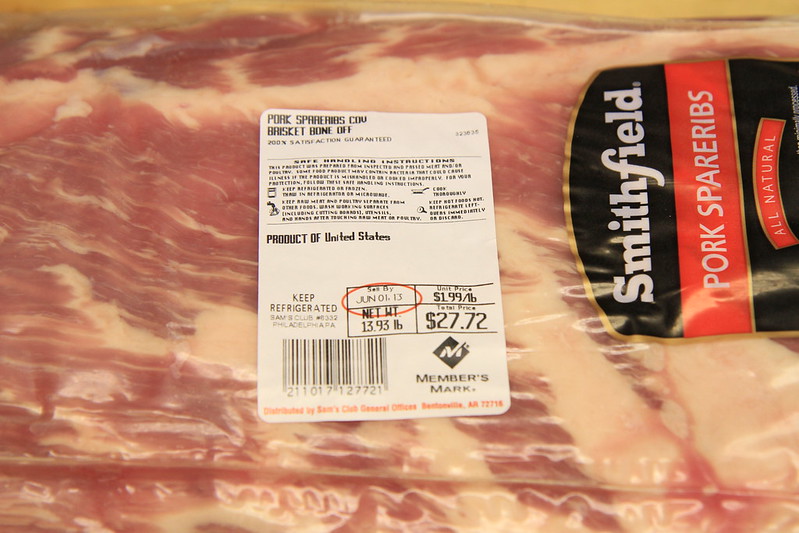
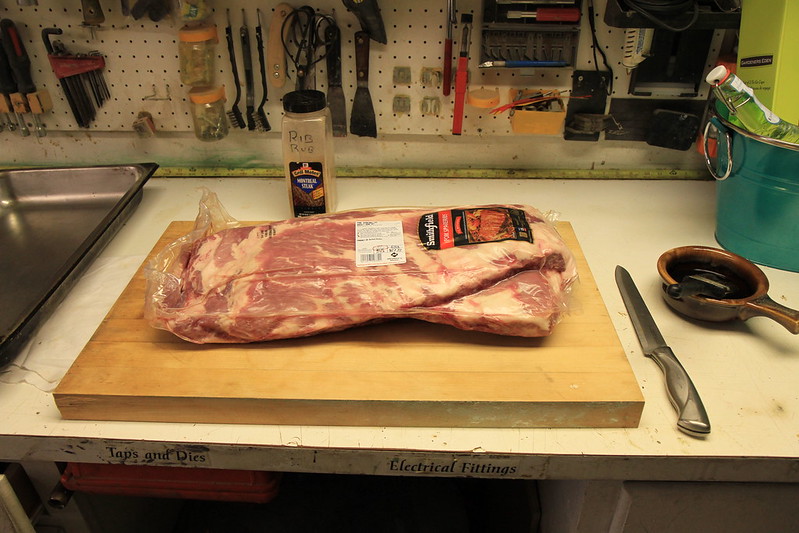
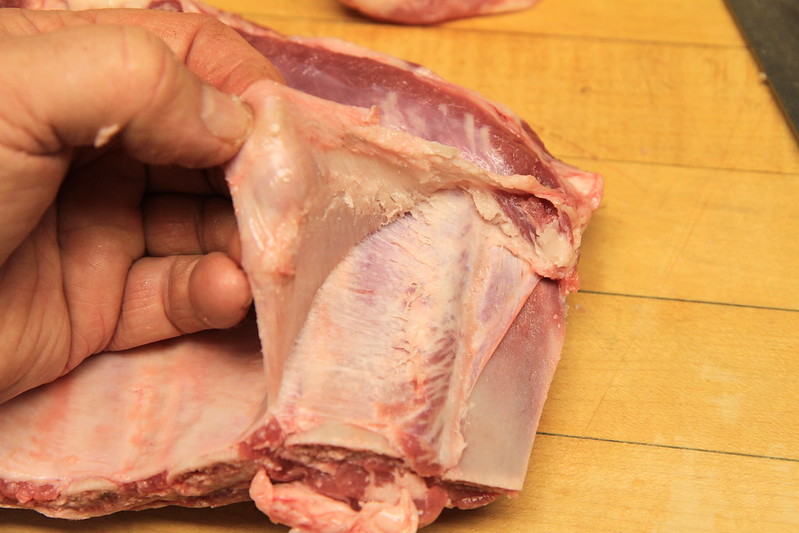
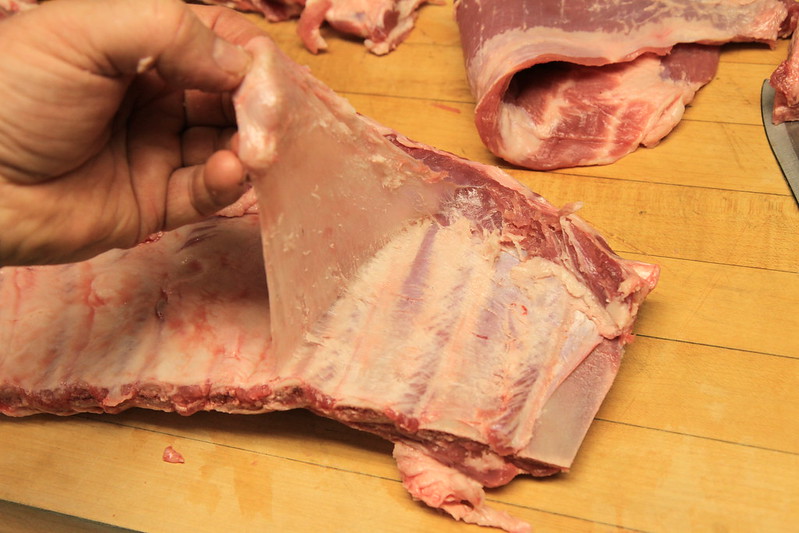
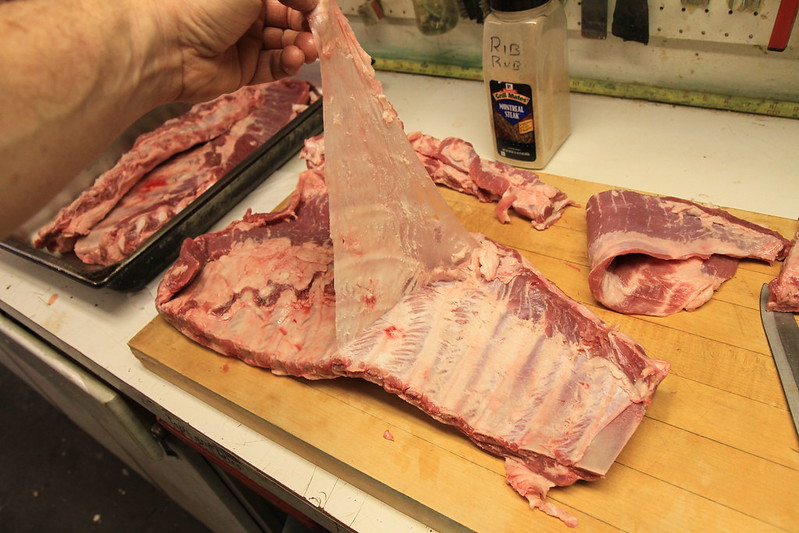
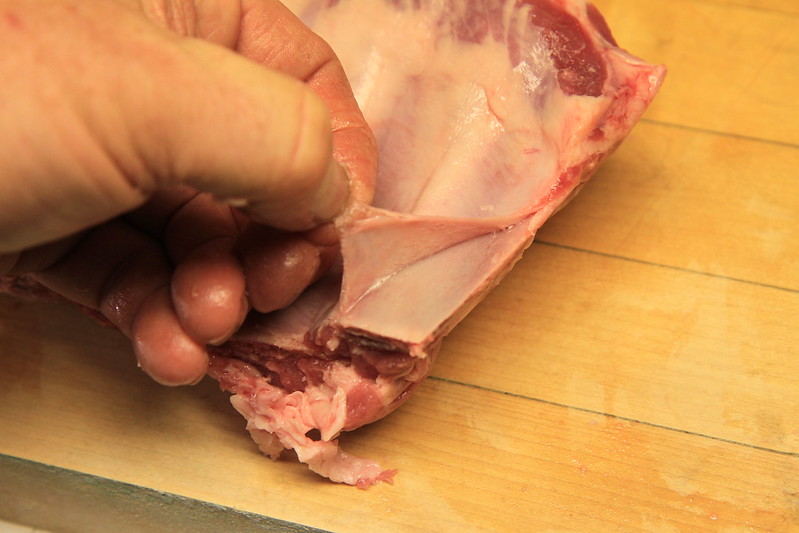
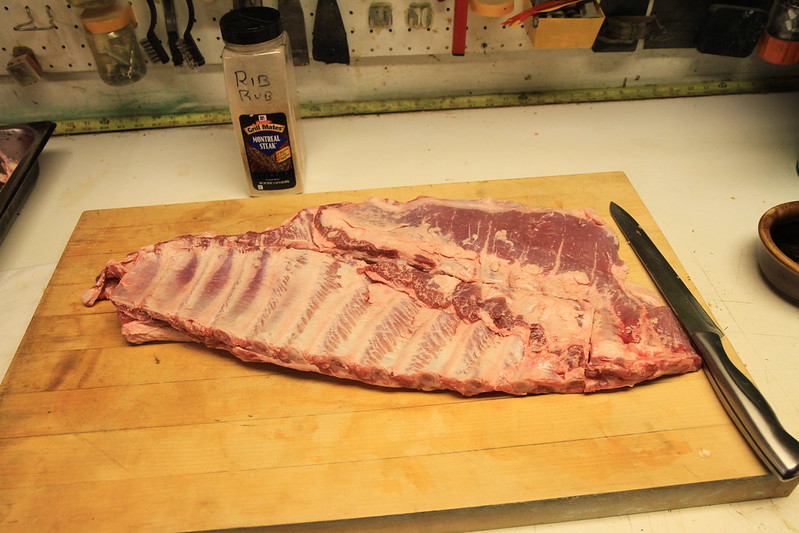
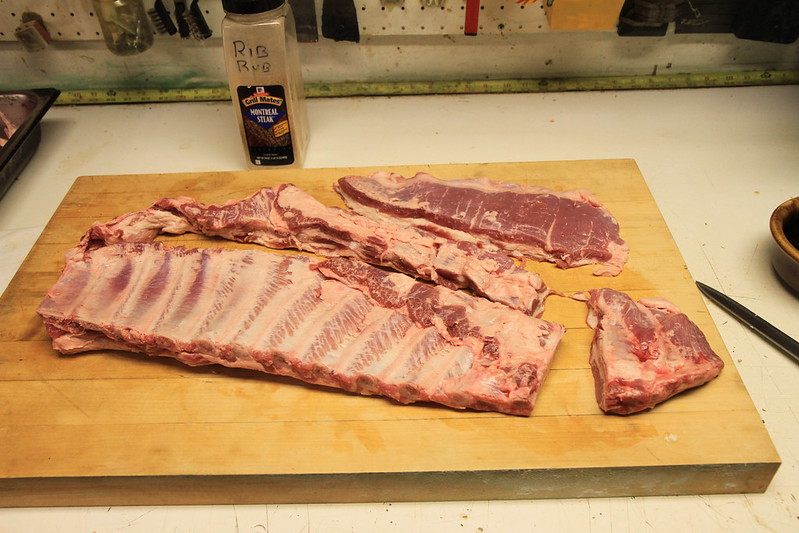
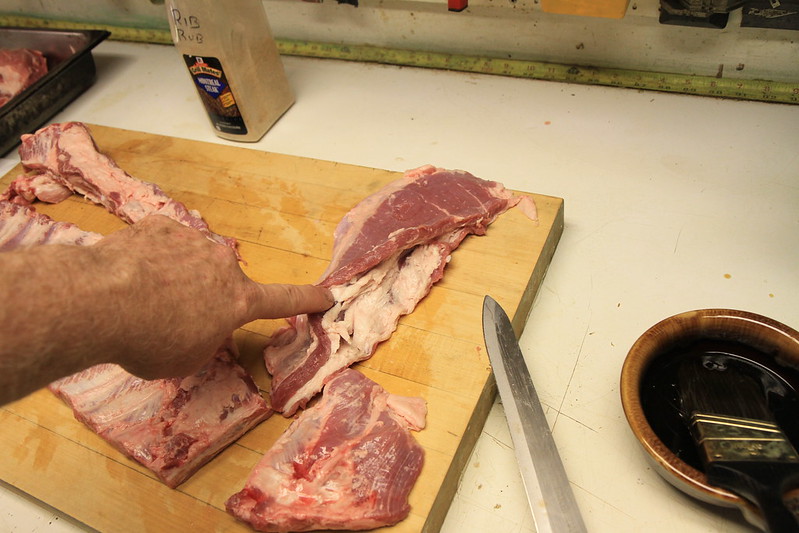
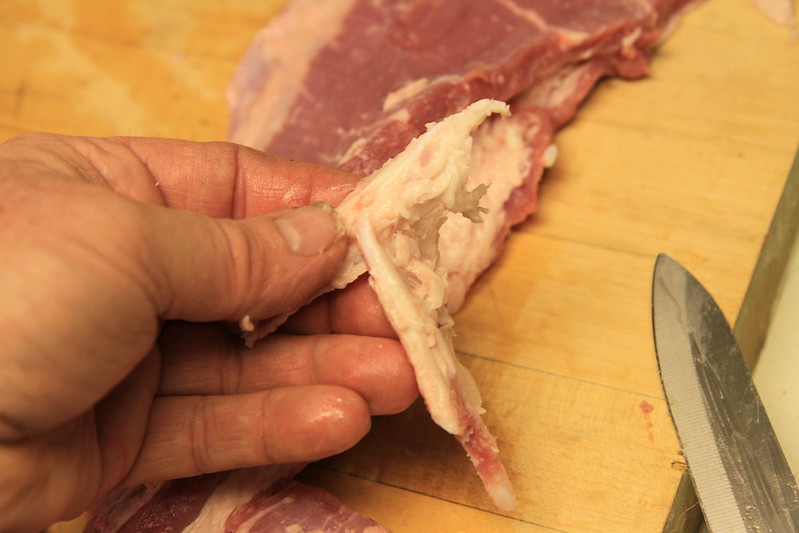
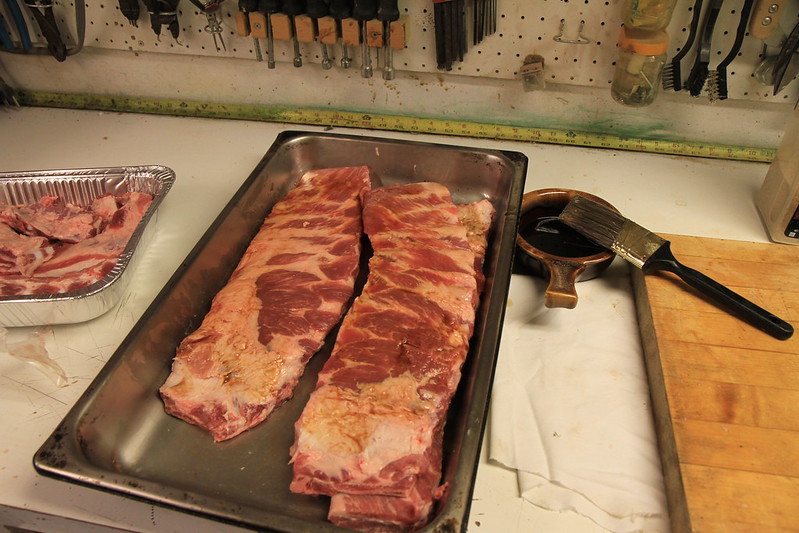
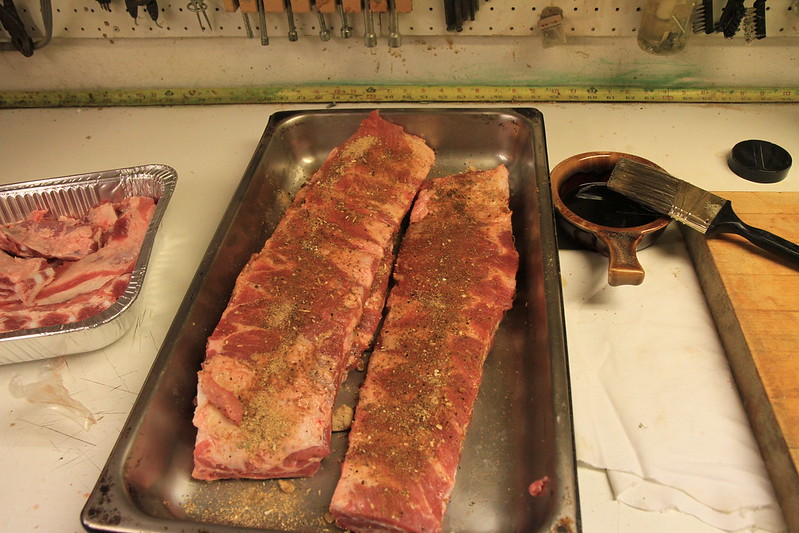
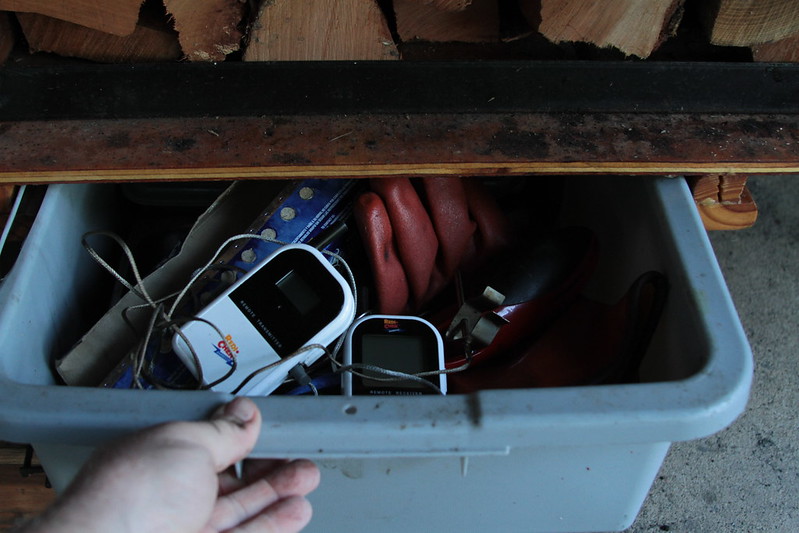
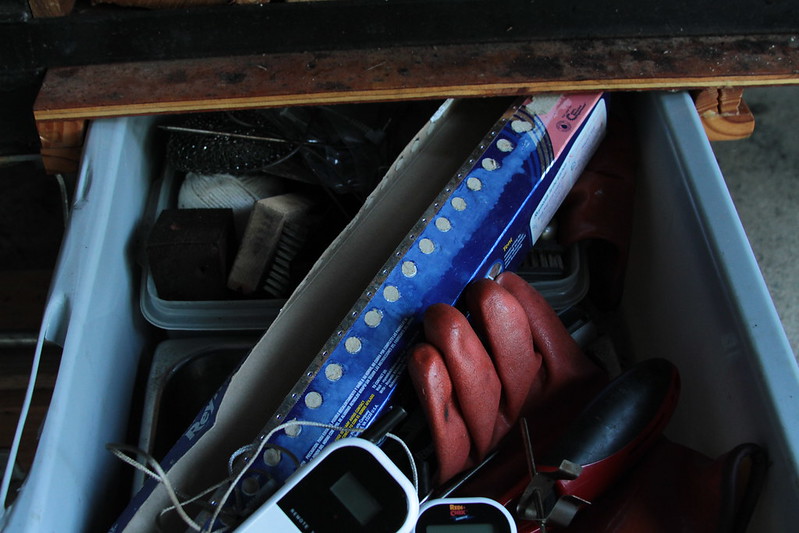
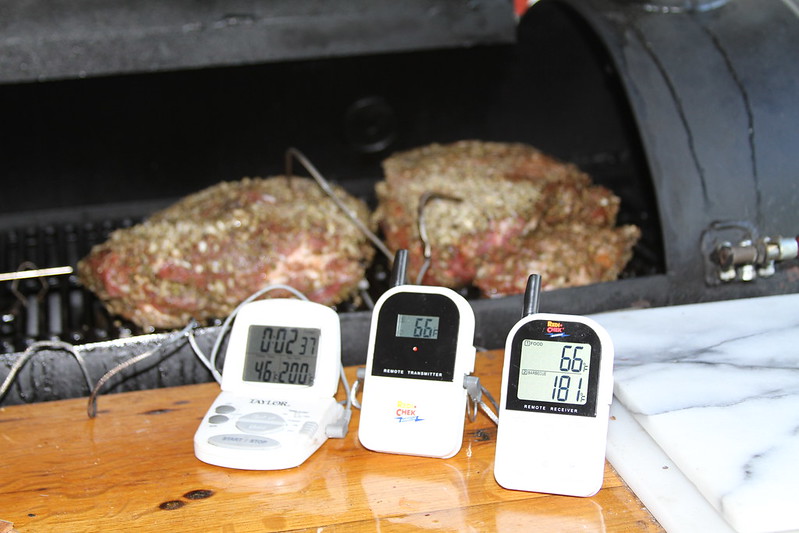
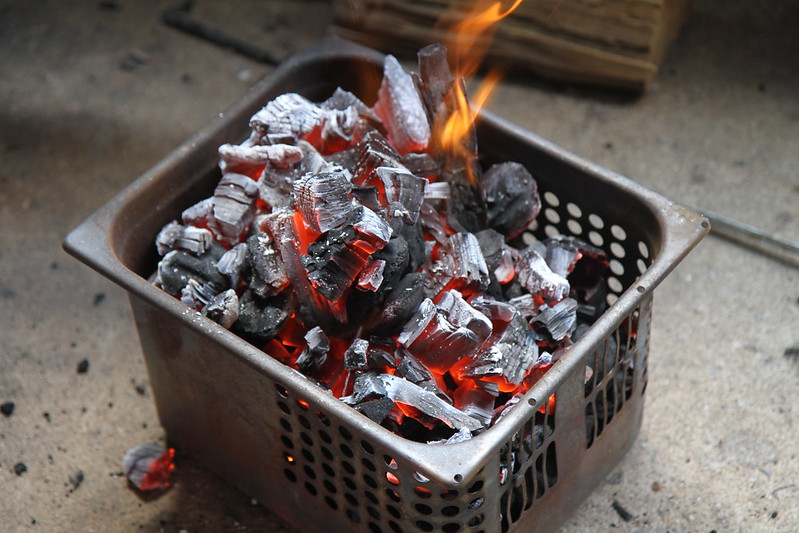
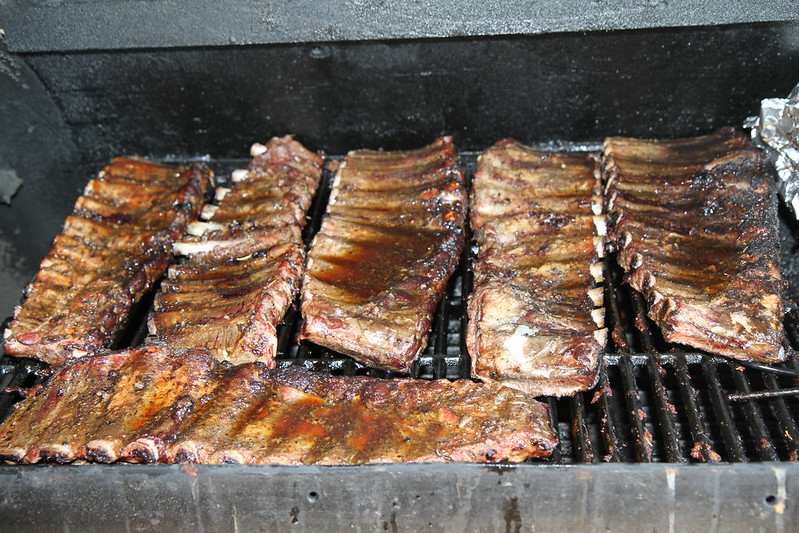
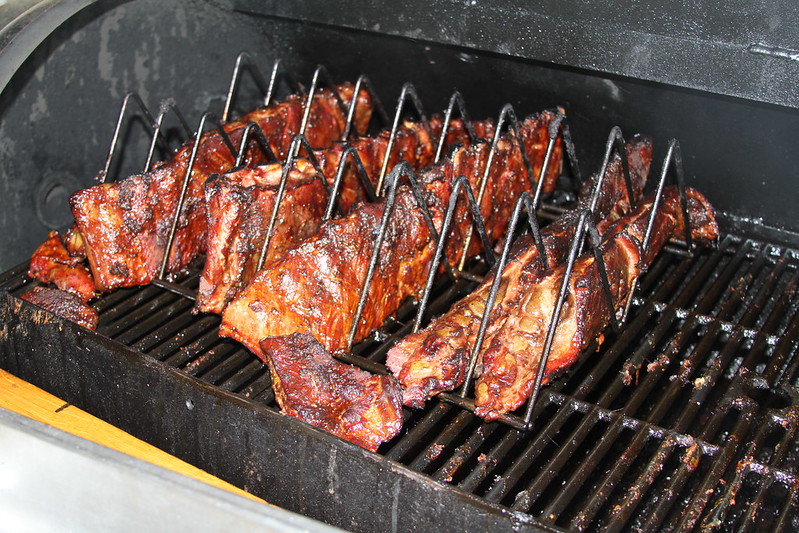
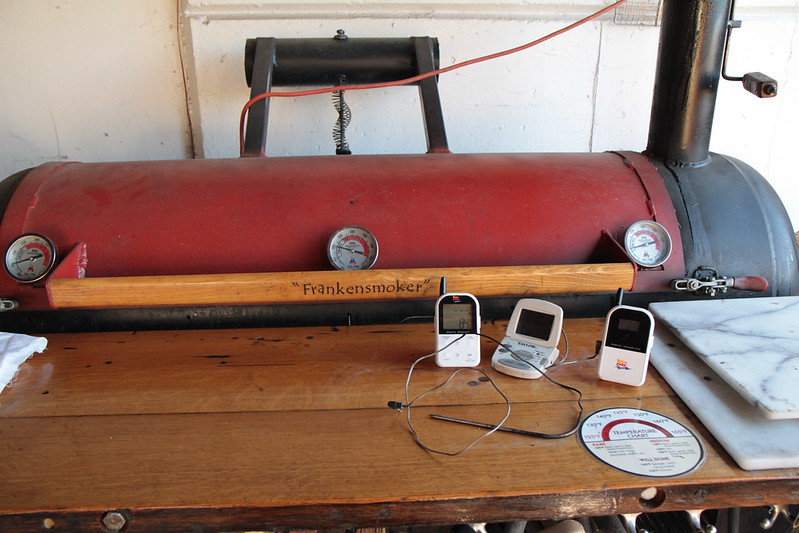
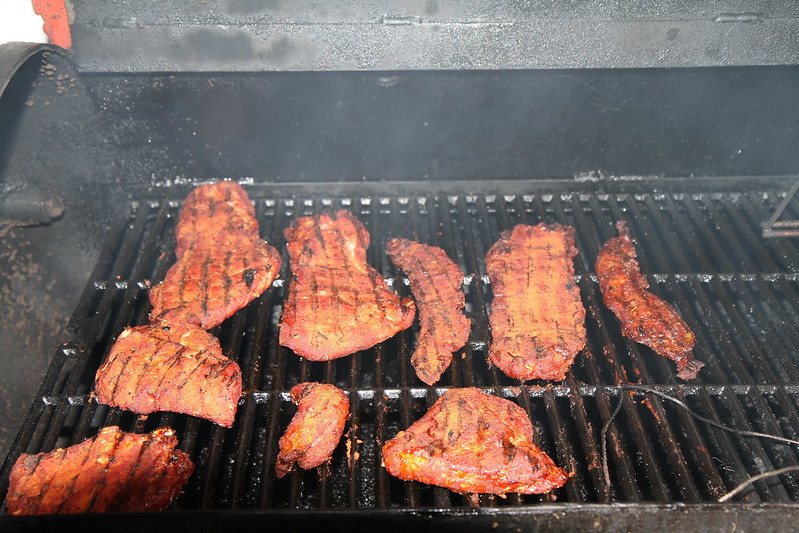
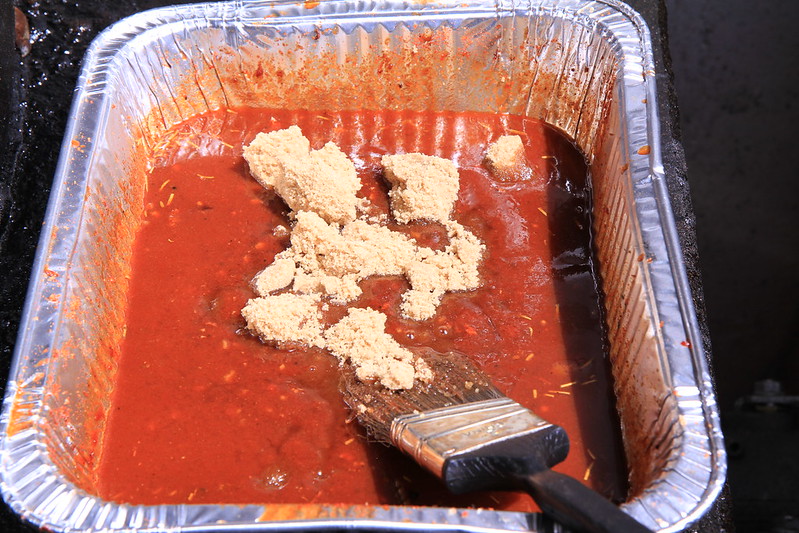
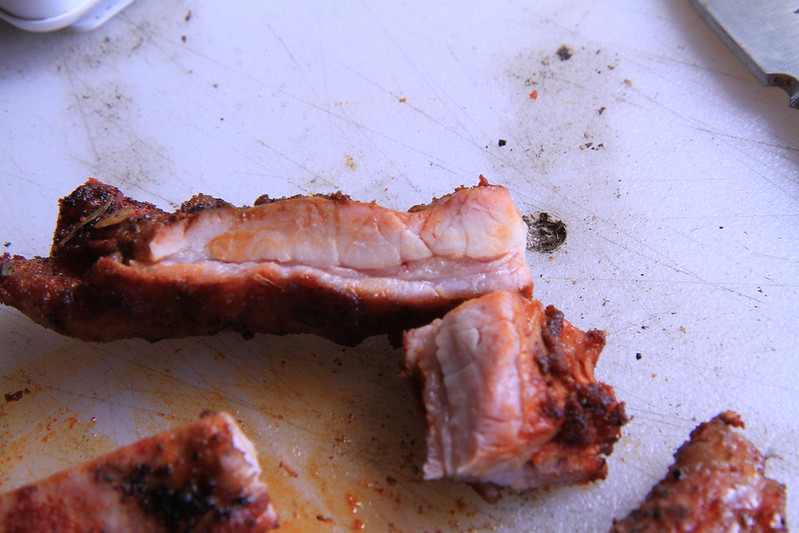
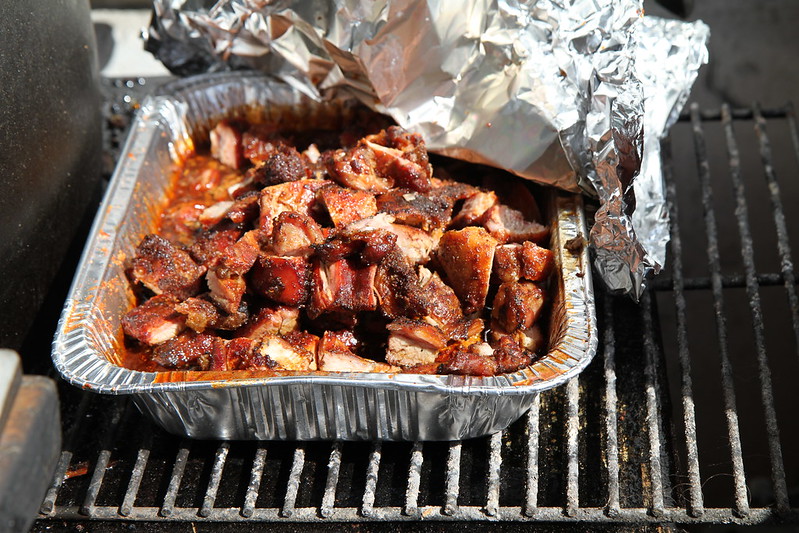
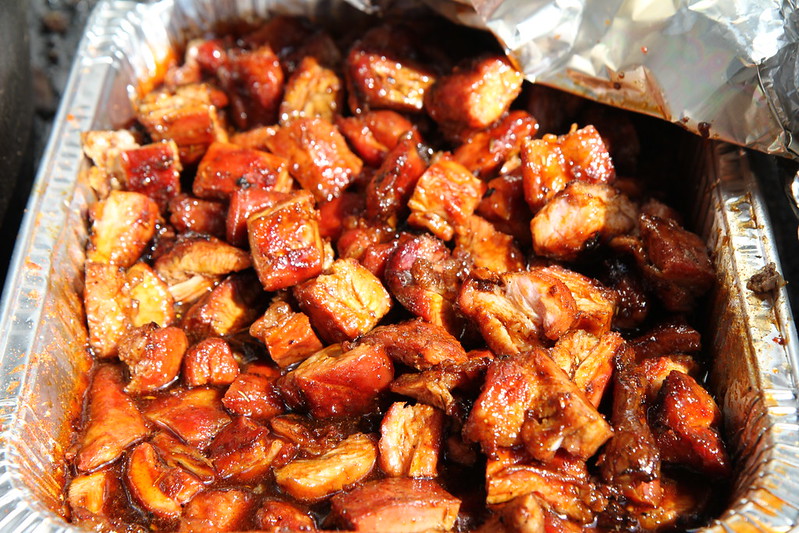
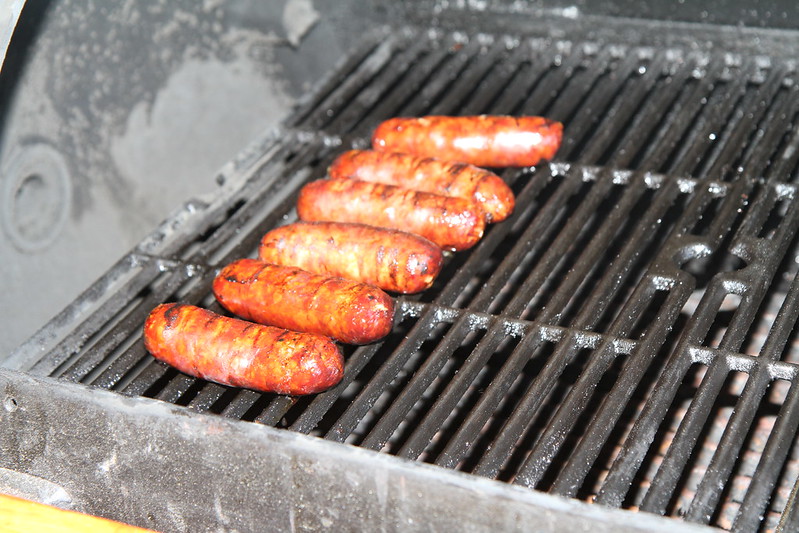
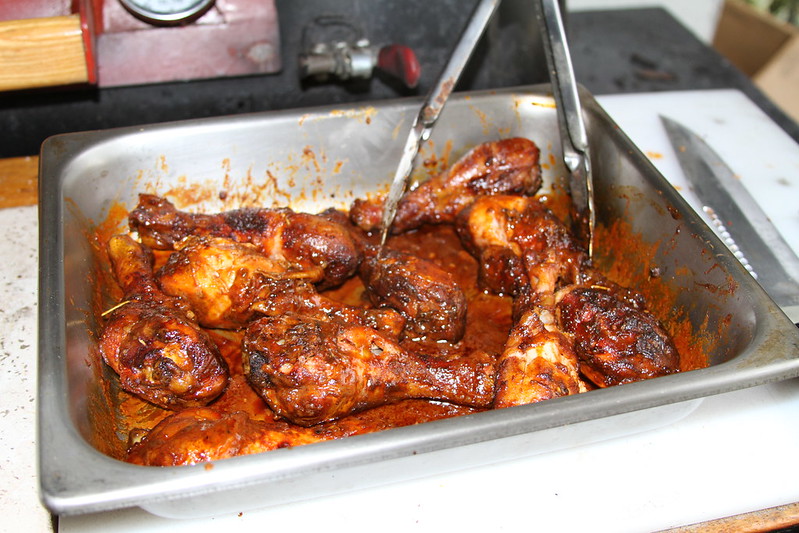
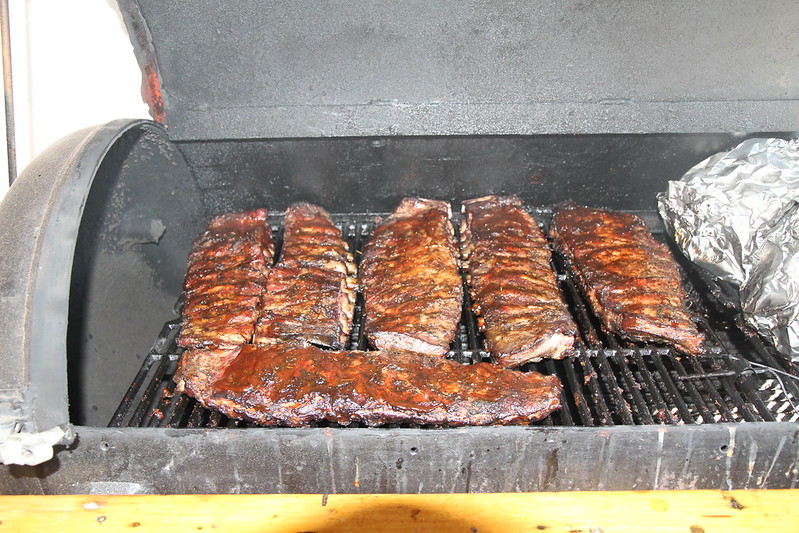
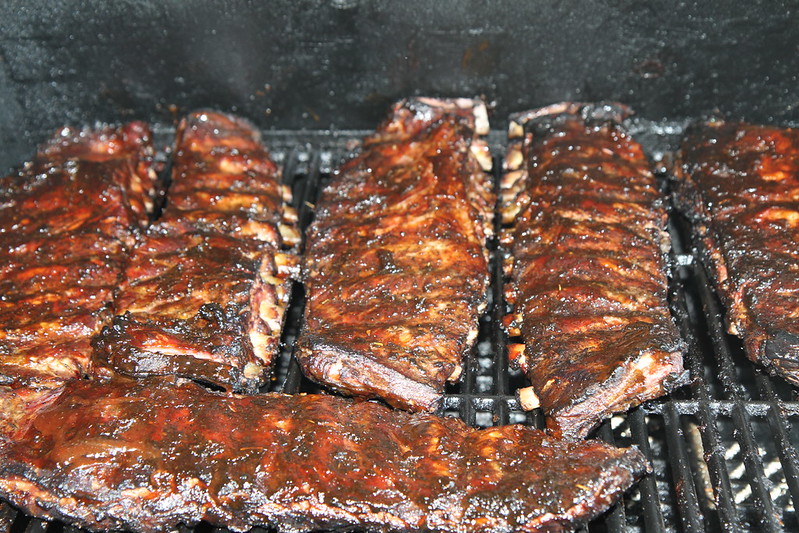
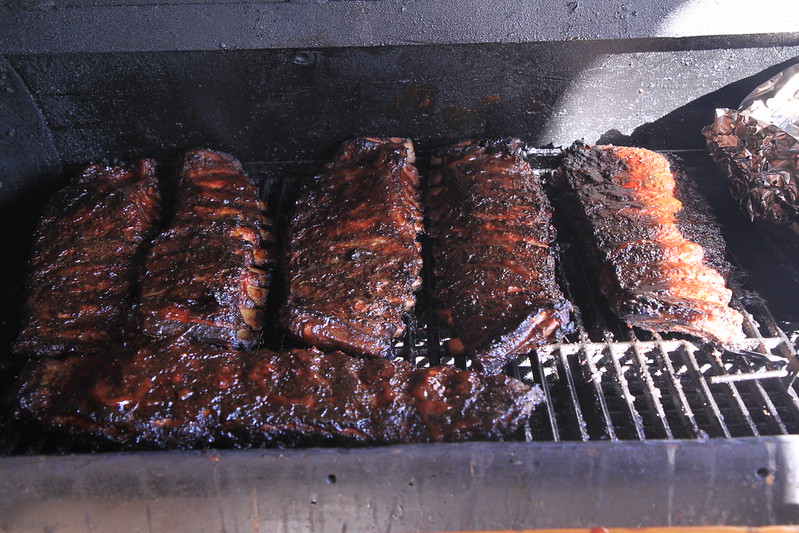
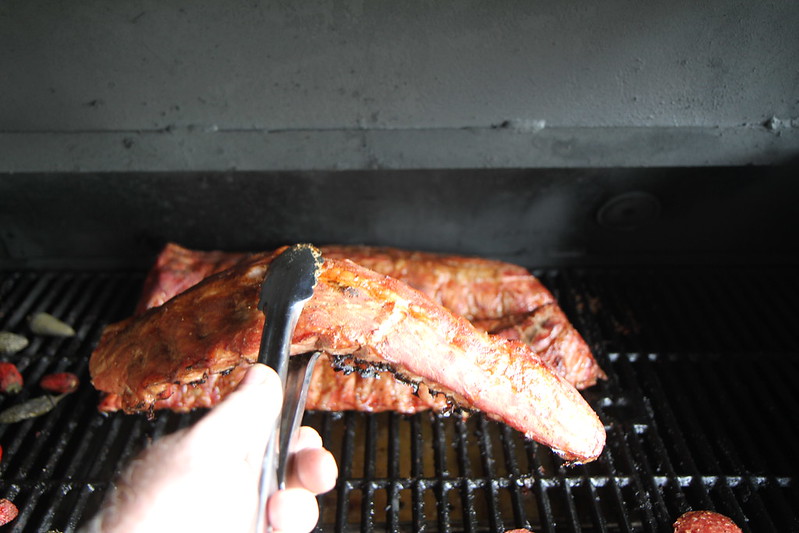
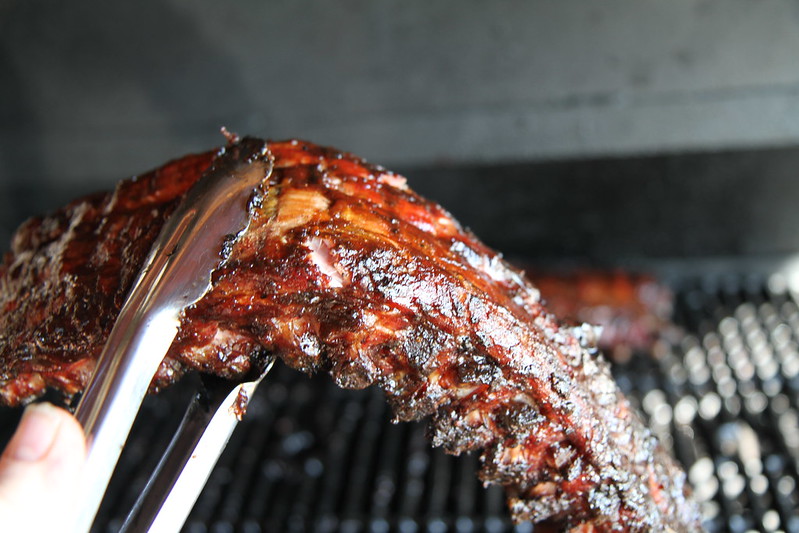
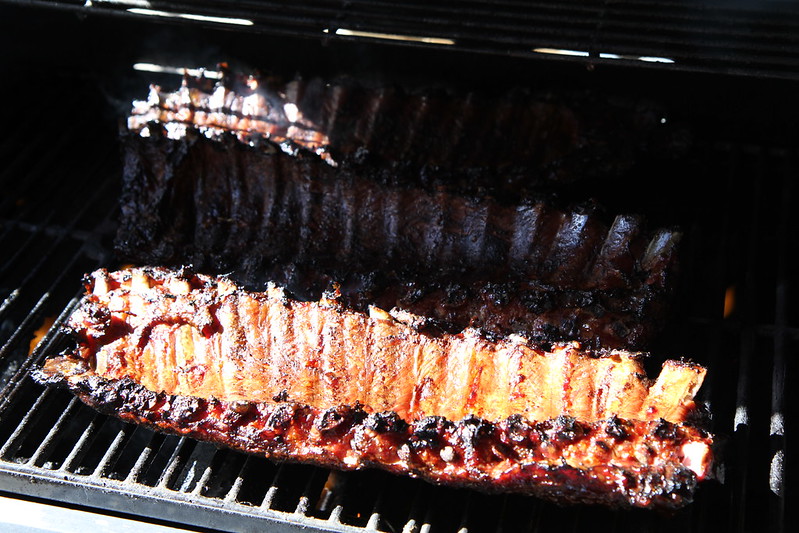
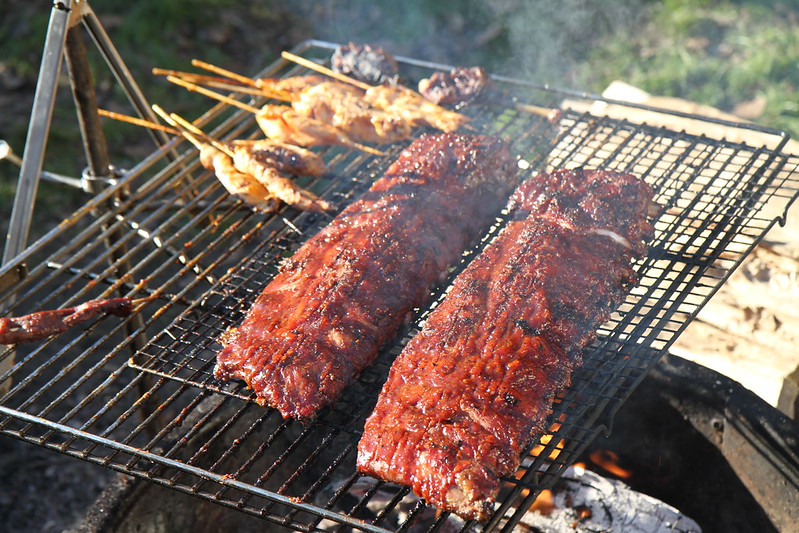
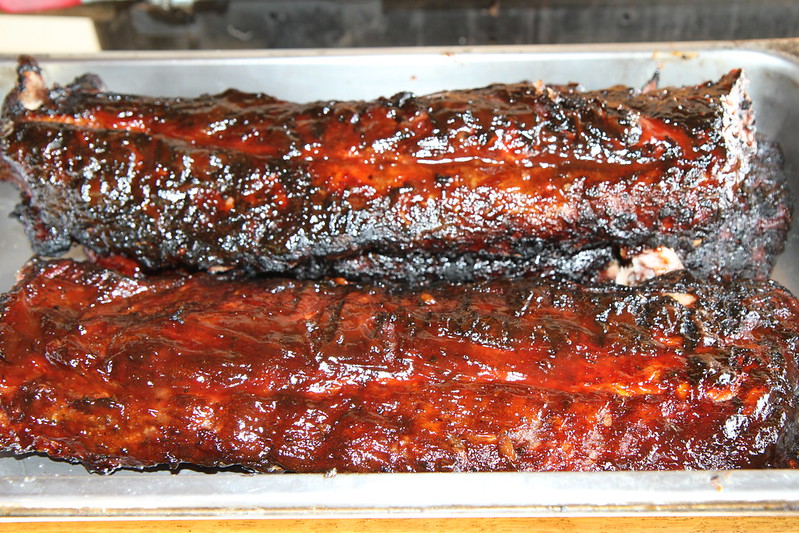
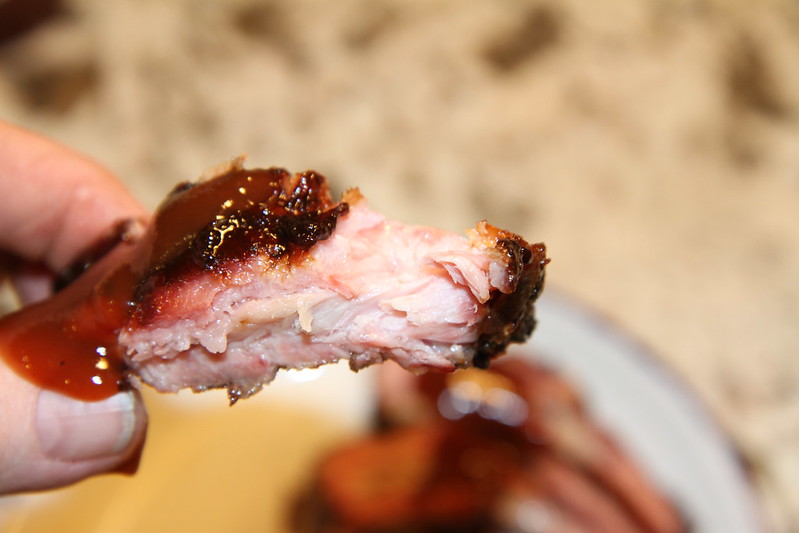
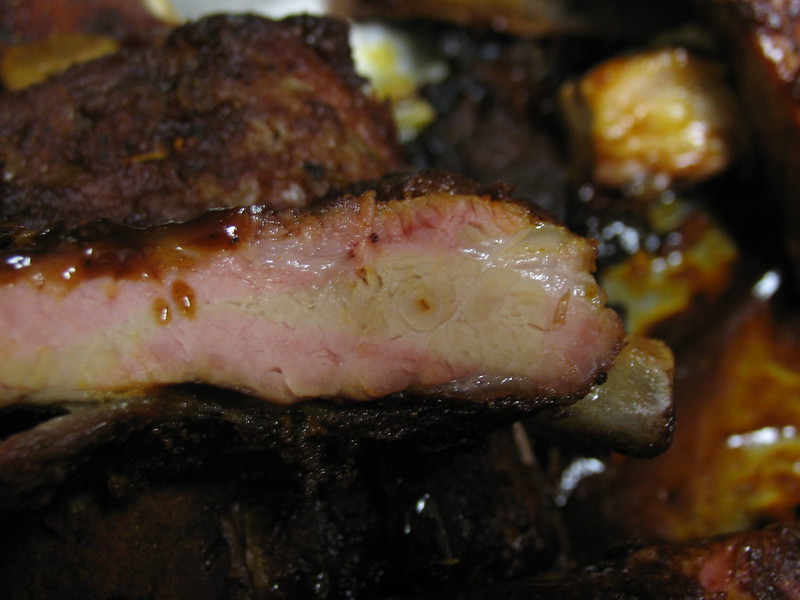
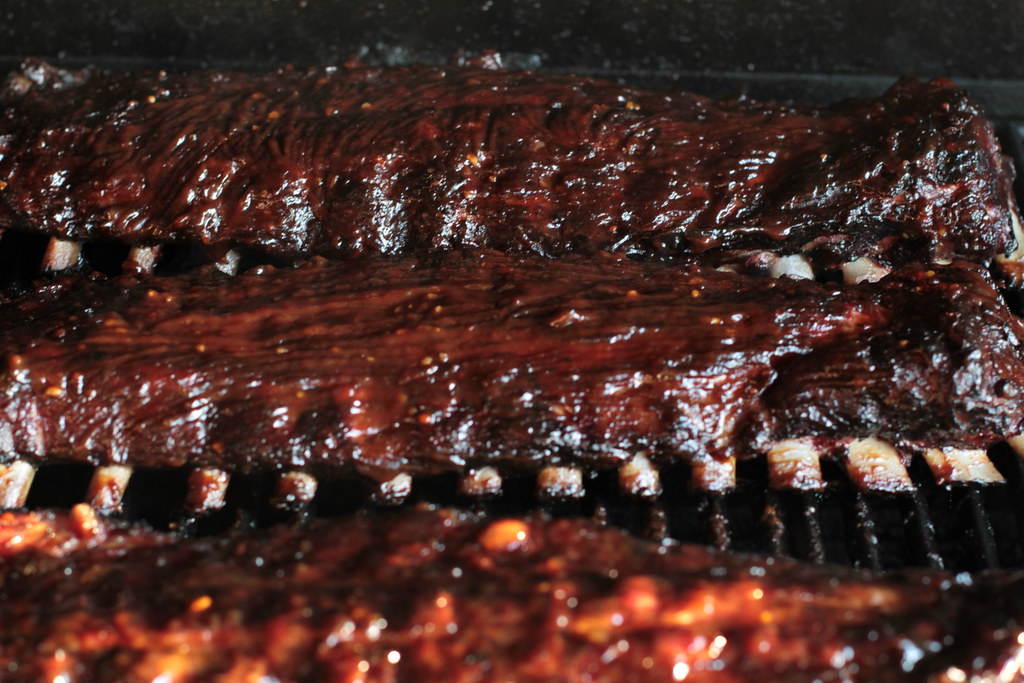
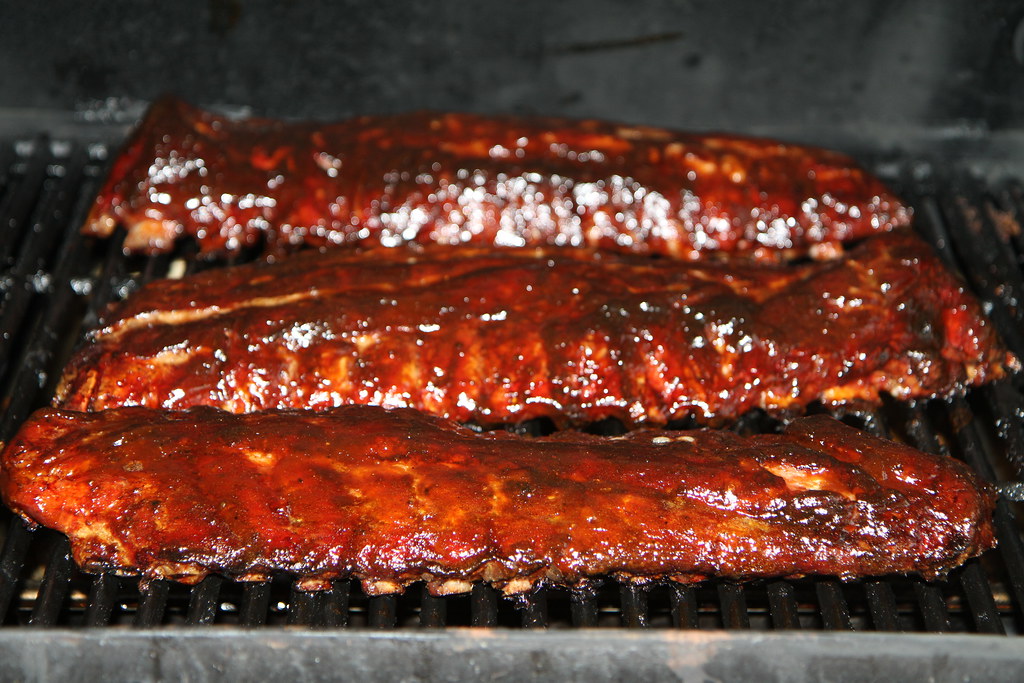
Hi all.  I am about to try smoking spare ribs for the first time this weekend.  I have a couple of basic questions.  I will be using the snake method for sure.  That method worked brilliantly for my first pork shoulder.  I am also going to try the 3-2-1 method.  So my first question is where would I be putting the thermometer in the ribs?  Also for the smoke what flavor would you recommend?  I tend to like a sweeter taste overall but not overly sweet.  I will most likely be using the McCormicks Smokehouse Maple Rub and MAY finish it with some Sweet Baby Rays BBQ sauce.  Let me know your thoughts.
 
If your doing untrimmed 3-2-1 is ok, if they are trimmed spares cut back 20minutes on each end or 30 minutes on the "2" and the "1"

No thermo needed for the ribs, do a search on "Bend Test"

Smoke flavor profile is your preference, but I like to go light and with a milder wood if possible if on my GOSM but on my stickburner I use whatever I have.

Start Glazing every 10 minutes on the last hour and if you have a grill, toss it on the grill glaze side down over direct heat for a few minutes.
 
yeahthat.gif


Yup---SQWIB Knows!!

2.5--2.5--0.5 works good for me.

Bear
 
 
Do you recommend trimming the brine off or not?
I think your ribs will be done before you finish reading this post (from my website, needs tweaking)

So you want to cook some ribs on the pit.

Before we get started please note the title of this article, this is how my rib cooking has evolved and what works for me, this is meant to help folks not tell them that it must be done this way, so experiment and have fun with it.

This article is based on the assumption you are familiar with your pit.

This is based on a Reverse Flow Offset  Pit and individual results will vary.
So please experiment a bit and find what works best for you.


Be Prepared  

One thing I have learned over the years is to be prepared and organized. I strongly suggest making a checklist. Start with your recipe and get all of your ingredients.
So before you start, make sure you have everything you will need for the cook, Wood splits, Propane, Thermometers, HD foil, pans, Tongs, Lighters, Gloves, etc... 


Same goes with the Ingredients to a recipe, get everything out the day before you plan on starting, you just may realize you are missing an important ingredient that the neighbor most likely will not have. 
If using things like Digital Thermometers or Insta Read, make sure to have fresh batteries and check probes prior to the cook.


Documentation

Make sure to document your cook including cooking times and temps as well as weather conditions and take plenty of pictures if possible, this is a great tool when reviewing successes and failures. Keep your documentation organized. I transfer my photos and notes to this website for future reference and sharing.


Variables:

Although cooking ribs is pretty straightforward and is usually cooked without checking internal temp there are many variables to a cook, you may ask yourself, "why are my ribs tough" or "why do they fall apart when I pick them up"? Below will be some variables that can affect your cook. There are also a few variables mentioned under  Mother Nature.

 
Temperature:

Your cooking temperature is one of the biggest variables when cooking. I will try to maintain temps of 225°F minimum to 250°F max for ribs, If I am doing Butts/Picnics with the ribs, the Butts/Picnics will remain at 225°F until the ribs are done
Also note that cooking at higher temps when using rubs high in sugar can result in a burnt rack of ribs. 


Fuel

Charcoal, Lump and Wood (under wood alone there are many different species) (explained the best way I could)

  • Charcoal will burn more consistent and have less heat output than lump or wood it will also give a charcoal flavor profile. Charcoal will leave more ash than Lump or wood. Charcoal is better suited for smaller pits but I have had success on my pit.
  • Lump  will burn less consistent than charcoal and give a slight smoky flavor profile based on the type of lump, Lump will have less ash than wood or charcoal and burn hotter. Lump is better for quick direct heat, such as grilling steaks, but can be used successfully in a pit
  • Wood  will burn the least consistent and may have more temperature fluctuations than both lump and charcoal and will give a smoke flavor profile based on the species of wood. Wood will have more ash than lump but less than charcoal. Wood requires some knowledge into "fire management", explained later in this article.
  • Hardwood Coals  I feel is the best method for a pit, for this you would need a preburn barrel to burn the wood then place the coals in the pit, I never use this method for the simple fact it's too troublesome.

Mother Nature

Prepare for the predicted weather... Examples;
  • Wind,  try blocking the wind as this may have an adverse effect on the performance of your pit. 
  • Rain,  prepare a shelter to keep you and your equipment dry.
  • Cold  very cold temps may have an adverse effect on your pit.
  • Heat,  extreme heat can make an enjoyable cook a nightmare, grab some fans or reschedule your smoke for the evening.
  • Bugs/Mosquito's,  place a fan in your cooking area and have citronella and bug spray if needed.
  • Animals,  make sure not to leave food out unattended, you may end up with unwanted dinner guests.

Techniques/Methods

There are various techniques/methods to cooking ribs, for years I have cooked Ribs using a modified 3-2-1 method. The 3-2-1 may be better suited for untrimmed ribs, so if you plan on cooking St. Louis Style ribs, you need to modify the 3-2-1 method. The 3-2-1 method is as follows.

  • 3 - Three hours on the cooker, no foil.
  • 2 - Two hours in foil, the ribs will be braised during this stage, you will get a pull back and the meat becomes tender, this two hours in foil is referred to as the "Texas Crutch". Many folks will add a braising liquid at this point. No need to peek at this point
  • 1 - One hour on the pit to tighten (firm) up the ribs.
I do not prefer the 3-2-1 method anymore, this method will satisfy most palates  however, I will once in awhile use a similar method when cooking for the masses.

My modified version is the foiling stage is shortened and the ribs are foiled together in a pan, I have had great success with the modified 3-2-1.

I do suggest the 3-2-1 method for someone that is starting out as the 3-2-1 method will nearly guarantee desired results for most folks.

There is also another method called "Weeping", I will not go into that method but if your curious, click 

"Weeping Method".


  • Many folks will add a braising liquid, in my opinion this is not needed, you can see by the photo below that the ribs had enough moisture to braise without the addition of another liquid.
  • In any case if you choose the 3-2-1 method, incorporate the drippings to the sauce you plan on coating the ribs with, mix sauce and dripping, then coat your ribs.


Now that we got that out of the way, I will be writing this article pertaining to a straight cook of 6 hours. and to further simplify things, this article will refer to Pork Spare Ribs, trimmed St. Louis Style.

Meat:

What should I cook? Spare Ribs or Baby Back Ribs (Loin Back Ribs). That is up to you and you will get different opinions on which is better. I will not go into the differences of each because it's a moot point, my advice is to try both using different methods and decide what you prefer. I prefer Spare Ribs but trimmed St. Louis style, I have had better luck with spares and my family prefers them. I however, have had great success with Baby Back ribs using a high heat method of 450°F.


Cryovaced Pork Spare Ribs. I will usually prep the ribs immediately before cooking.


Equipment

Make sure your equipment is clean and ready to go, preferably the night before, examples;
  • Remove excessive grease (Potential FIRE HAZARD)
  • Clean Grates
  • Spray your rib rack if one is being used
  • Clean out the Fire box
  • re season if needed
  • Work area,  make sure that your work area is adequate and you have adequate lighting.
  • Comfortable chair
  • Fuel
  • Empty grease drain catch.

Brining:
  • Some folks like to brine the meat before cooking, I honestly feel ribs do not benefit from brining. Over-brining ribs may have a negative impact on the final product such as being too salty or hammy tasting. Brining is done for two reasons,  to add moisture and to infuse flavor. If you are brining to add moisture, do not waste your time , it is not needed.

Trimming / Not trimming:
  • I always trim my ribs St. Louis style, all the trimmings are saved for other dishes, explained later in this tutorial. Trimming the ribs will decrease the cook time slightly.

Reasons why I trim:

  • I feel ribs that are trimmed St. Louis style cook evenly.
  • The trimmings can be used in different dishes.
  • A properly trimmed rib is more enjoyable to eat.
 
Remove the Silverskin:
  • Some folks leave this on but score it, I remove the silverskin.


  • Remove the silverskin, this can be done before or after trimming. Tip for removing the silverskin, use a napkin or a paper towel to get a grip on the membrane.


  • Make sure to remove the silverskin "ONLY". Do not try to remove the membrane that holds the Rib bones together.


  • Trim the ribs St. Louis Style. St. Louis Style Video  
  • Below is a full spare rib rack
  • Remove the skirt, it is attached to the bone side, save this skirt.


  • There is a large hunk of meat on the meatside of the ribs to one side, remove this and trim the fat off the rib,this is what is called the"Button", the Button is a snack for the Cook Only!
  • The now trimmed rack is referred to as, "St. Louis Style Ribs"

 
  • The ribs are trimmed and ready to go, place the ribs in a pan off to the side and trim your trimmings.


  • Remove any cartilage or hard pieces from the trimmings. you can leave the softer fat in place but try to remove any silverskin.


Rubs:

  • Rubs can be anything you prefer, it is purely personal choice here. Rubs high in sugar can burn quickly at higher heats, it's best to stay at 225°F max, for sugary rubs. Naked is fine as well. I do not use mustard to apply the rub and the rub is applied right before it is placed on the pit, I don't like the meat to sit overnight with the rub on the meat.
  • I will not go into the specific rubs too much as it is purely preferential.

Initial Mop:
  • Mops can be anything you like, again this is purely preferential. The mop I use is meant to permeate the meat, the mix below does a good job of being absorbed into the meat a bit.
  • Place your trimmings to the side and we will start on the ribs by mopping lightly with equal parts of the following. Make sure to make just enough mop for the initial mop when applying the rub as this will be contaminated. If I have any mop left over I will pour it on the boneside of the ribs once placed on the pit. Some folks use mustard to help the rub stick better. I use mops in lieu of mustard.


  • Mop the ribs lightly on one side. Note the fatty area on the rib at the lower part of the photo, this is where the button was removed from.


[h2]http://Rib Rub:[/h2]
  • 3 tablespoons light brown sugar
  • 1 teaspoons cayenne powder
  • 2 tablespoons garlic powder
  • 2 tablespoons onion powder
  • 2 tablespoons white pepper
  • 2 tablespoons kosher salt
  • 1 tablespoon dry mustard, such as Coleman's  
  • 1 tablespoon course black pepper
  • 5 teaspoons Old Bay
  • 1 teaspoon ginger powder
With a wooden spoon, blend the brown sugar, cayenne, garlic powder, onion powder, white pepper, salt, dry mustard, black pepper, seafood seasoning and ginger powder until mixed. Then bag until usage.
  • Add your rub lightly.


  • Flip and repeat.
Now what should we do with the trimmings, I will usually freeze the boney part for beans and chili and use the solid meat for side dishes such as "Pig Candy".

So for the trimmings I will be using my old Pork Rub recipe with the above mop.

Pork Rub
  • 1/3 cup coarse salt (kosher or sea)
  • 1-1/2 cup (packed) Brown Sugar
  • 1-1/4 cup paprika
  • 1 Tbsp freshly coarse ground black pepper
  • 2 Tbsp garlic powder
  • ¼ cup dried onion flakes
  • ¼ cup onion powder
  • 1 tsp cayenne pepper
  • 2 tsp chili powder
  • 2 tsp coriander
  • 1 Tbsp rosemary
  • Now that the ribs and trimmings are seasoned, wash your mop bucket and mop.


  • Rib trimmings are placed in a pan with my pork rub and coated liberally.


Place the meat in the refrigerator if the pit has not been heated up yet.

Time:
  • Use time wisely.
  • The night before, figure out what time you want the food to be ready by and set your alarm accordingly, give yourself at least one hour extra for firing up the cooker and one hour for resting and slicing.
  • To save time, fire up the pit prior to prepping the ribs, this for me is approximately an hour.

  • Clear your Schedule, make sure everyone knows that you will be unavailable.

  • Make sure to allow enough time for your cook including, preheating and cleanup. As a general rule of thumb I usually give 6 hours for spare ribs and 5 hours for Baby Back ribs, cook time only.

Supplies:

  • Ready all your supplies. (refer to your list as mentioned earlier)


  • Have your starter wood ready to go.


  • Make sure to have an accurate way to monitor the chamber temperature. I currently use the Redi Check Maverick ET732 and a Thermapen. I also use Taylor digital thermos and will use these as a timer.

 
Ready the pit:
  • Give yourself about an hour for this step, Using starter wood or your junk wood, knots, small and large cuts, uneven cuts, anything to get a good coal base.
  • Now there's several different ways I do this, PropaneCharcoal and Lump Charcoal
  • With Propane  I start by opening my cooking chamber, all the vents and the fire door then I place all my starter wood in a basket , place the basket on the grates over top of the log lighter, turn on the propane and ignite the log lighter then I shut the firebox door. After 20 minutes or so I'll shut down the propane and add a few more splits. Once these splits are ignited and past the combustion stage, I will add the meat.


  • Charcoal and Lump Charcoal, sometimes I will start the fire with charcoal or Lump, I will usually light a 3/4 full chimney, as that is igniting I will add some smallish splits and junk wood to the basket and place some junk wood to the side. After 20 minutes or so I will dump the charcoal into the basket and place the wood on top. *Tip  for starting a chimney, use 3 pieces of newspaper, crumble each piece loosely, place in bottom of the chimney starter, drizzle a little cooking oil on the paper and ignite.

 
Fire Management:

I will quickly go into fire management here. This is where you should start to take accurate notes and understand your Pit.  Learning how to control your fire for your particular pit is a key component in a successful cook. Wood will have different requirements than charcoal and Lump Charcoal. 

I primarily use wood on my cooks and will only use charcoal when starting a fire. I would love to give more specific advice on fire management but there are too many variable to give specific instructions, however I will provide the following tips.
  • Split size matters: Use smaller splits and add more often as opposed to larger splits less often, this will reduce the amount of the "Combustion" smoke that you do not want. Remember, adding large splits will make the wood smolder longer before it ignites. Place the wood that is to be added inside the firebox to the side where it will not ignite, my fires usually get too hot to place the splits inside the firebox so I sometimes place my next few splits on top of the firebox.
  • Choking:  Do not choke your fire, make sure you have proper draft. You can see the flame going towards the cooking chamber if you have proper draft, you can also see and feel the heat coming out of the top of the exhaust stack.
  • Ventilation:  Make sure your wood does not choke itself in it's own ashes, make sure to build the fire in a basket with holes and/or build the fire on grates. The air should flow underneath the fire through the fire and toward the cooking chamber. Make sure these vents are not blocked. If there is ash in the basket or in the vents clear the ashes.
  • Stoking:  Every now and then you may need to stoke the fire, however do this gently as you do not want ash traveling through the Pit  and resting on the meat.
  • Backing Up: If you are getting smoke pouring out of the firebox, check your intakes and vents and stoke the fire. Make sure the exhaust vent is unobstructed and wide open. Open the cooking chamber lid for a few seconds if needed.
  • Wood is Fuel: Do not focus on imparting smoke flavor in the food, focus on the cleanest burn possible, you will still get a smoke flavor. You do not need to see smoke to get smoke flavor.
  • Adding Wood: When adding wood to the existing fire, leave the firebox door open a little bit, if a white billowing smoke starts pouring out of the exhaust vent, open the cooking chamber lid for a few seconds allowing the smoke to escape quickly. Close once the white/gray smoke has cleared, I call this burping the Pit.
Prepare The Pit:
  • As your fire is burning, ready your Pit, place a drip pan underneath the grates and add a quart or so of water I start off with two quarts of water in my steamer pan, especially if its closer to the firebox. Adding a water pan underneath will impede the airflow slightly, I have found this to be insignificant.
  •  I think the benefits of catching the drippings outweigh the minor impeding of airflow. Make sure to have enough water in the pan so you do not burn up your drippings.
  • Make sure your Drip pan is level or the water will cook off quickly on the shallow end and burn up your beloved drippings.
  • Tip,  when your cook is a few hours from completion monitor your drippings, you may need to reduce the drippings so they are not too watery, timing is important here, so be careful not to add too much water near the end of the cook.
  • Now that everything is in place Place your next few splits on the firebox, keep doing this as your wood turns into coals. placing more splits on the firebox as they are used.


  • Get out your cleaning supplies, rags, cooking gloves, HD Foil, thermometers, tongs, etc... if you have not done so earlier.


  • Once the temperature is at least 300° + remove the meat from the refrigerator and unwrap the meat carefully. I highly recommend placing the meat into the Pit directly from the refrigerator. 

  • Make sure to place the meat into the Pit  with the pan underneath to catch drippings. Slowly bring the Pit  temps down to about 225°.

  • During the cook try to maintain a constant temp hovering around 225°, my safe range is 210° - 250°

Placement of the meat..

  • Make sure the meat is not touching anything, and be careful of any "Cold spots" or "Hot spots". 
  • If using a rib rack, spray the rack liberally with Pam cooking spray. I prefer cooking without a rack, but when I use a rack I place boneside towards the heat. Without racks I may start off with meat side down and after the first mop flip boneside down until I start building my glaze, explained later. 
  • Note, Extra mop poured on the boneside of the ribs as explained earlier.


  • Rib rack. Rib racks can be used to conserve space , I prefer to lay the ribs flat on my pit but will use the rack on my GOSM.


Thermometers/Timers.

  • If your are using your thermos to monitor chamber temp, place the probe directly in front of the meat being cooked, making sure the probe is not touching anything. You can use a potato or onion to secure the probe, just make sure at least one inch of the probe protrudes from the potato or onion. If your thermos have a timer hit the start button once the meat is on the grates.


Mopping (Optional) Prepare your Cooking Mop:

  • Prepare your cooking mop with equal parts of the following. Make sure you cleaned the mop and mop bucket and make sure to make enough mop for several moppings
  • The term mopping comes from actually mopping the meat with a little mop, many folks use spritzing, mopping and basting interchangeably.
  • Some folks keep a mop bucket in the smoker, so when they mop they are using hot liquid and not ambient temperature liquid, I don't sweat this, you could just as easily keep your mop on top of the firebox.

  • Make sure to keep an eye on the drip pan, you do not want the accumulated drippings to burn up, make sure there is liquid inside the pan at all times, check this when you are mopping.


  • Ribs are flipped and mopped and will be mopped multiple times before building the glaze.


  • Place all your bits and pieces on the grates as well. After 3 hours I will pull the trimmings and check for doneness, it's at this point that you can foil the ribs if doing a 3-2-1 method explained in the beginning of this tutorial. I however will leave them be


Firebox

The top of the firebox can get pretty hot depending on your pit, so why not use it as a cooking surface.
  • Utilize the top of the firebox.

  • Trimmings are removed and tossed onto the cutting board while I prep my sides, for this article, we will be making "Pig Candy"


  • The leftover rub is mixed with apple juice and placed on top of the fire box. Be careful using the top of the firebox, it may get too hot to cook on, with mine I had to add a grate as seen in later pictures.


  • Barbecue sauces are added, two varieties that I have found go well together.
  • 1st barbecue sauce is added


  • 2nd barbecue sauce and 1/4 cup of Jack Daniels


  • Brown Sugar is added.


  • Meat is chopped into bite size pieces.


  • Chopped Rib Meat is added to the pan. Note the grate!


  • The meat is tossed then covered in foil, dont cook this too long. With my firebox the liquid started to boil before adding the grate, I cooked another 2 hours then removed. This needs to be fairly thick, so add more brown sugar if needed.


Clean your work area:

  • Now that the fire is going, the meat is safely on the Pit,  now is the time to clean up.
  • Get out your Clorox cleanup, wipe down the work area, wash all your utensils and pans. Put away everything you will not be using and keep a few rags handy. I keep a few dry and one wet.


Now that everything is cleaned up, you have a clean work area and the  Pit is chugging along, it's time to relax.
Sit back and enjoy!

If you have a ET732 or any wireless unit that monitors the cooking chamber temperature, you have a bit more freedom to move around, my last cook I went upstairs while Frank was chugging along and hopped in the jacuzzi tub for near an hour, came downstairs and made a cup of coffee then headed back outside.

  • Plan the food you will be cooking wisely and make sure to have some snacks on the pit while cooking.


Heat Recovery:

Don't get hung up on the old saying, "If you're looking your not cooking". Do not sweat opening the cooker every now and then especially if your cooker has a quick heat recovery time, the more thermal mass you have the better the heat recovery will be, just don't get carried away. Peeking constantly will increase the cook time.

Here's a tip, if you want to check the drippings in the pan or want to mop the meat, time it when adding your splits, once the splits start to smoke, right before combustion, open the cooking chamber door and mop at this time and add liquid if needed.


Flipping/Rotating:

I will flip during the cook for mopping and building the glaze as mentioned earlier and will be mentioned later in this article.


The "Danger Zone"

Although this has never been a problem with ribs, I will note it never the less.
What is the danger zone?
The below statement, was taking from a frequently visited forum. Bare in mind this is not a specific safety rule by the FDA and is a general rule adopted by extensive research and experienced chefs.

It is important for your Safety, that any Meats that have been Punctured, Probed, Injected or Ground, be cooet from 40°F to 140°F in 4 Hours or less...Frequently called the 40 to 140 in 4 Rule. (This does not include meats containing Cure #1, Cure #2 and Morton's Tender Quick.)


A Guideline like 40-140 in 4...aka the Rule (less letters than Guideline) is, Easy to remember, Provides a margin of Error, Has been gleaned from information provided by Multiple sources, including but not limited to, Professional Food service organizations, The American Culinary Federation, The ServSafe program, the USDA and Food Service Professionals with Years of Experience... Is, " 40°F to 140°F in 4 " written down in any Government Food Service Law Manual, or Word for Word on any fore mentioned Website or Charter?...NO...But it Has been adopted by This Site and others to protect our members...


Glazing, building a Glaze.

  • Prepare your glaze


  • After about three hours or so I will start building the glaze, at this point the ribs are flipped bone side up and given their first coat of glaze, after twenty minutes they are flipped meat side up and brushed with the glaze again


Are my ribs done?

  • Start checking your ribs at the 5 hour mark, especially if your pit was running on the hot side.
  • Time to do a bend test. Pick up the slab with a pair of tongs, If they are ready, the ribs will bend until the meat starts to crack on the surface. It should be close to breaking when you lift the slab. You'll get the feel for this with practice. The ribs below are not done yet. Do not base doneness on pull back, pullback can be more extreme when foiling, I have had ribs that are cooked on the pit with no foil and were completely done and have almost no pullback. This is mentioned later on in this article under "Pullback".


  • The ribs below are done, note the rib starting to break, these are done enough for me but you could let them ride another 20 minutes.


Setting up the Glaze

  • After the ribs are done You can go a step further for setting up the glaze and adding another layer of flavor using direct heat for a few moments to slightly char the sugars in the glaze, this step is well worth doing.

  • Setting up the glaze using direct heat on a grill.


  • And on a firepit.


  • Glaze set up nicely and a wee bit of char, just the way I like them.


Resting for slicing:

  • The ribs should rest at least 20 minutes prior to slicing. Take care not to tear up the rib when slicing.


Saucing:

  • Once the ribs are sauced... LEAVE THEM ALONE!, if someone wants saucier ribs, they can add more sauce once they are served, just make sure to put some sauce out when serving. The goal here is to have layers of flavor. If serving for a large group, you could sauce the entire rib if it will sitting out for a while such as in a steamer pan.

Drippings

  • This is purely optional but the drippings can be added to your sauce, I sometimes add them to my beans.
Pullback

  • I have noticed a major factor contributing to a more prominent pull back, this occurs during braising, when ribs are in the foiling stage of 3-2-1, you can see the difference in the two photos below.


Sauces (Taken from wikipedia)

East Carolina Sauce  – Can be used as a "mopping" sauce to baste the meat while it was cooking and as a dipping sauce when it is served. Thin and sharp, it penetrates the meat and cuts the fats in the mouth. There is little or no sugar in this sauce. This sauce has a very sharp taste

Lexington Dip  (a.k.a. Western Carolina Dip or Piedmont Dip) – In Lexington and in the "Piedmont" hilly areas of western North Carolina, the sauce is often called a dip. It is a lot like the East Carolina Sauce (above) with tomato paste, tomato sauce, or ketchup added. The vinegar softens the tomato.

Kansas City  – Thick, reddish-brown, tomato or ketchup-based with sugars, vinegar, and spices. Evolved from the Lexington Dip (above), it is significantly different in that it is thick and sweet and does not penetrate the meat as much as sit on the surface. This is the most common and popular sauce in the US and all other tomato based sauces are variations on the theme using more or less of the main ingredients.

Memphis  – Similar to the Kansas City style, typically having the same ingredients, but tending to have a larger percentage of vinegar and use molasses as a sweetener.

Texas  – In some of the older, more traditional restaurants the sauces are heavily seasoned with cumin, chili peppers, bell peppers, chili powder or ancho powder, lots of black pepper, fresh onion, only a touch of tomato, little or no sugar, and they often contain meat drippings and smoke flavor because meats are dipped into them. They are medium thick and often resemble a thin tomato soup. They penetrate the meat easily rather than sit on top. Bottled barbecue sauces from Texas are often different from those used in the same restaurants because they do not contain meat drippings.

SQWIBS Favorite to date - Taken from a Robert Irvine Recipe and modified to my taste this is a nice sauce that will penetrate the meat a bit, has just enough sweetness as well as distinctive sharpness.
[h2]http://SQWIBS Favorite to date  BBQ Sauce:[/h2]
  • 3 cups ketchup
  • 1 cup brown sugar
  • 1 cup Cider Vinegar
  • 3/4 cup yellow mustard
  • 1/3 cup Worcestershire sauce
  • 1 teaspoon cayenne pepper  1 Tablespoon for hot
  • 1 tablespoon sea salt
Some closing Thoughts:
  • Temperature; I like to shoot for 225°F cooking chamber temperature, my maximum temperature is 250°F.
  • Doneness, I strongly suggest learning other ways to check for the doneness of ribs with methods such as the bend test.
  • What are tender ribs? Opinions vary greatly as to the tenderness of ribs, most folks prefer fall of the bone ribs and many folks prefer a slight tug for a clean pull, I prefer a steak like texture and feel this gives me control to what goes into my mouth. It is especially annoying to have fall off the bone ribs that are not trimmed properly and you get a bunch of unwanted bits in your mouth. Note, the pics below are of Baby Backs, I did not have a picture of spares with a bite out of them.


  • 3-2-1 This method is great and almost fool proof and works great on full slab of ribs, if using trimmed ribs, modify the cook time a bit. Part of this method the -2- also known as the Texas crutch will increase the pullback of the ribs.
  • Outside temps  don't seem to interfere with my Pit and although wind is a concern, I have done cooks on fairly windy days with no ill effect
  • Cooking time,  Times are based on 225°F
    • BB Ribs straight up - 6 hours 
    • BB Ribs 2-2-1 method - 5 hours
    • Spare Ribs St. Louis style, straight up - 6 hours
    • Spare Ribs St. Louis style, 3-2-1 method - 5-6 hours.
    • Spare Ribs Full Slab straight up -  6+ hours
    • Spare Ribs Full Slab 3-2-1 method -  6 hours
  • Drip Pan , purely optional but worth catching for reincorporating into barbecue sauce or adding to side dishes such as beans.
  • Smoke Ring: Many folks like to see a smoke ring and some see it and panic and think that the rib is not cooked thoroughly but it is, but don't take my word for it, read this article.

  • Bone side up or Bone side down?, I start boneside up the first half hour then flip. I will flip again for the first hit of glaze then flip back to bone side down after 20 minutes.
  • Straight from Refrigerator to cooker, some folks like to bring the meat up to Room temperature before placing in the cooker. I go right from prep to pit or refrigerator to pit.
  • Storage, ribs freeze and thaw nicely, I vacuum seal mine.


I hope this was helpful and, comments are appreciated.
 

May 2016, this has been my go to method for the last few years

 
(Rib trimmings Rub) Ingredients
  • 1/3 cup coarse salt (kosher or sea)
  • 1-1/2 cup (packed) Brown Sugar
  • 1-1/4 cup paprika
  • 1 Tbsp freshly coarse ground black pepper
  • 2 Tbsp garlic powder
  • ¼ cup dried onion flakes
  • ¼ cup onion powder
  • 1 tsp cayenne pepper
  • 2 tsp chili powder
  • 2 tsp coriander
  • 1 Tbsp rosemary
(sometimes I'll use "Montreal Steak Seasoning" and omit the Salt and Pepper)


For my trimmed ribs... I will usually layer three different flavor profiles


(Rib Rub) Ingredients

 
  • 3 tablespoons light brown sugar
  • 1-2 teaspoons cayenne powder
  • 2 tablespoons garlic powder
  • 2 tablespoons onion powder
  • 2 tablespoons white pepper
  • 2 tablespoons kosher salt
  • 1 tablespoon dry mustard, such as Coleman's
  • 1 tablespoon course black pepper
  • 5 teaspoons seafood seasoning, such as Old Bay
  • 1 teaspoon ginger powder


For my starting mop (mopped then rub is added, then mopped several more times during cook)


(Rib Mop) Ingredients
  • Soy Sauce
  • Worcestershire
  • Coke or Sprite
  • Jack Daniels


For Building my Rib Glaze, (the last hour or so, the glaze is applied every 10 minutes about


(Glaze) Ingredients
  • Cattlemans Original, If I can find it, if not I will tweak something with a little Carolina gold type sauce
  • KC Masterpiece
  • Red Hot
  • Salted Butter
Sometimes a bit of Jack Daniels or Extra Dry Vermouth


SmokingMeatForums.com is reader supported and as an Amazon Associate, we may earn commissions from qualifying purchases.

Hot Threads

Clicky