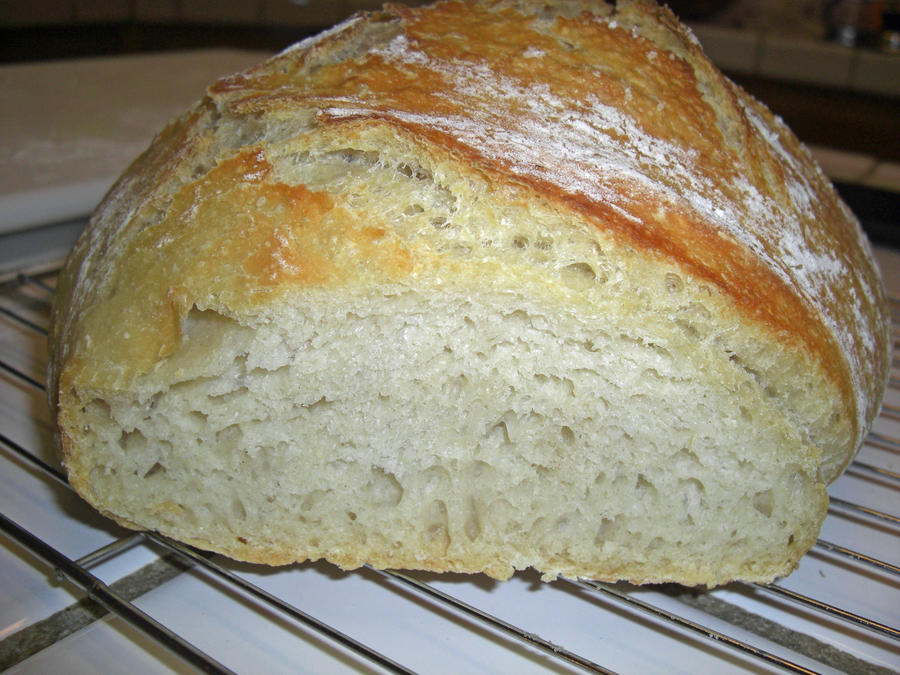
My wife and I have a bread we love to buy from the grocers called Pugliese Bread. I've been trying to find a recipe that duplicates the crunchy exterior and soft, big holed interior. I could tell from tasting it the recipe had to be simple. Here is the closest thing I've found and it is delicious. Sooooo easy to make too. Having trouble loading pics. I'll post this and be right back.
Because it was my first attempt I did not document each step, but it is so simple there isn't much to document.
Here's the recipe. Try it if you want to bake a delicious bread for Christmas.
Rustic Crusty Bread-Basic Recipe
Made this recipe for the first time 12/22/15. Came out FANTASTIC! Sooooo easy. This was the easiest bread I've ever baked. I used a stainless steel Dutch Oven because I don't own a cast iron one and it worked out perfectly. This recipe is kind of like one big Italian biga bread recipe.
Ingredients
3 cups all-purpose flour (I used bread flour)
1 3/4 tsp salt
1/2 tsp active dry yeast
1 1/2 cups warm water (about 110 degrees)
Directions
1. In a large mixing bowl, whisk together flour, salt and yeast. Pour in warm water and stir mixture with a wooden spoon or a firm silicon spatula until a shaggy ball forms. Cover bowl with plastic wrap and allow to rise and ferment for 12 - 18 hours on the counter at room temperature.
2. Heat oven to 450 degrees. Once oven has reached 450 degrees, place a cast iron or stainless steel Dutch Oven with lid into the preheated oven on one of the lower shelves. Heat Dutch Oven for 30 minutes.
3. Meanwhile, turn dough out onto a heavily floured surface then gently shape dough into a ball, tucking the imperfections down toward the bottom. Cover dough with plastic wrap and allow to rest while pot is heating. Using gloves or mits remove pot from oven and with floured hands, carefully place dough into hot pot. You DO NOT need to grease the pot. Cover with lid then immediately return pot to oven and bake 30 minutes at 450 degrees. After 30 minutes remove lid from pot and bake uncovered for 15 minutes. Remove from oven and allow bread to cool on a cooling rack. Once completely cooled, bread stores well in an open paper bag (it helps the bread maintain it's crisp crust. I wouldn't recommend storing it in an airtight container or ziploc bag).
4. Recipe Source: adapted from Simply So Good.
Last edited: