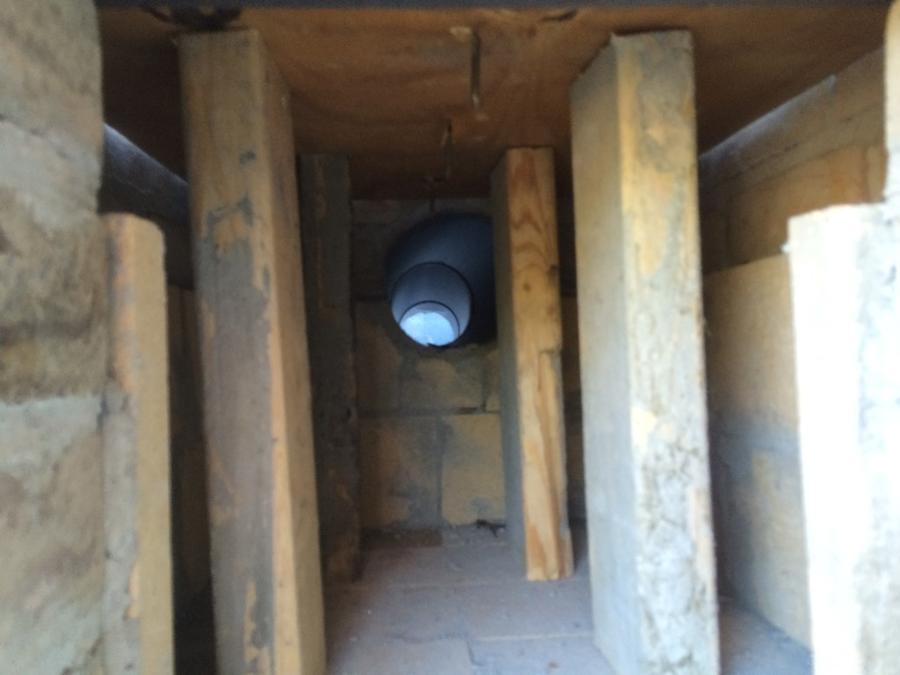
I am building a smokehouse very similar the Atcnick's Cedar smoke house posted a few threads down. The big question I have for anyone that built one is the roof of the fire box. How is everyone supporting the flat roofs on these? The most difficult part and there isn't any details on construction.
I don't want to drop a bunch of 2" angle iron all through it for each course. I though about building a curved roof like they did on bridges, but I'n not a good enough mason for that.
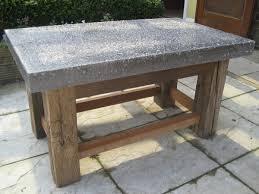
The latest idea is the framer the 4 sides and make a frame for the top, lay down fire bricks with some gaps and make a 1/2 rebar cross hatch over it. Then pour 4 inches of high stregth concrete. I am assuming I would likely now brick the front and pour over the sides and back as its likely to weight 150# or more once poured and be a bit difficult to set on my own. :)
I watched the video for Tim Farmer and they use a standard block post cap with is kind of light concrete. Once looking at one it wasn't my first choice.
How did you guys that did it make the roof?
I don't want to drop a bunch of 2" angle iron all through it for each course. I though about building a curved roof like they did on bridges, but I'n not a good enough mason for that.
The latest idea is the framer the 4 sides and make a frame for the top, lay down fire bricks with some gaps and make a 1/2 rebar cross hatch over it. Then pour 4 inches of high stregth concrete. I am assuming I would likely now brick the front and pour over the sides and back as its likely to weight 150# or more once poured and be a bit difficult to set on my own. :)
I watched the video for Tim Farmer and they use a standard block post cap with is kind of light concrete. Once looking at one it wasn't my first choice.
How did you guys that did it make the roof?
Last edited: