timberjet
Master of the Pit
I think they are aluminum if I remember correctly. I gave my old kettle away when I got my performer so I don't have it here anymore to measure it for you. I bet it's around 16-18 inches though.
4 3.5 inch bolts with nuts and washers. Drill holes in pizza pan and well, you get the idea. If you look at the picture of my basket you will see. Just make sure you have about 3 inches of clearance between the grate and the ash pan. I used an eye bolt in the center so I could hook it with my fire place poker to haul it up out of there but that's not really necessary. I find a good pair of insulated gloves works fine.
Update time:
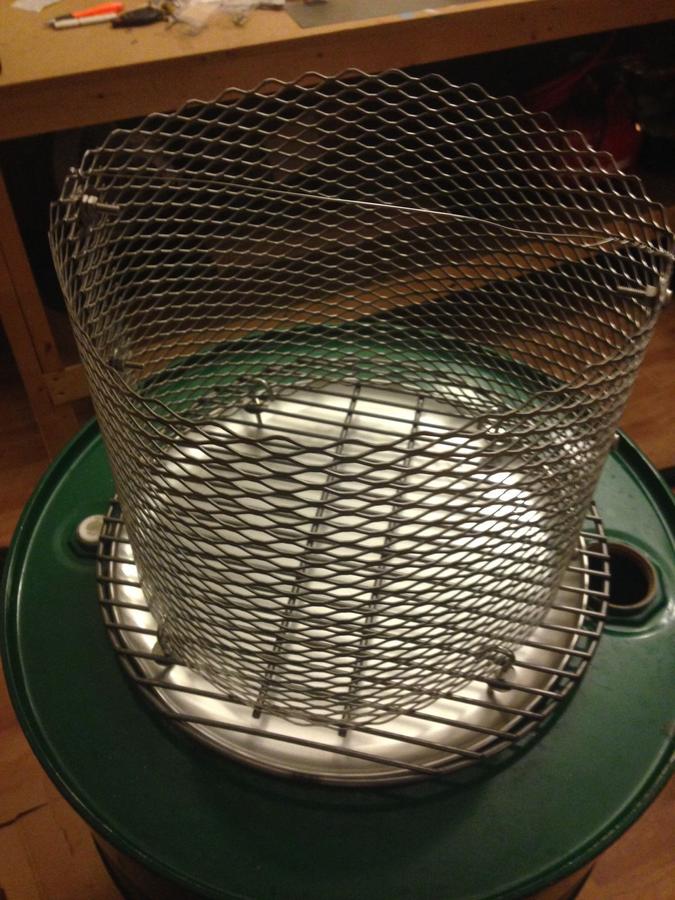
After another trip to good ole lowes I have more stuff and have since made some more progress on the build. As of now, the basket is complete, minus the ash catcher. I used an 18" (actual) weber grill and two 12x24 pieces of expanded metal and 6 SS bolts, washers and nuts.... pretty standard stuff. I attached the expanded metal to the grill grate with J hooks and a washer. I had planned to buy u-bolts, but they didn't have the small ones in stock... I realize the larger would have worked, but I couldn't justify the additional cost. It seems to work, but I'll probably swop it over at a later point... maybe.
I did get a hot water tank tray and it is made of aluminum. The problem: they didn't have the 20" version. The smallest they had was a 22 or 24", either way I bought it. However, after getting home, I realize it is too big and wont even slide into the drum. The base is small enough to go in, so I could slice of a little bit of the rim, but after reading one of the above posts, either way, it wont clear the grate bolts. So, looks like I'm going to go back to the pizza tray I bought yesterday, which is 16". You can see it in one of the photos below... It is smaller than the grate used for the bottom of the basket, but it is larger than the expanded metal section (where the charcoal goes). Now, I have to figure out how I'm going to attach the basket and the ash catcher, but that's not going to be too difficult.
Other than that, I picked up the hardware for the grates and got the grate holes drilled. I also grabbed some sheet metal (to make a lid hook), a piece of oak dowel (to make a couple handles) and all the appropriate hardware. That wasn't the only thing I grabbed, but the next items are a little 'out of the box'. Originally, I had planned to buy a stemmed thermo to mount in the side, but after reading several bad experiences with accuracy and a lot of recommendations for the Maverick ET-732, I've decided to grab one of those instead. I debated this because of the price, but figured by the time I buy a decent stem thermo and a decent instant meat thermo, I'll have spent what the Maverick costs. Plus, I'd probably upgrade eventually anyway. BTW, I realize theres a newer version of the Maverick, but I'm not too concerned with the preset foods and would rather save the coin.
So, what did I buy and why's it out of the box?... Well I bought a piece of oak and some hardware. Since I'm not going the traditional thermo route, I thought I'd make a mount for the Maverick to be attached to. I'm not planning on putting it on the drum directly. The oak will be offset with spacers... the bottom one being longer than the top to provide an angle. The oak (for the mount and for the handles) will be sealed. Any thoughts?... bad idea, good idea? Let's here it.
My next steps: attach the basket to the ash tray, make the handles, make the lid hook, drill the air inlets and drill all the holes for the handles and hook.
And now... the pictures:
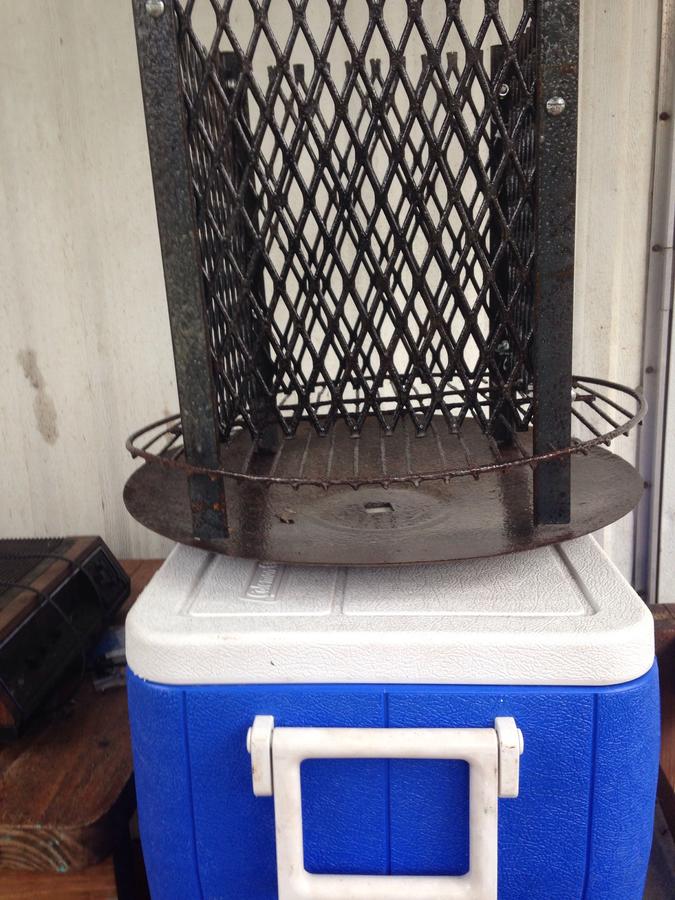
Basket on the failed ash catcher:
Drum with grate (mind blowing stuff here):
Basket on 16" pizza dish (not attached):
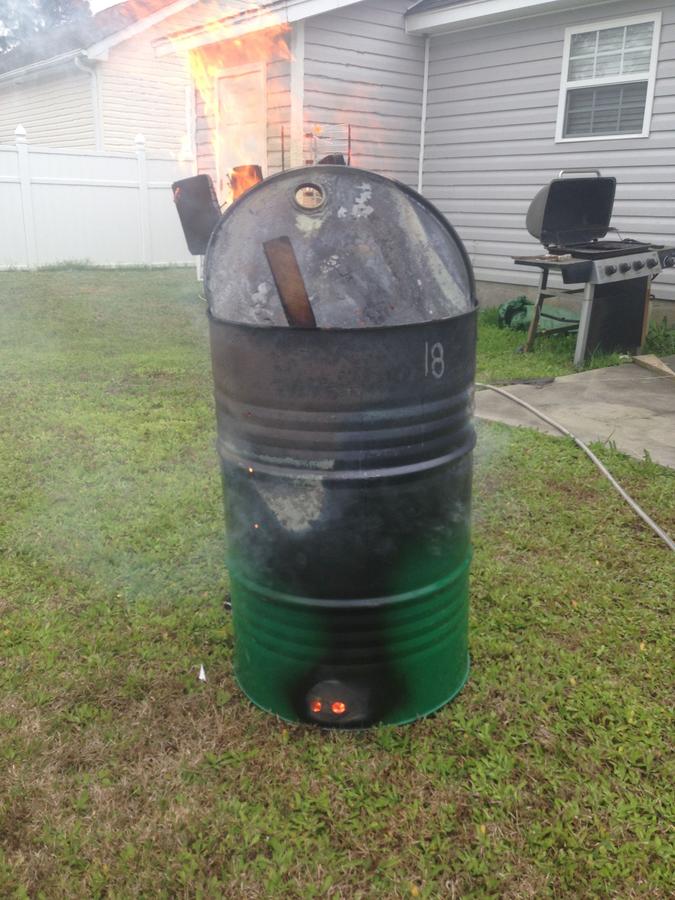
never mind those last pictures confused me with the unburned drum I had forgotten you already burned it out.
It's not like you will probably ever have to reload the basket for any smoke I can think of. That sucker will hold one heck of a lot of fuel. Next up the burn?
No I haven't done the burn out... that was someone else who posted here. I'm planning on doing the burn out this saturday; after all the fabrication work is finished up.
never mind those last pictures confused me with the unburned drum I had forgotten you already burned it out.
Update time:
This one is going to be a short one... I'm ready for the burn out. All fabrication is wrapped up, currently sitting fully assembled. I'll tear it down tomorrow, take it outside and fill it with wood... in preparation of an early morning start Saturday. I'm sure my neighbors wouldn't be into hearing my tear down pallets at 7-8 in the morning on a saturday. lol.
There are still a few things I want to do, but I have what is needed to use it. There are some things I want to redo at some point too. I'm not happy with the handles, mainly how the attach and the lid hook is too flimsy (as I mentioned in a previous post). After the dent this has had on my wallet (so much for a cheap smoker), I've gotta slow down a bit on the spending. I'm surprised the people in the hardware department at lowes don't know me by name now.
Oh as for the feet, I went with three 1/2" x 3-1/2" carriage bolts, six 1/2" bolts and six 1/2" washers. It works, but this is something else I plan to change in the future.
That's pretty much it. So I guess, it's picture time.
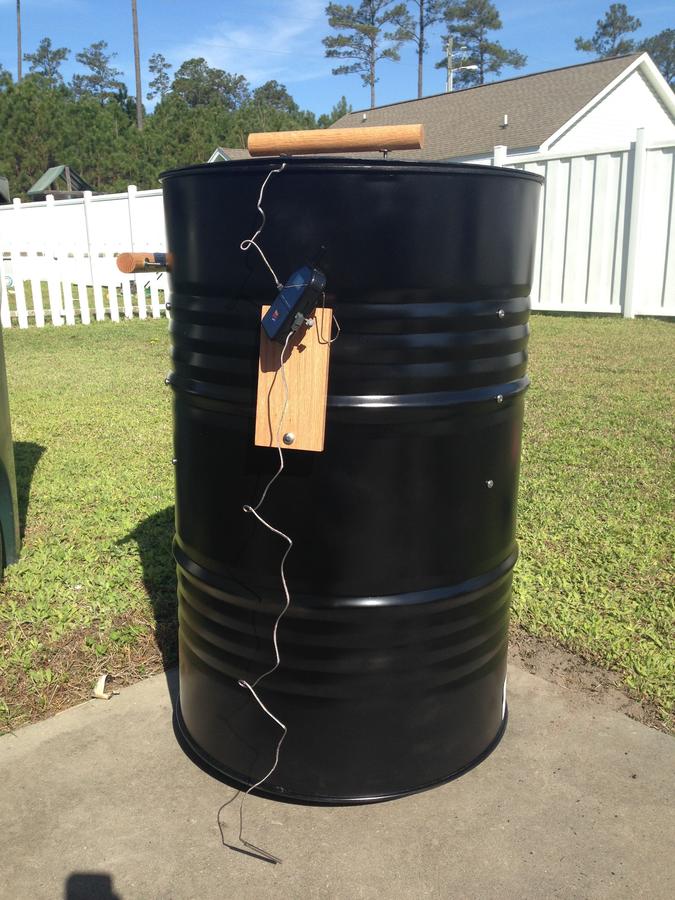
--- Sorry about the yellow, no offense, but I want to show you the drum, not my house. ---
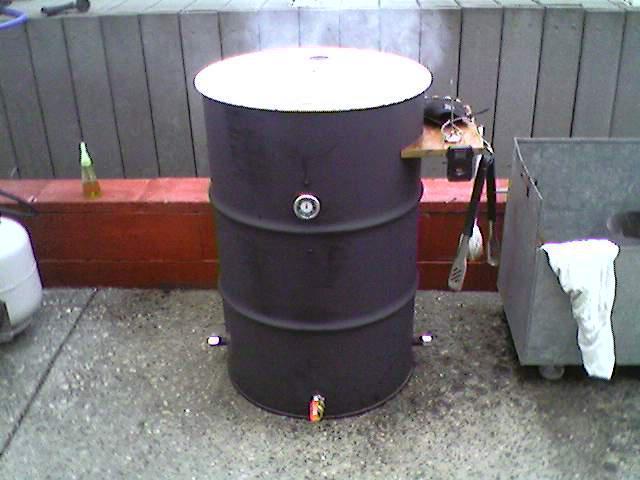
Fully assembled - outside (dry fit)
--no smoke stack (for now)
Fully assembled - 'inside' (dry fit)