Another 120 Gallon Compressor Tank RF Build. Appreciate any help.

  • Some of the links on this forum allow SMF, at no cost to you, to earn a small commission when you click through and make a purchase. Let me know if you have any questions about this.
SMF is reader-supported. When you buy through links on our site, we may earn an affiliate commission.
I wondered about doing the plenum all the way down to the top of the firebox like jerry mentioned but wasn't sure if there were any drawbacks to having that large of an open space inside to the chimney. Jerry do you remember where you saw it mentioned and has any one seen one done that way? 


Jerry, afternoon..... all the drawings are generic and not to scale..... If you ask how high the first cooking rack should be, you will probably get several different answers.... the plenum size and height, same thing.... some folks think the stack should come out the top and not be inserted into the CC.... others think the stack should be inserted to 6" above the lowest cooking grate.... I came up with the plenum to "sort of fit" the two ideas.... I've seen CC's with 2 stacks... one inserted 4" and the other 4" above the lowest cooking grate...
As far as I know, there is no perfect smoker or perfect smoker parts... the entire design is very flexible with, somewhere close to the numbers in the calculating tutorial, makes a great smoker....
Sorry it's not more specific....

Dave
 
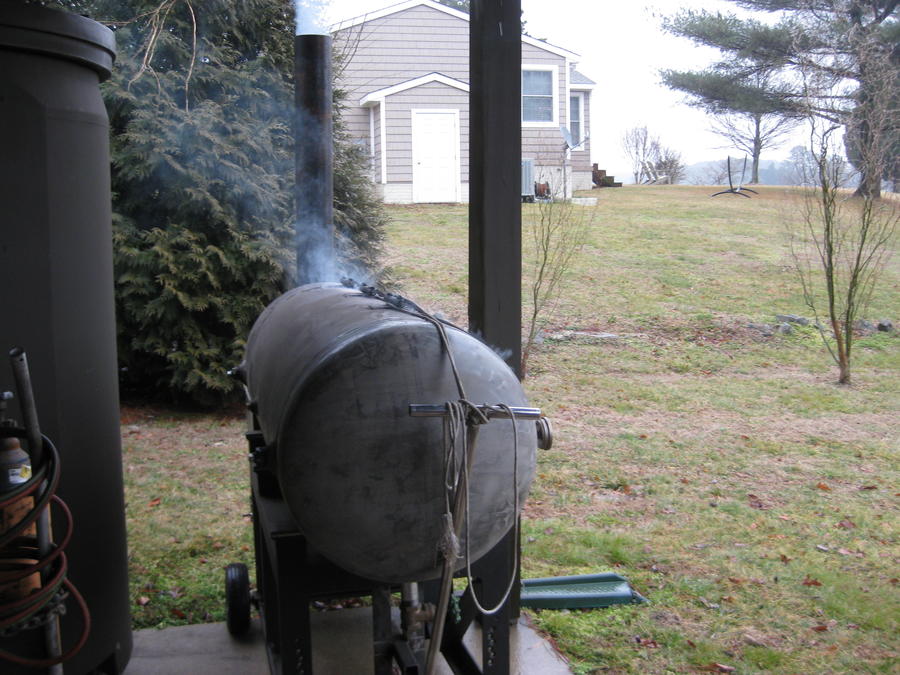
From firebox seals to smoke last 2 days!  Not a real burn in but enough to tell me where I might need to adjust sealing angles.   Got to 350 degrees before i left it to burn out.  I've been pretty active the last 2 days, even with the foot injury. Not sure of picture limit so will post several times with several pics that should be pretty clear.  None of the welds have been cleaned up.  Putting the chimney on required moving the rig outside and height will restrict it from coming back into the basement, so remainder (cooking grate supports, handles, etc.) will have to be done outside.  Supposedly a break is coming in the weather.  I sure hope so. Starting off with one of the last I posted.  I thought I got several in the shop before moving outside but must have had movie or something on the darned camera.  Sorry


Next few pictures  are also of the burning unit.  Ambient temp was 33 degrees.  I put a couple small pieces of 2x4 in and 2 small (6x14 maybe) pieces of pithy maple. Added 2 more maple and It got to 300 degrees within an hour and at one point (when I left to take a shower) it was burning clean with no smoke and the thermometer, which I put into an existing fitting near the end of the RF plate, was at 300 and rising. 

Checked it 90 minutes later, (long well deserved shower and a couple of cocktails).  Thermometer was at 80 degrees but still a few coals left in the FB so I stuck a couple more pieces of the pithy maple in and said goodnight. Overall, very happy.  No firebox door leaks.  IMHO minimal leaks  around the CC door as shown by smoke.  Think they can be sealed pretty easily and I haven't added any clamp down mechanism.  (Don't want to unless necessary.)  Tomorrow will work on the cook grates.  Handles will be last.

BTW: Big brown tank is 500 gallon water storage, just in case.  Makes me wonder why/how anyone would take on a 500 gallon smoker project....yes I know they are longer and narrower than my water tank....BUT... my smoker is 120 gallons!  Hurts to think about that big of a project.   One more series of pics coming.

Jerry


Last edited:
Last edited:
Got the lower cook grate made and installed last night and had to work today at our flea market. Hopefully will do the upper grate tomorrow and add more pictures. G'night.
hi.gif

Jerry
 
I have a Tel-Tru on my grill, 15 years old still works perfect

Gary
 
Thanks guys.  Just ordered two of the black/red/white BQ 300s.  Found no owners manual on line or spec that indicated allen wrench adjustable.  Accuracy +/- 1 degree is all I saw among their cooking thermometers.

Jerry
 
Lots of new pictures including grates, chimney damper, new larger wheels, handle for the CC door.  I had lifted the smoker off the frame 2  days ago to be able to install 12" 350# wheels from Northern tool.  Their 10", 250# wheels couldn't cut it.  Had fabricated the axle for the 10" wheels from 7/8" round stock and cut it down to 1/2" at the wheels.  New ones required 3/4" axles  so I used the last of my 7/8 round stock to make the new axle on the lathe.

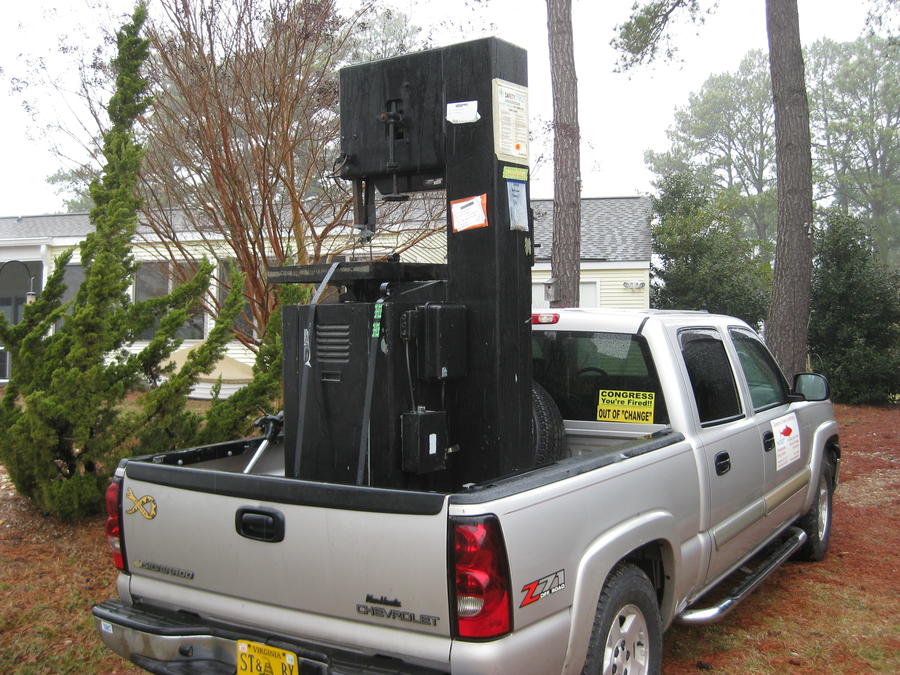
Got home yesterday afternoon from picking up the new wheels and retrieving the humongous metal cutting bandsaw I won at auction.  Needed to get it out of my truck.  I needed the tractor forks to unload the truck. Was working alone and against a dinner deadline  for guests arriving and a needed shower. Guess I got in a hurry.  I could not see clearly the left fork  and wound up putting too much downward pressure on the frame and bent the new axle about 30 degrees.  Got the bandsaw out of the truck and immediately quit, disgusted with myself.  Used a BFH and pipe to straighten the axle as much as possible today.  Will do another axle but it isn't high priority as the wheels are working.  Have to rework the front tricycle wheel as it is now an inch low.

Today I straightened the axle somewhat, added the damper using 3/8" rod and 7/16" welded nuts to support it against the stack.  Welded the door handle on after first positioning and tacking it incorrectly offset. (It seems there is at least one error for every correct move.)

Lots of pictures.  Hope I don't bore you.

Jerry


Last edited:
SmokingMeatForums.com is reader supported and as an Amazon Associate, we may earn commissions from qualifying purchases.
Clicky