FWIsmoker,
Yes, it was a bit pricy, but it was spread out across a couple pay periods, so it didn't hurt
too much. If someone wanted to build a basic Mini-
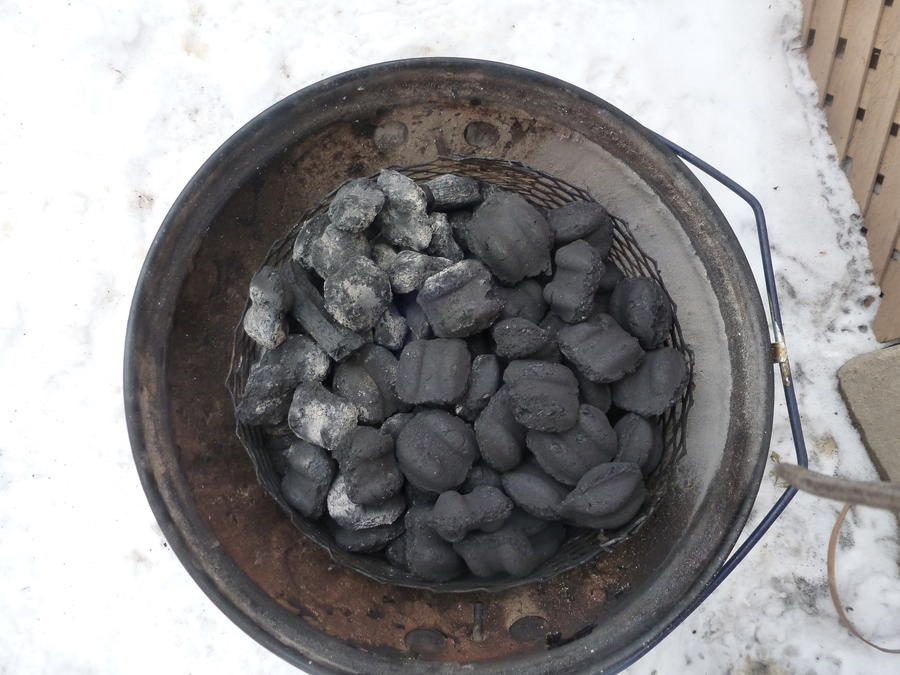
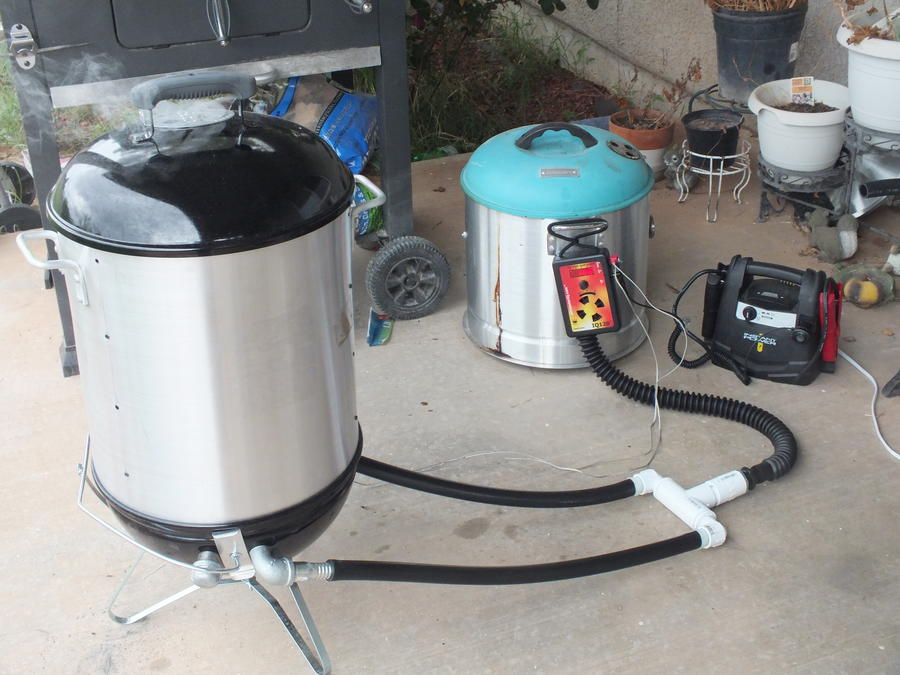
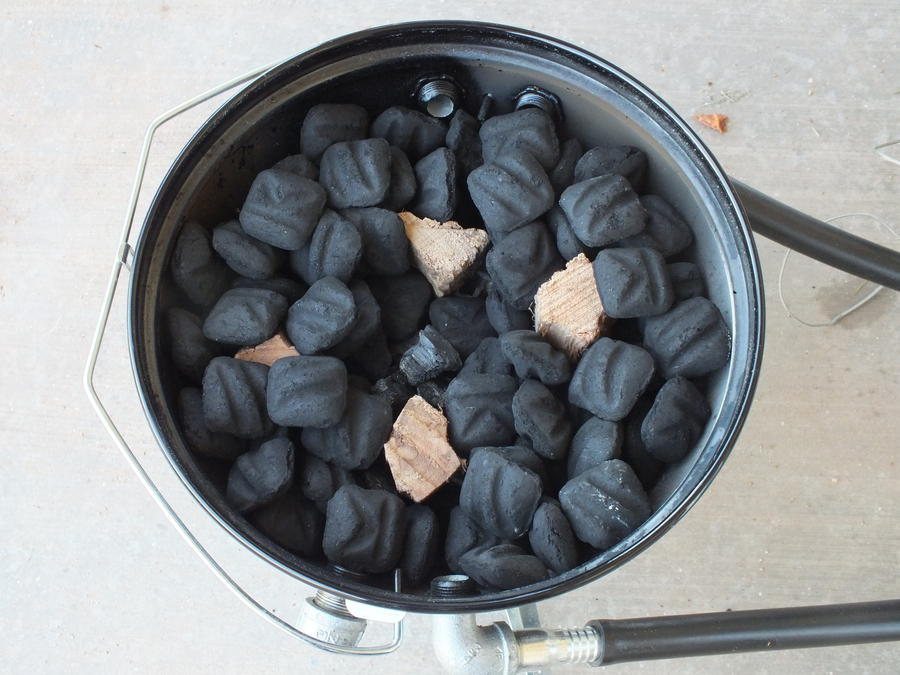
WSM, with the IMUSA pot, on a Smokey Joe Gold and with no temperature control; they could have it built for about $106. This assumes they already have the drills, bits, saws and blades required to build it. Making it with a Smokey Joe Silver will drop the price to $101. If they go with less expensive Hardware (non-stainless nuts, screws, washers for the racks) they could drop the price another ten bucks to $91. This is my second Mini build; the first one was done "at the minimum price". BTW, do you run an expanded metal mesh basket for your charcoal?